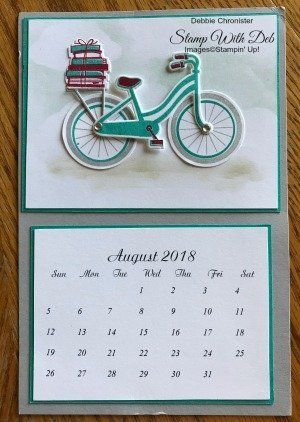
2018 Calendar - August
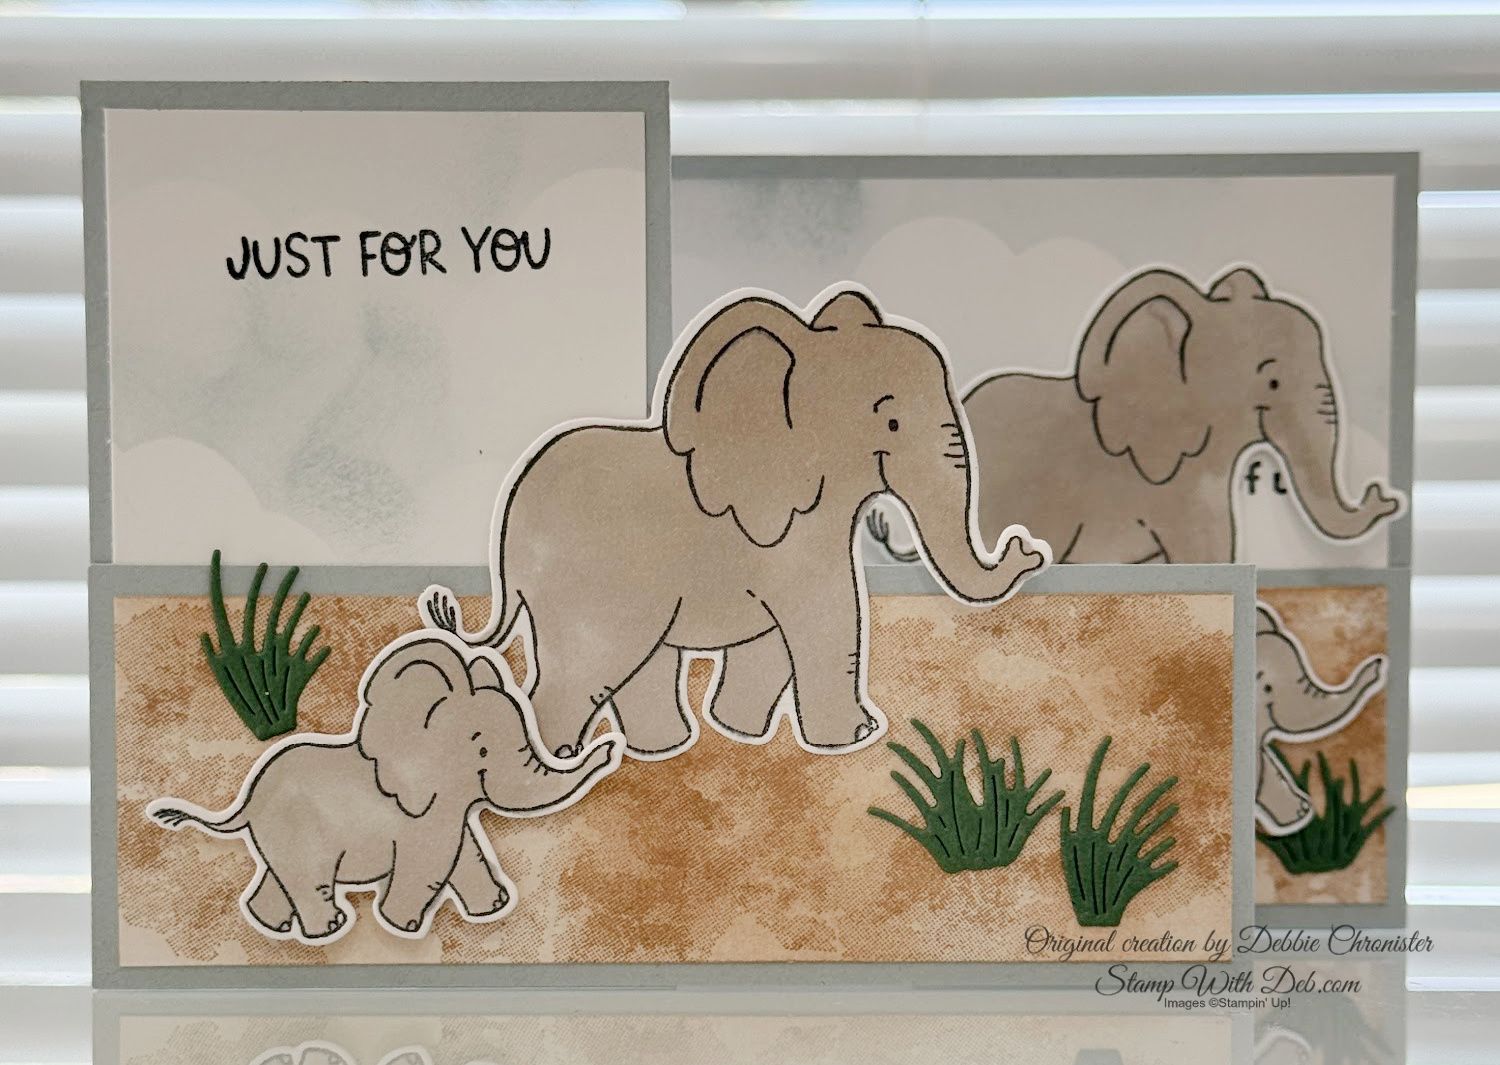
Back to school
When I was a kid school started the day after Labor Day which was always in September. But now days school starts in August. Even when I lived on the east coast and we had "Snow Days" we still started in September. I am sure we got out a little later in June but that just helped our parents know that we were staying out of trouble because we were still in school. I am sure someone complained that summer was too short but that was the way it was. We thought we were lucky to not have school in summer, but were always ready to go back by September!
A cute story to go along with that is when my daughter graduated from school and got her first job. Summer came and she said, "Don't I get the summer off?" I told her no this is real life. Welcome to the adult world. My husband is a school teacher so summers were always fun and laid back for my children. Getting up late and staying up late. Swimming and playing all day. They enjoyed having their daddy home all summer long. So life was very different for us in the summer.
The base cardstock for all the pages is 5 1/2 x 8 1/2 Whisper White
All the calendars were created by me in Publisher and are cut at 3 1/4 x 4 1/2
The stamp set used is Bike Ride
Next layer is 5 1/4 x 7 7/8 Smoky Slate
Cut Bermuda Bay at 5 x 3 7/8 (top) and 3 3/8 x 4 5/8 (bottom)
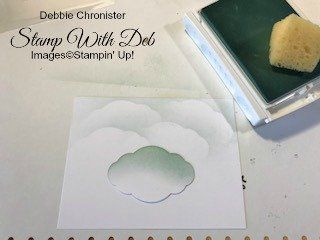
Cut Whisper White @ 3 3/4 x 4 7/8. Punch out Pretty Label (It makes a great cloud) and using Soft Sky and a sponge make your clouds.
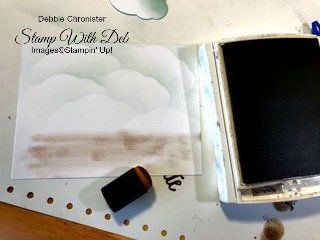
Then using a Sponge Dauber and Crumb Cake create the ground
Stamp the bike tires in Smoky Slate with Bermuda Bay Rims on Whisper White
Stamp the bike in Bermuda Bay and the seat, handlebars and pedals in Real Red
TIP: Before you mount your stamp on the block for the bike lay it in the die and then place the block on top to pick it up. This way your die will match your bike when cutting.
Stamp the Books in Basic Black then use the other two stamps to color the books in Bermuda Bay and Real Red.
Cut all the parts out with the coordinating dies.
Cut the book rack for the back of the bike in Smoky Slate.
After putting the bike together put the little circles from the Metallic Enamel Shapes on the centers of the tires.
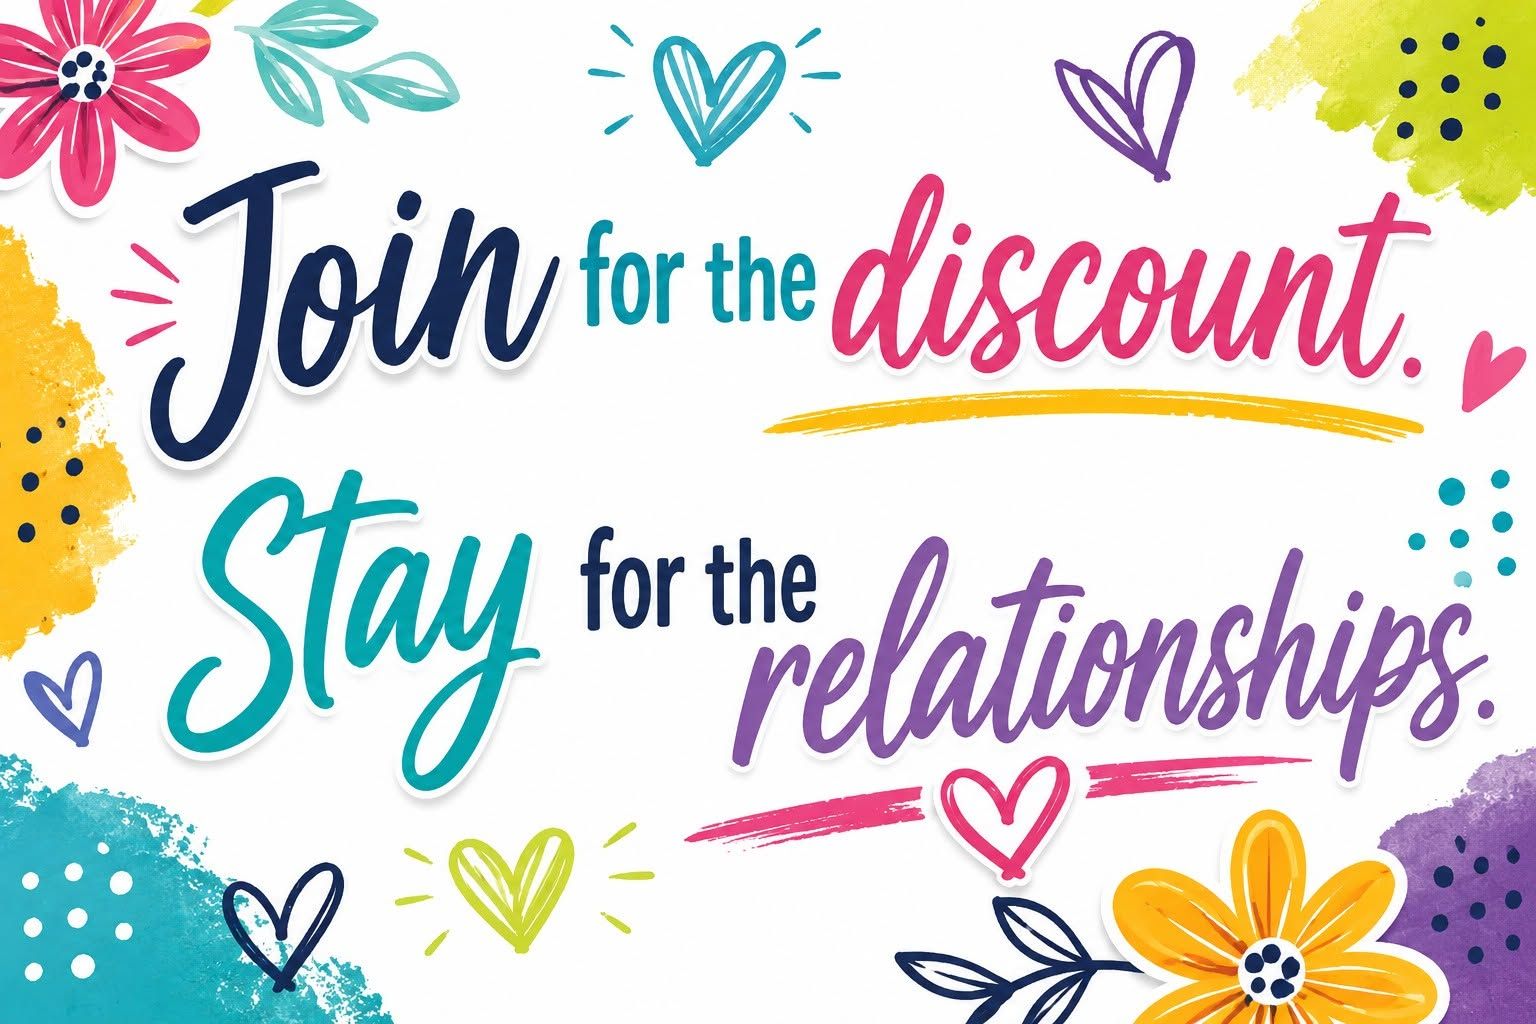
Are you about to hit that $99 mark on your order (before shipping and tax)? If so, why not consider joining my team? As a member, you’ll enjoy $125 worth of products of your choice for only $99! Plus, you’ll snag a fantastic 20% discount on all your future purchases and a variety of exclusive perks from me and Stampin' Up! Dive into this exciting journey of paper crafting with us! For more information, check out my Join My Team page
We now have 3 catalogs each year, January - April, May - August, September - December. We no longer have an annual catalog. You will find all of the products in the catalogs online as well as Last Chance and Online Exclusive Products. If you want to check out the May - August Catalog click on that catalog below. If you want a paper copy, please contact me to get yours!
Check out:
Online Exclusives
May - August Catalog - Contact me to get yours!
Subscribe to my My YouTube paper crafting video channel
Follow me on Pinterest
Follow me on Facebook every week for Stampin' Tell Tuesday
Shop my Online Store