
March Calendar
Now we will be back on track

I can't believe it has been this long since I posted. I guess I have been busy with so many things. It's that time of year that things are changing and this year there are not only changes in the stamp sets and papers but also in the color line up at Stampin' Up! We will look at that in another blog post a little later but for now I want to get those who are following the calendar pages caught up. If you are not part of my Calendar Club and are interested in joining me on this adventure through the year please contact me.
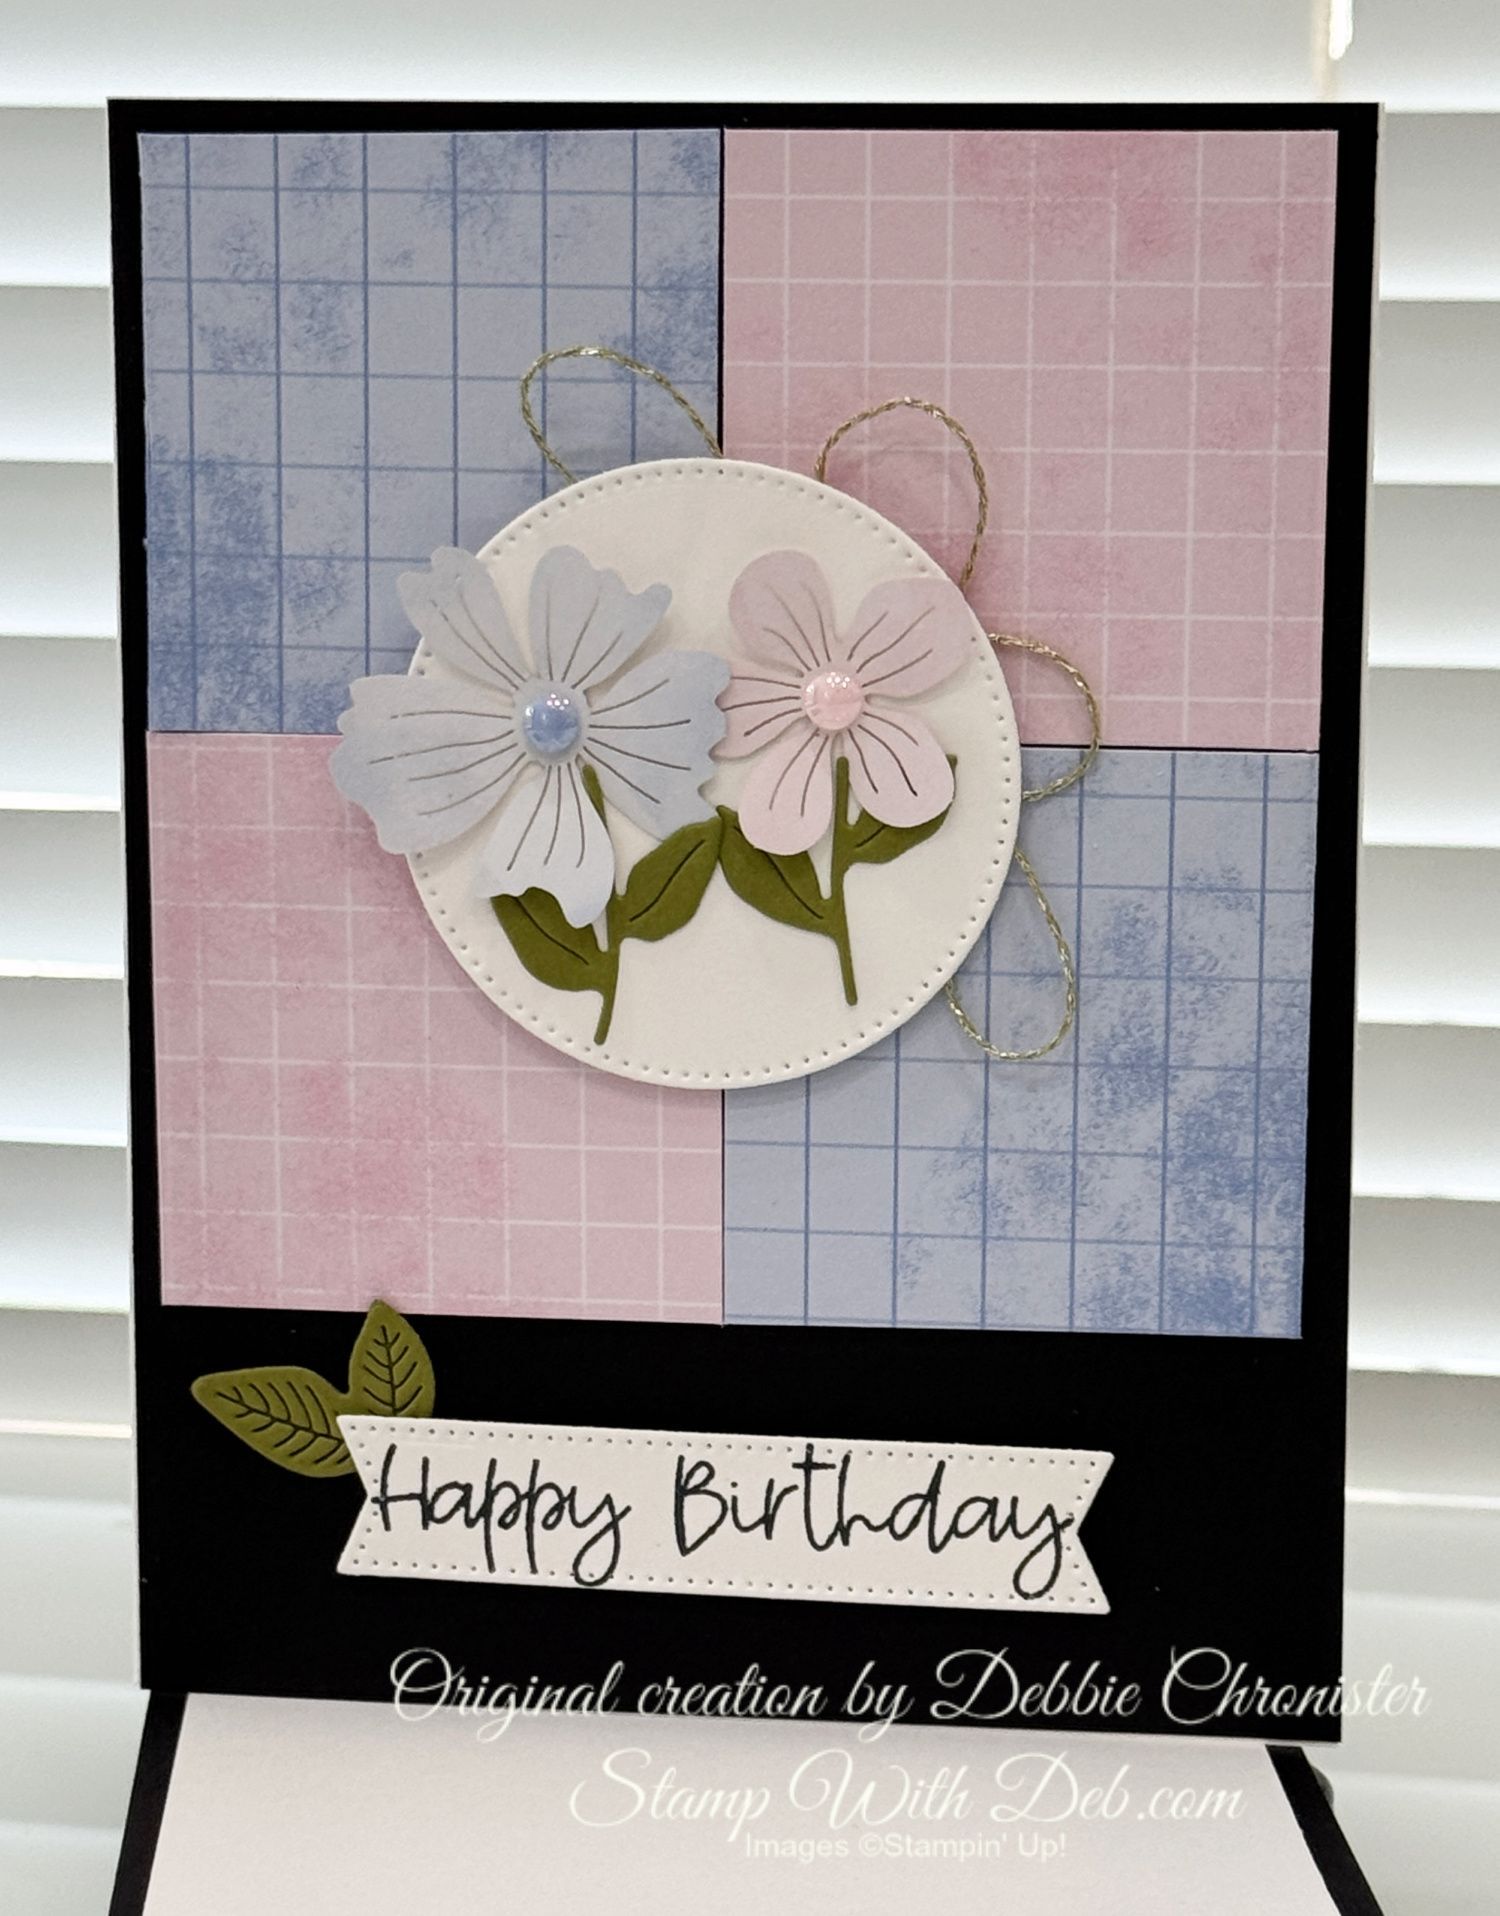
This is the page for March so be sure to put it on the correct page in your calendar stand. This page was made with the most adorable set "Flying Home" that is in the Occasions Catalog this year. I just love this set and I think it would make great Welcome to the neighborhood cards. I have several new neighbors this year and this is a good set to welcome them.
Supplies:
- Pink Pirouette—7 7/8 x 5 1/4
- Smoky Slate— 5 x 3 7/8, 4 5/8 x 3 3/8
- Whisper White 3 3/4 x 4 7/8, 2 7/8 “ circle
- Tutti Frutti DSP—1 1/2 x 4 7/8
- Word Window Punch (This is a retired punch. You could use the Classic Label Punch instead)
- Stitched Shapes Dies
- Stampin Blends - Smoky Slate, Pink Pirouette, Rich Razzelberry & Old Olive
- Smoky Slate Gingham Ribbon
Instructions:
- Cut the 2 7/8" circle using the Stitched Shapes Dies
- Stamp the image on the circle and color
- Stamp a greeting on a scrap of the Whisper White (This one came from a Paper Pumpkin).
- If you don't know what Paper Pumpkin is check it out on my website!
- Wrap the ribbon around the layers before attaching to the Smoky Slate
- Tie a bow with another piece of ribbon
- One end of the greeting is ahered to the circle with adhesive and the other end is adhered with a dimensional
- The circle is attached with dimensionals
Below are the products I used to create this calendar page. If you would like to purchase these or any other supplies please click on the pictures below and it will take you to my site where you can order. If you have any questions please use the contact form or send me an email. I would love to hear from you!
Happy Stamping!!
Are you about to hit that $99 mark on your order (before shipping and tax)? If so, why not consider joining my team? As a member, you’ll enjoy $125 worth of products of your choice for only $99! Plus, you’ll snag a fantastic 20% discount on all your future purchases and a variety of exclusive perks from me and Stampin' Up! Dive into this exciting journey of paper crafting with us! For more information, check out my Join My Team page
We now have 3 catalogs each year, January - April, May - August, September - December. We no longer have an annual catalog. You will find all of the products in the catalogs online as well as Last Chance and Online Exclusive Products. If you want to check out the May - August Catalog click on that catalog below. If you want a paper copy, please contact me to get yours!
Check out:
Online Exclusives
May - August Catalog - Contact me to get yours!
Subscribe to my My YouTube paper crafting video channel
Follow me on Pinterest
Follow me on Facebook every week for Stampin' Tell Tuesday
Shop my Online Store