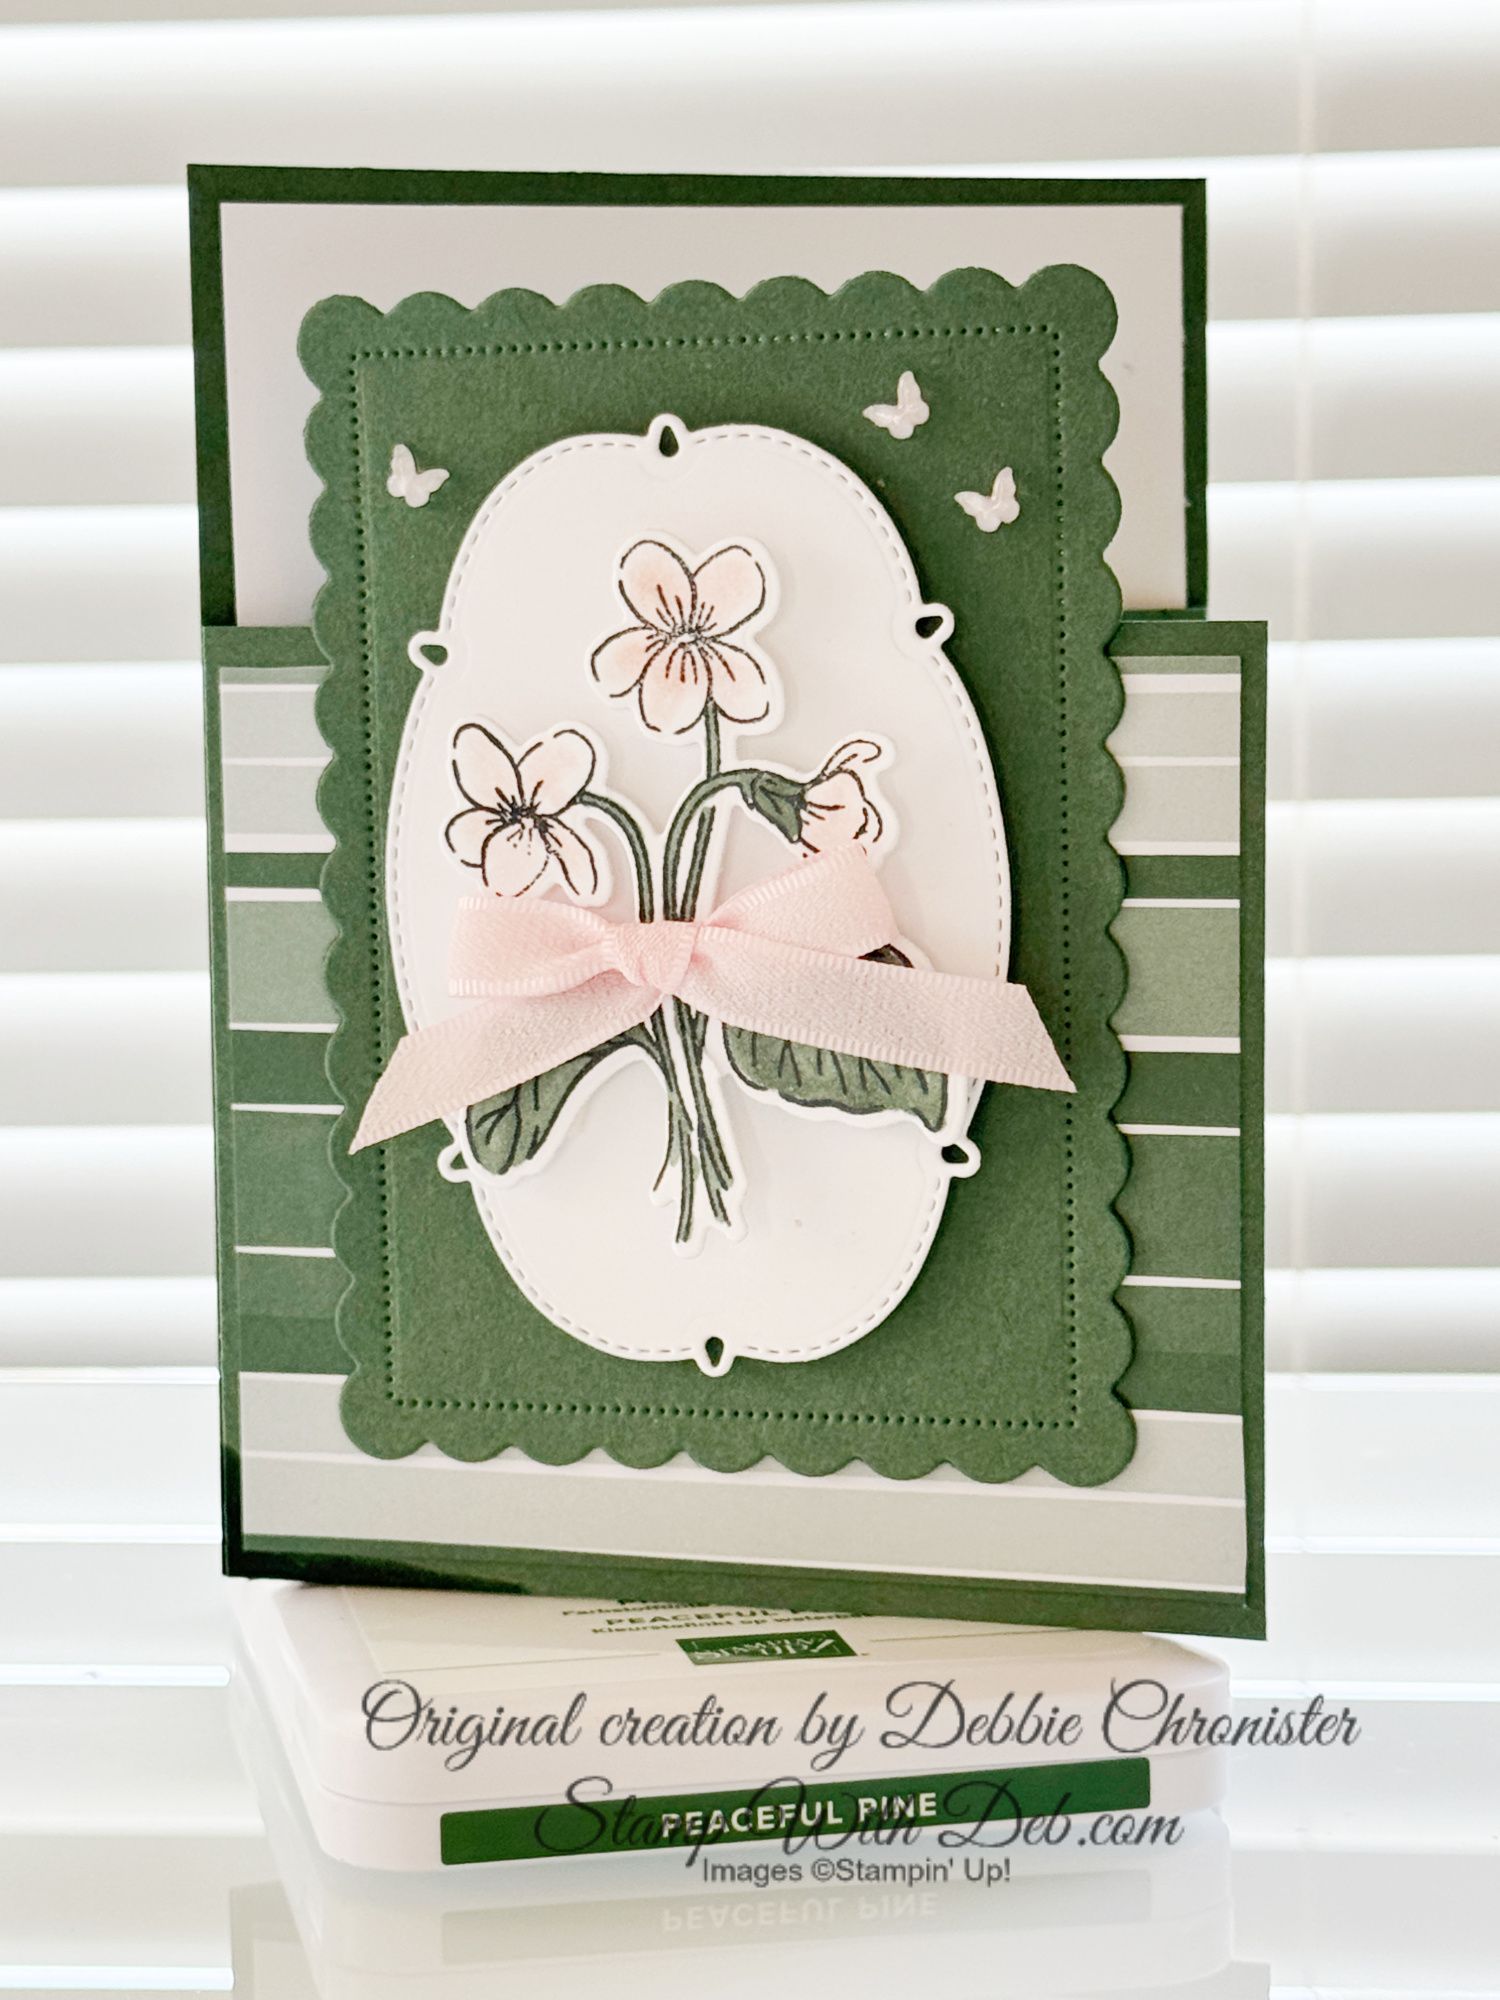
ENCOURAGEMENT FRAME
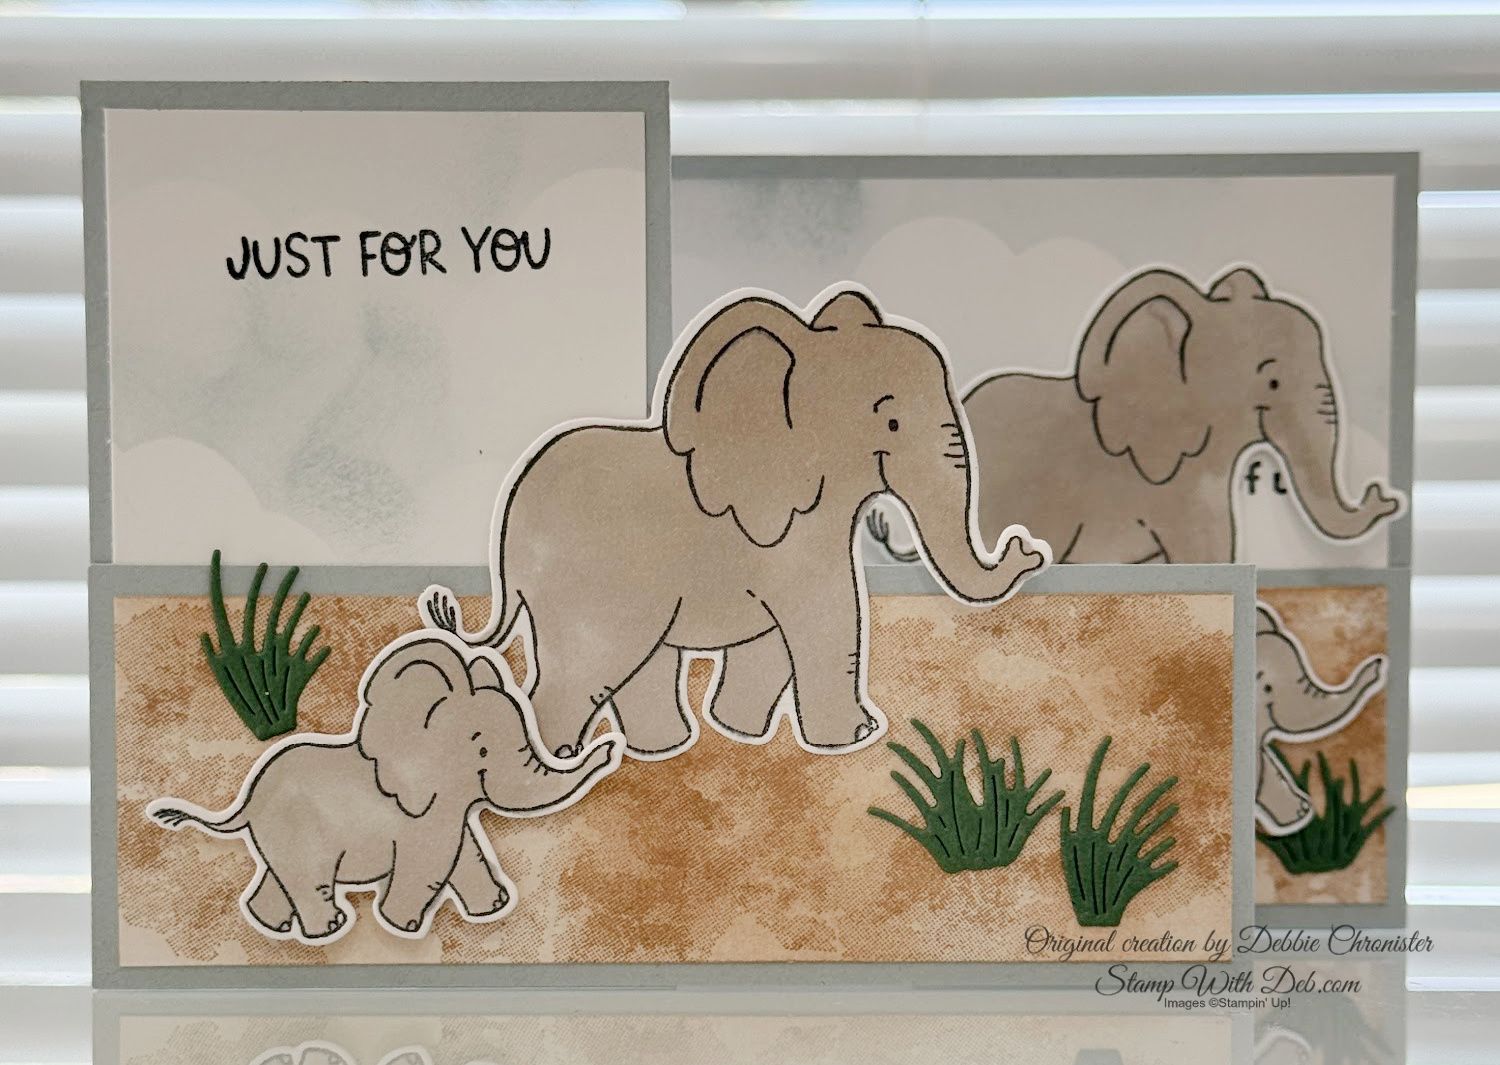
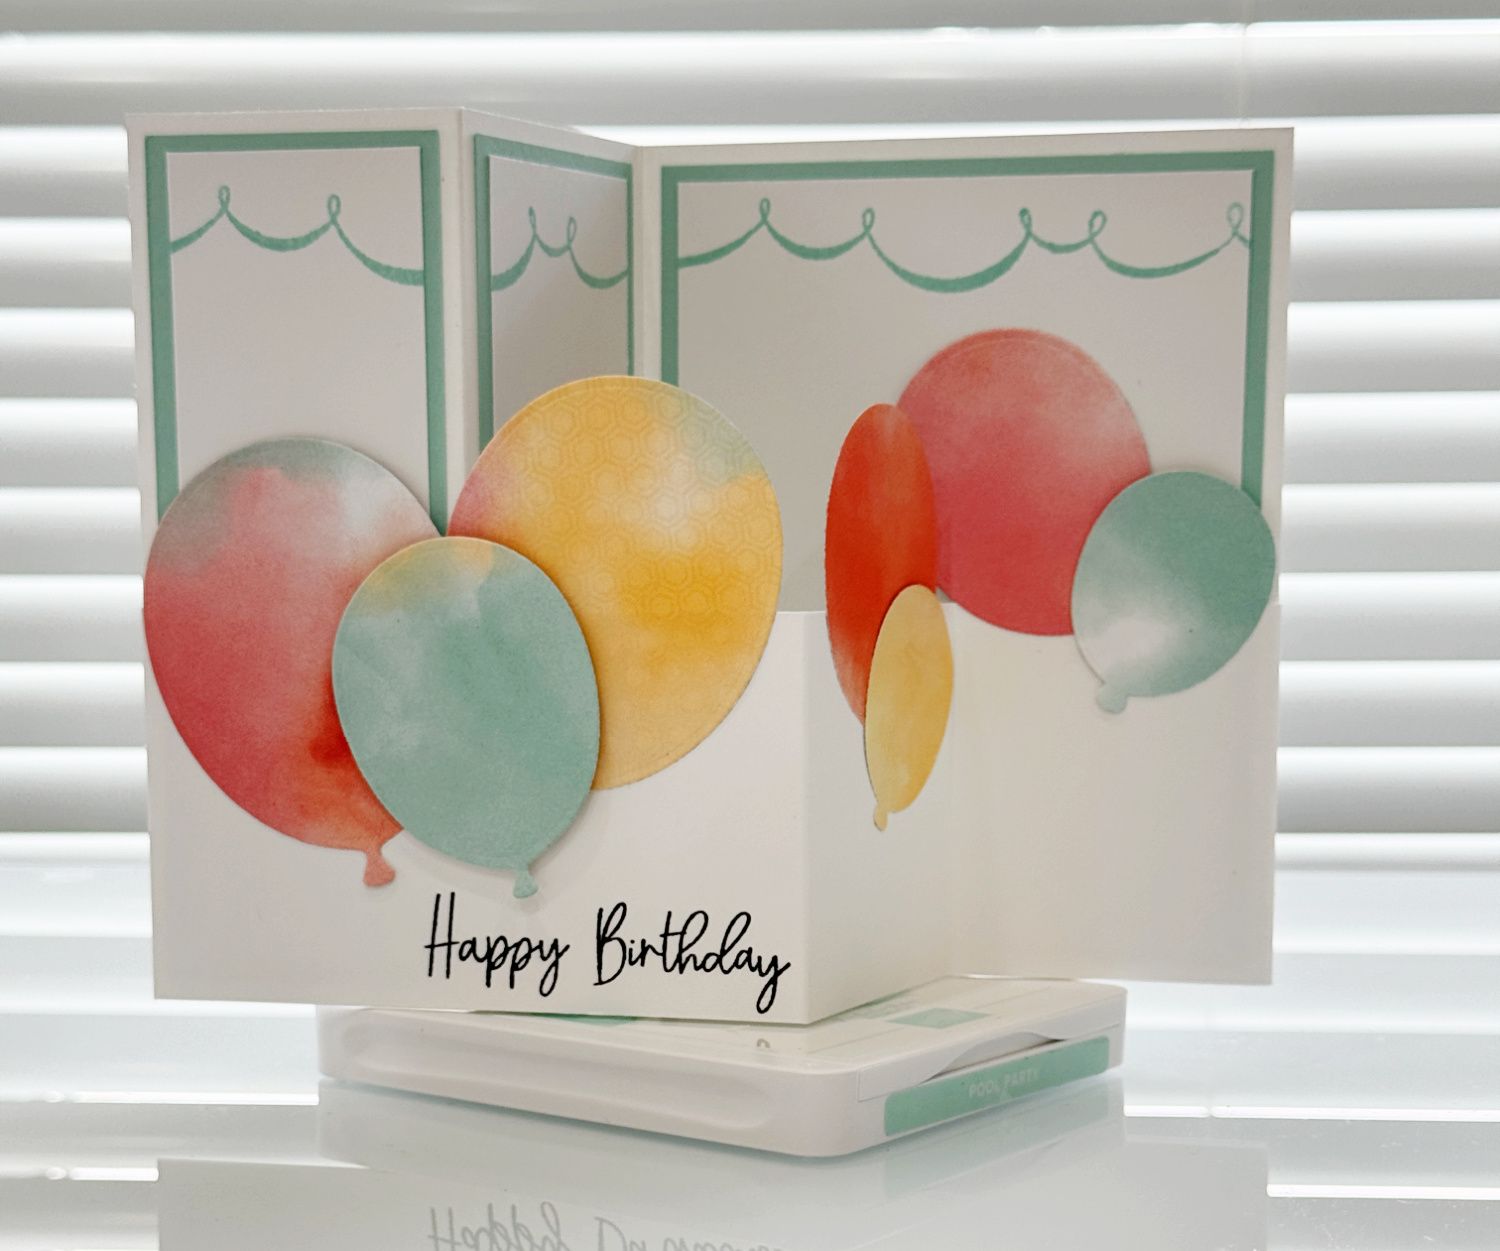
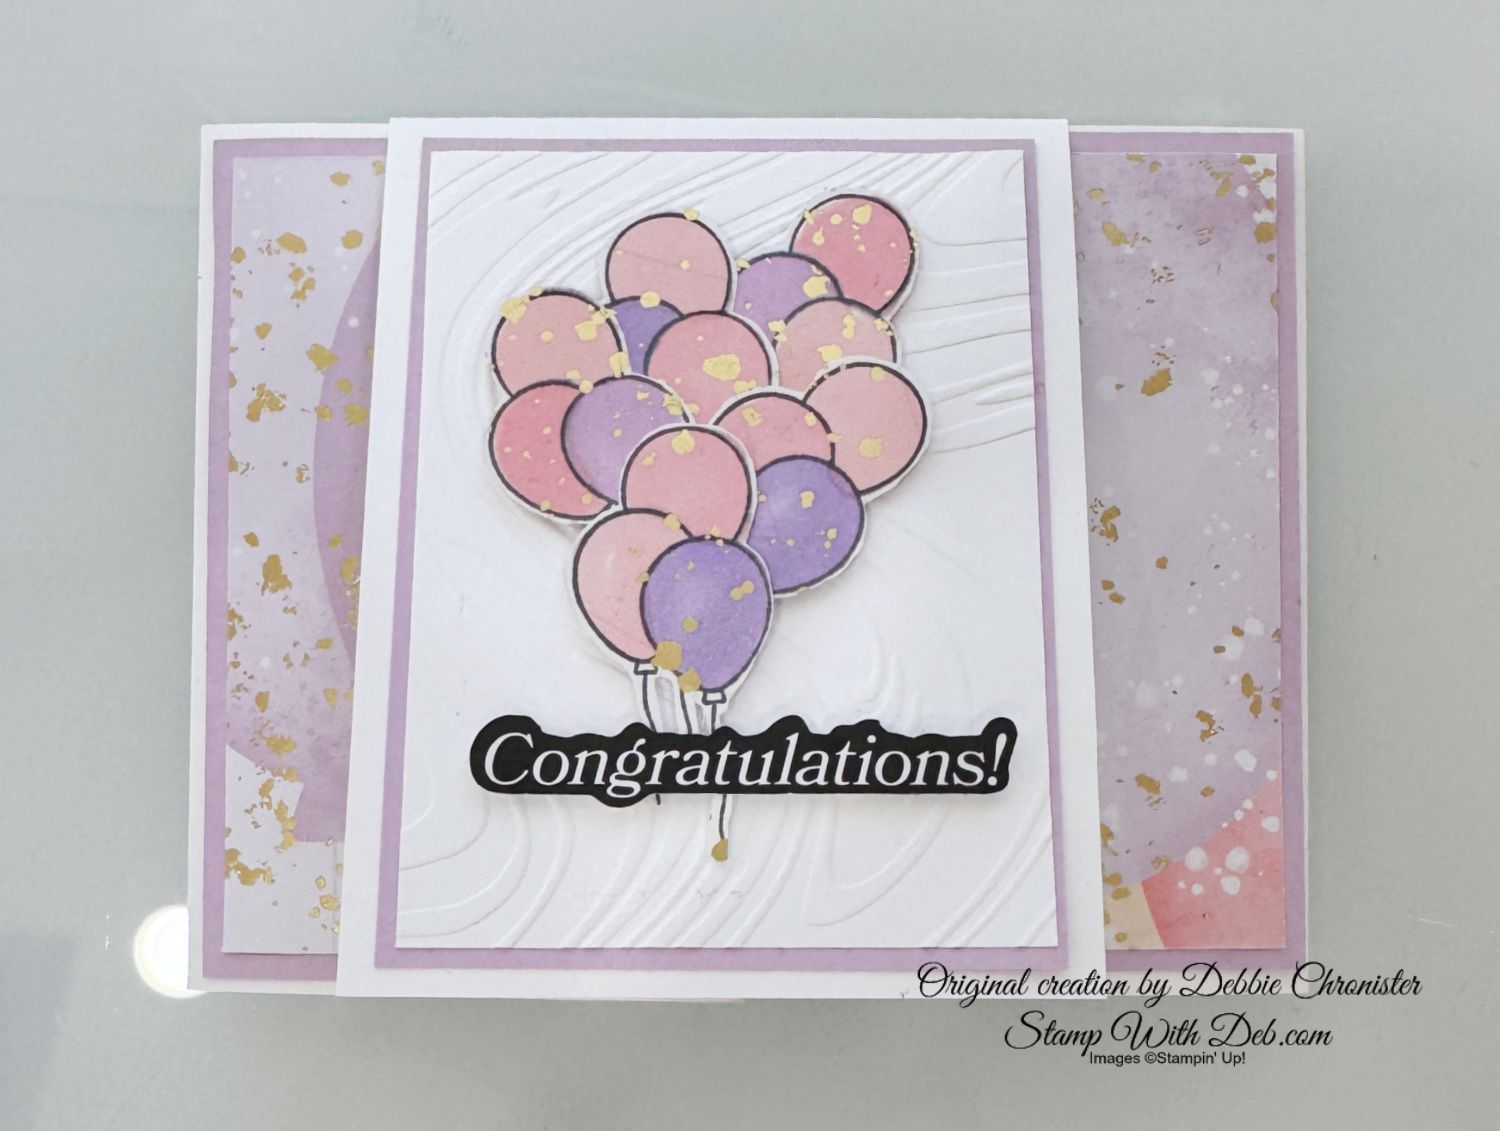
TEAM PROJECT

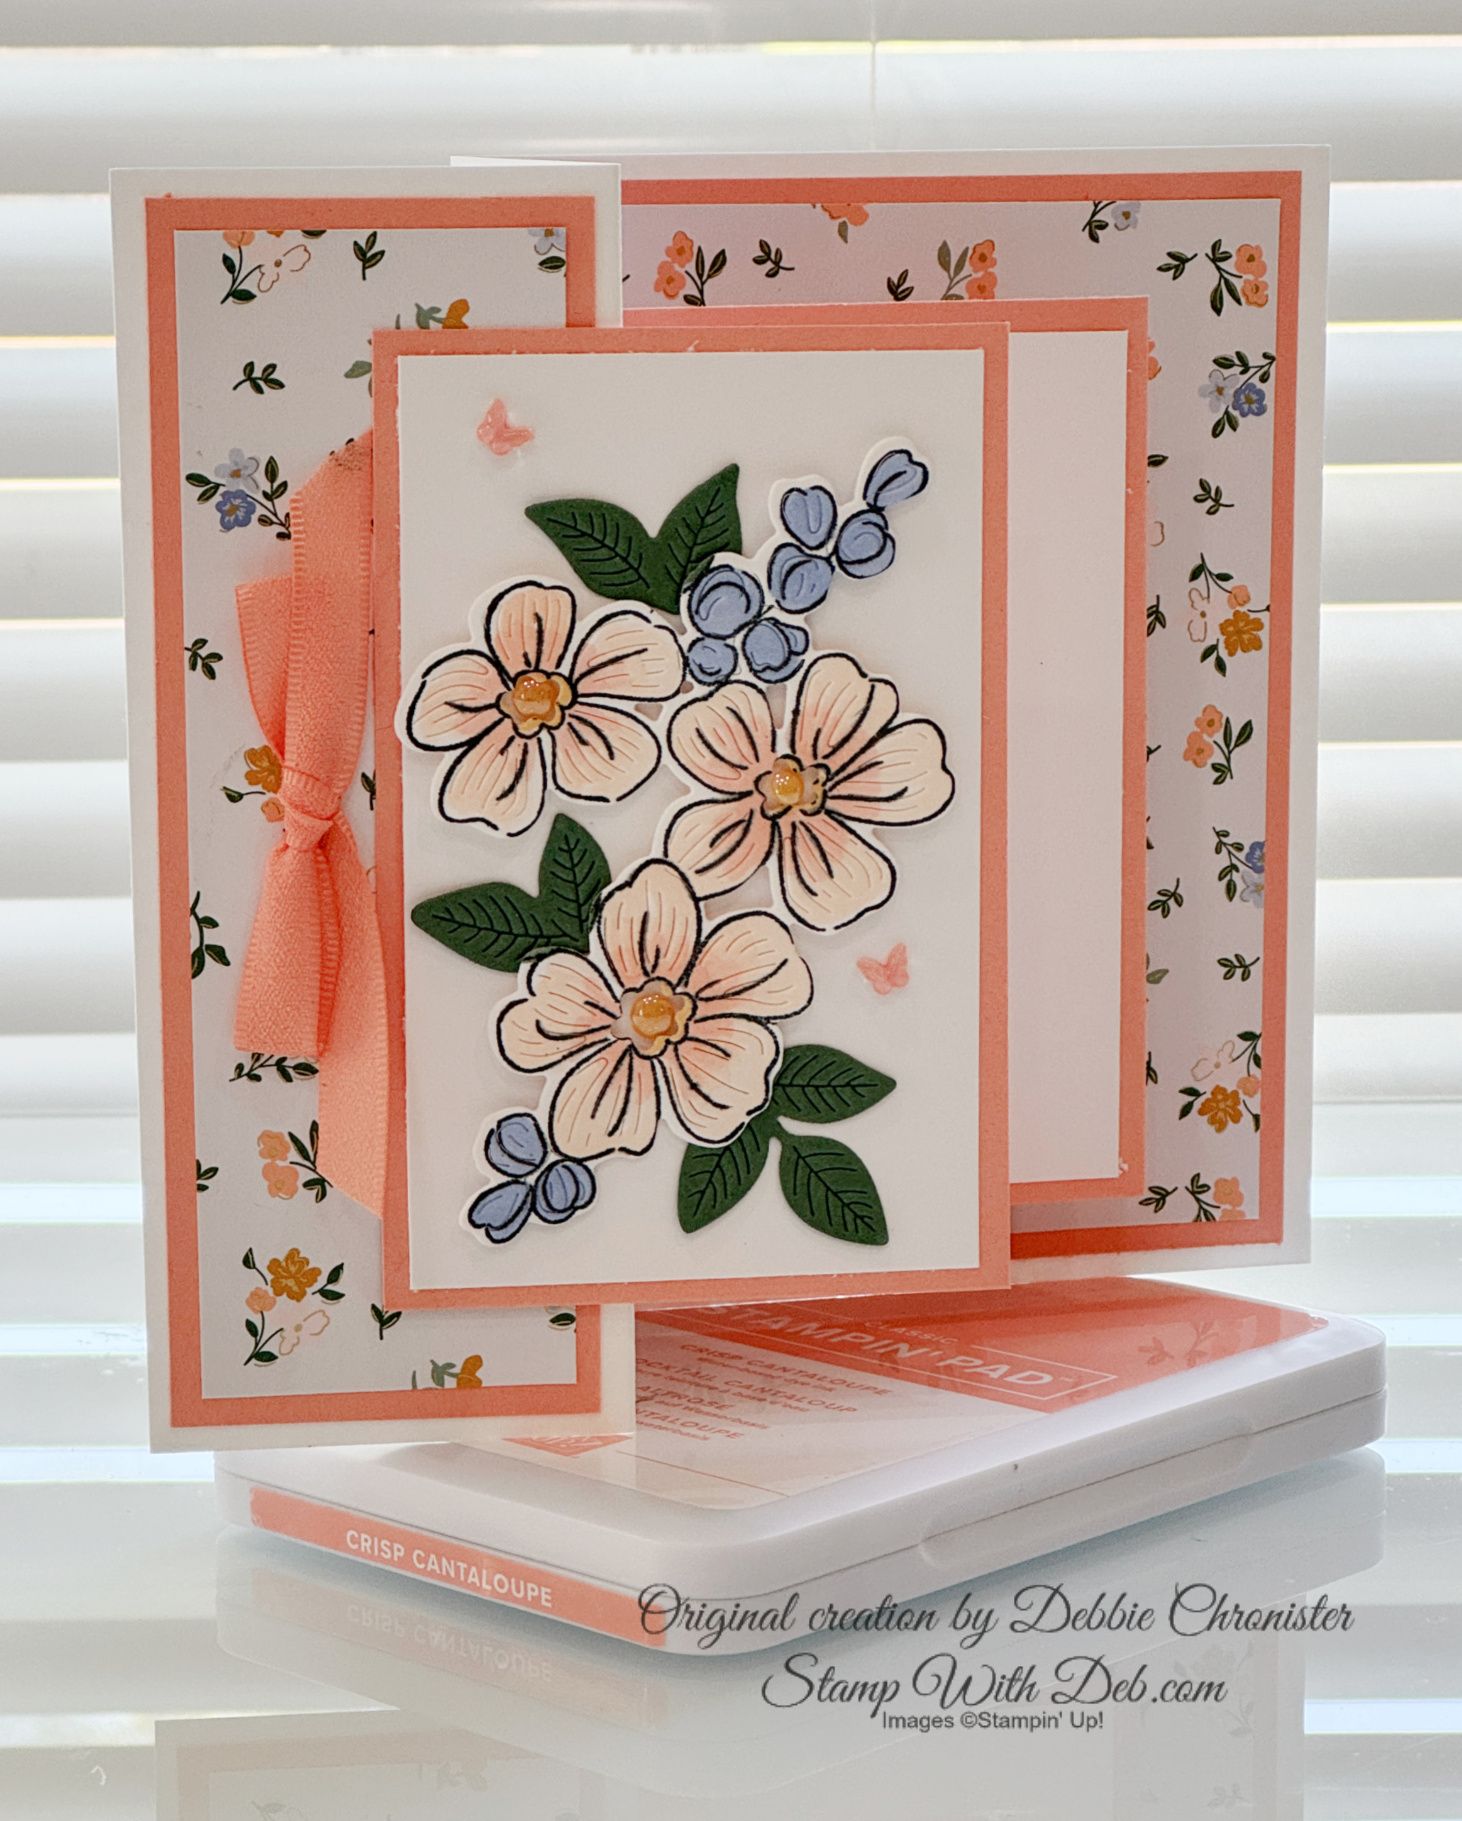
Cut a 3 1/2 x 6 DSP (Designer Series Paper) I used Parisian Blossoms
Silver Metallic Edge Ribbon
Stampin' Blends: Pool Party Dark, Soft Sea Foam Dark
Rhinestones

Turn the cardstock over and put Tear 'N Tape on the first scored section of each edge, that is the section closest to the outside edge of the cardstock.
Are you about to hit that $99 mark on your order (before shipping and tax)? If so, why not consider joining my team? As a member, you’ll enjoy $125 worth of products of your choice for only $99! Plus, you’ll snag a fantastic 20% discount on all your future purchases and a variety of exclusive perks from me and Stampin' Up! Dive into this exciting journey of paper crafting with us! For more information, check out my Join My Team page
We now have 3 catalogs each year, January - April, May - August, September - December. We no longer have an annual catalog. You will find all of the products in the catalogs online as well as Last Chance and Online Exclusive Products. If you want to check out the May - August Catalog click on that catalog below. If you want a paper copy, please contact me to get yours!
Check out:
Online Exclusives
May - August Catalog - Contact me to get yours!
Subscribe to my My YouTube paper crafting video channel
Follow me on Pinterest
Follow me on Facebook every week for Stampin' Tell Tuesday
Shop my Online Store