HOLIDAY BINGO PROJECTS

August 9, 2020

HERE ARE THE CARDS WE MADE AT THE HOLIDAY BINGO!
All the cards were made with the Wonder of the Season Memories & More Card Pack #153538
on page 31 of the new August - December 2020 Catalog


Card #1 - Sending You Christmas Wishes


Whisper White - 11 x 4 1/4 

Garden Green - 5 1/4 x 4 

Cherry Cobbler - 4 1/4 x 3 1/2


The rest of the products came from the card pack


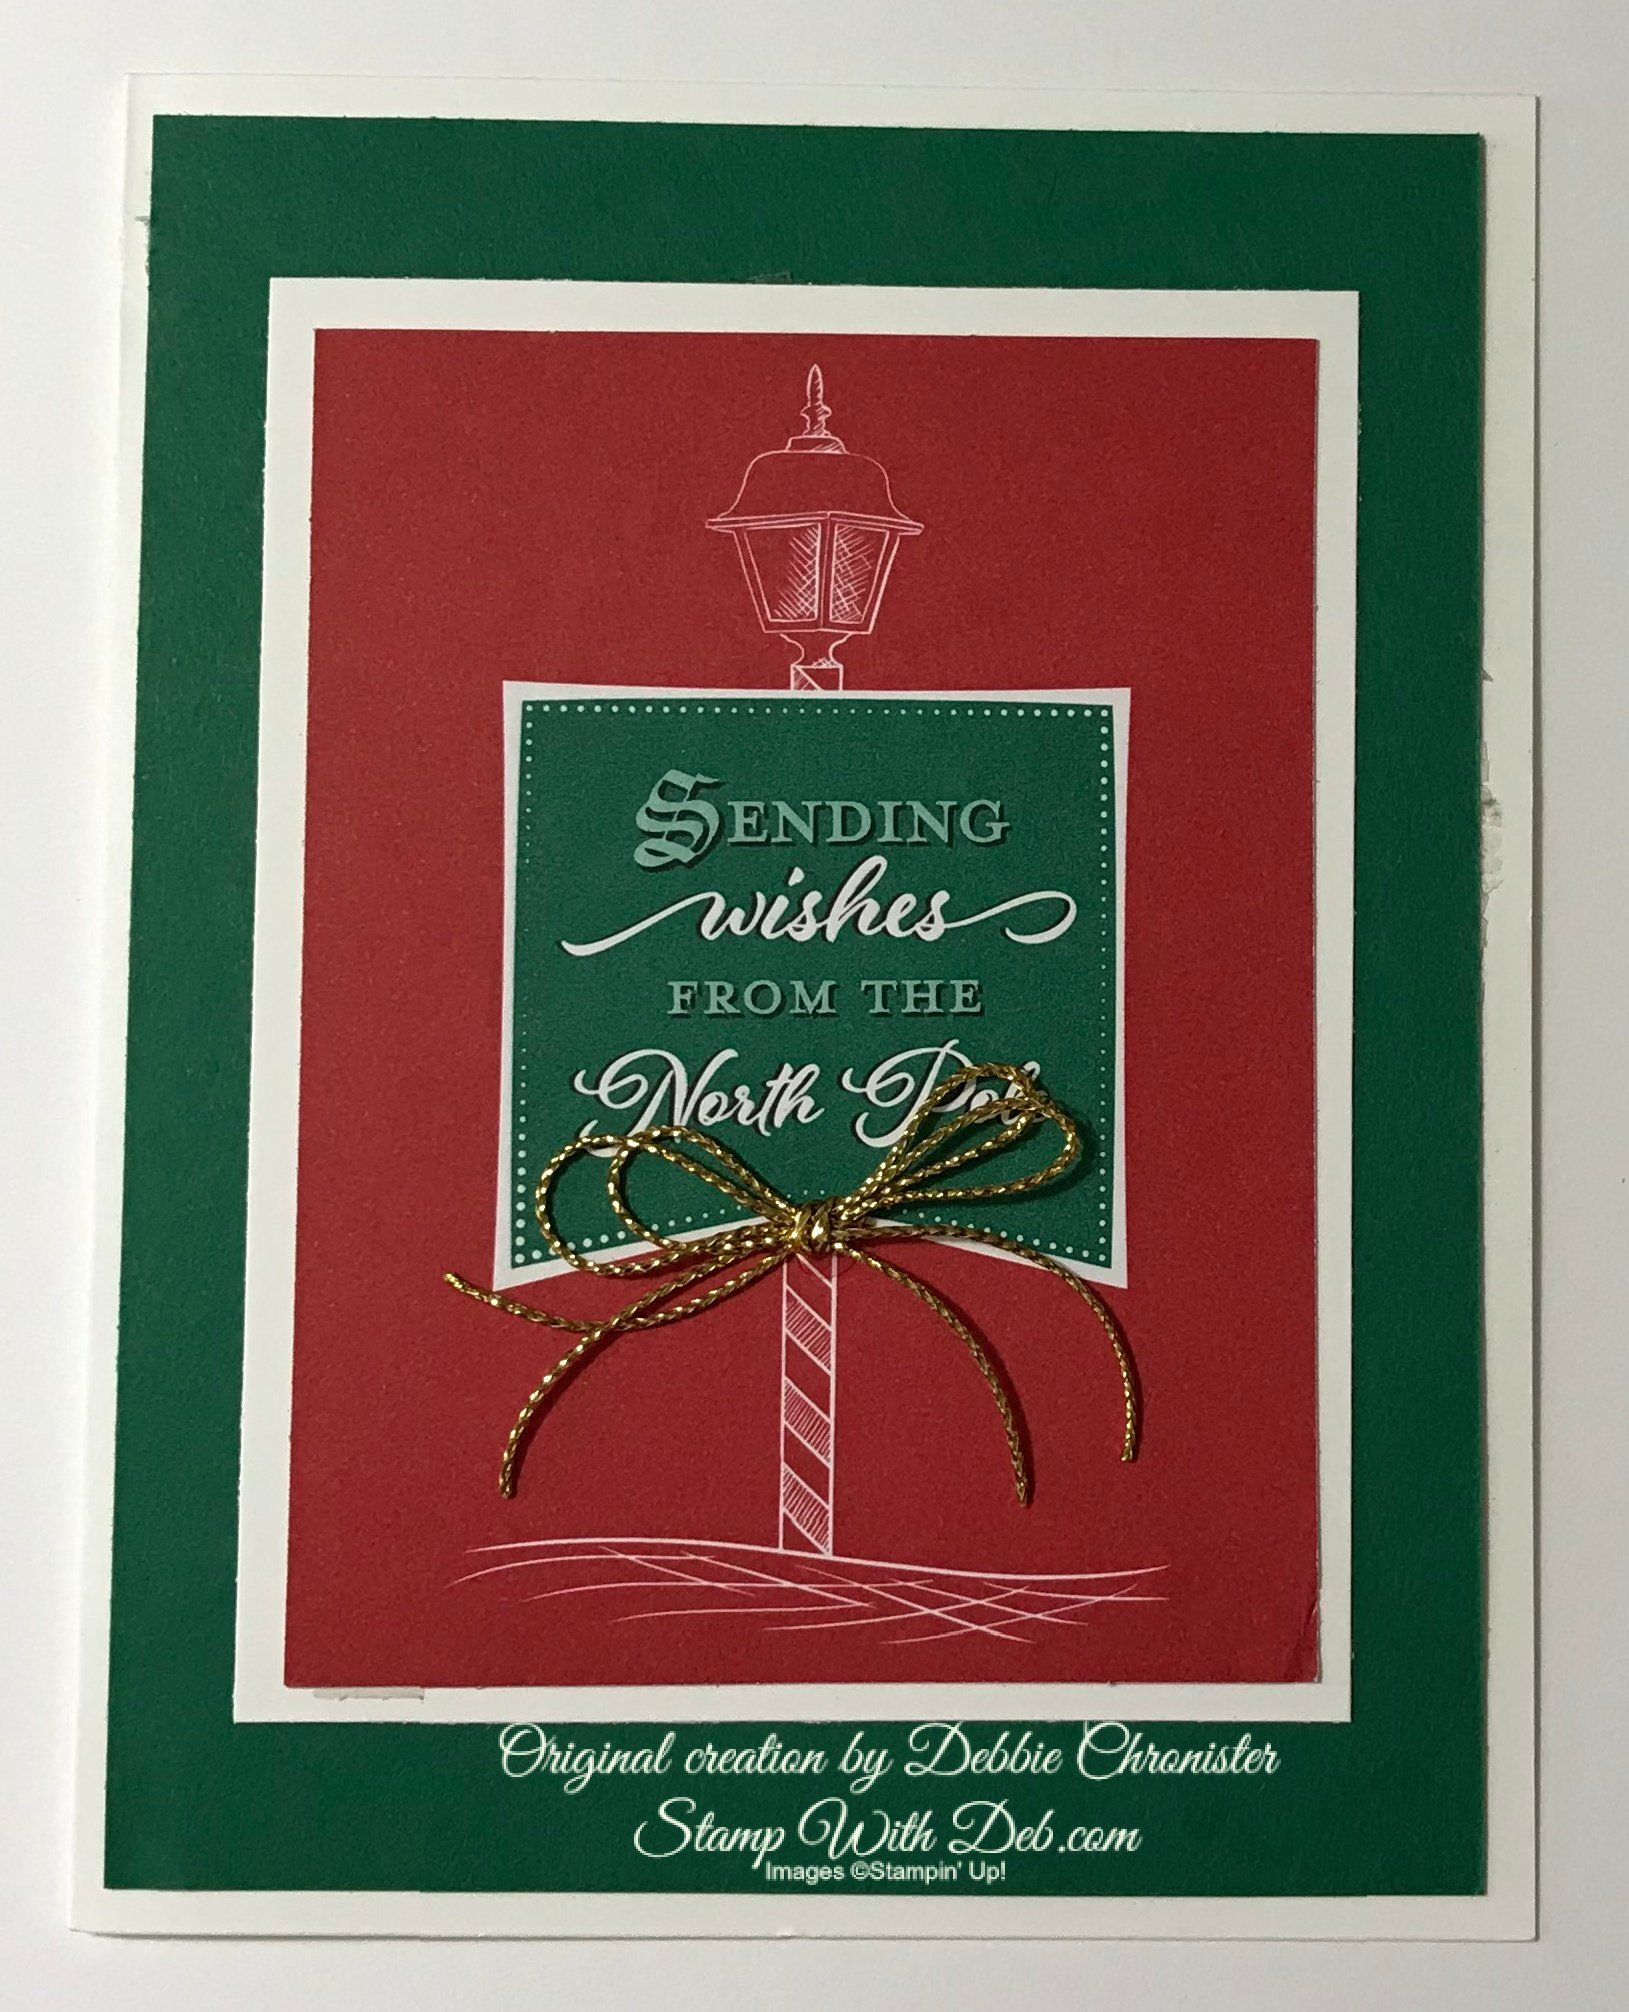
Card #2 - Sending Wishes from the North Pole


Whisper White - 11 x 4 1/4 

Shaded Spruce - 5 1/4 x 4 

Whisper White - 3 1/4 x 4 1/4 

The front card came from the card pack

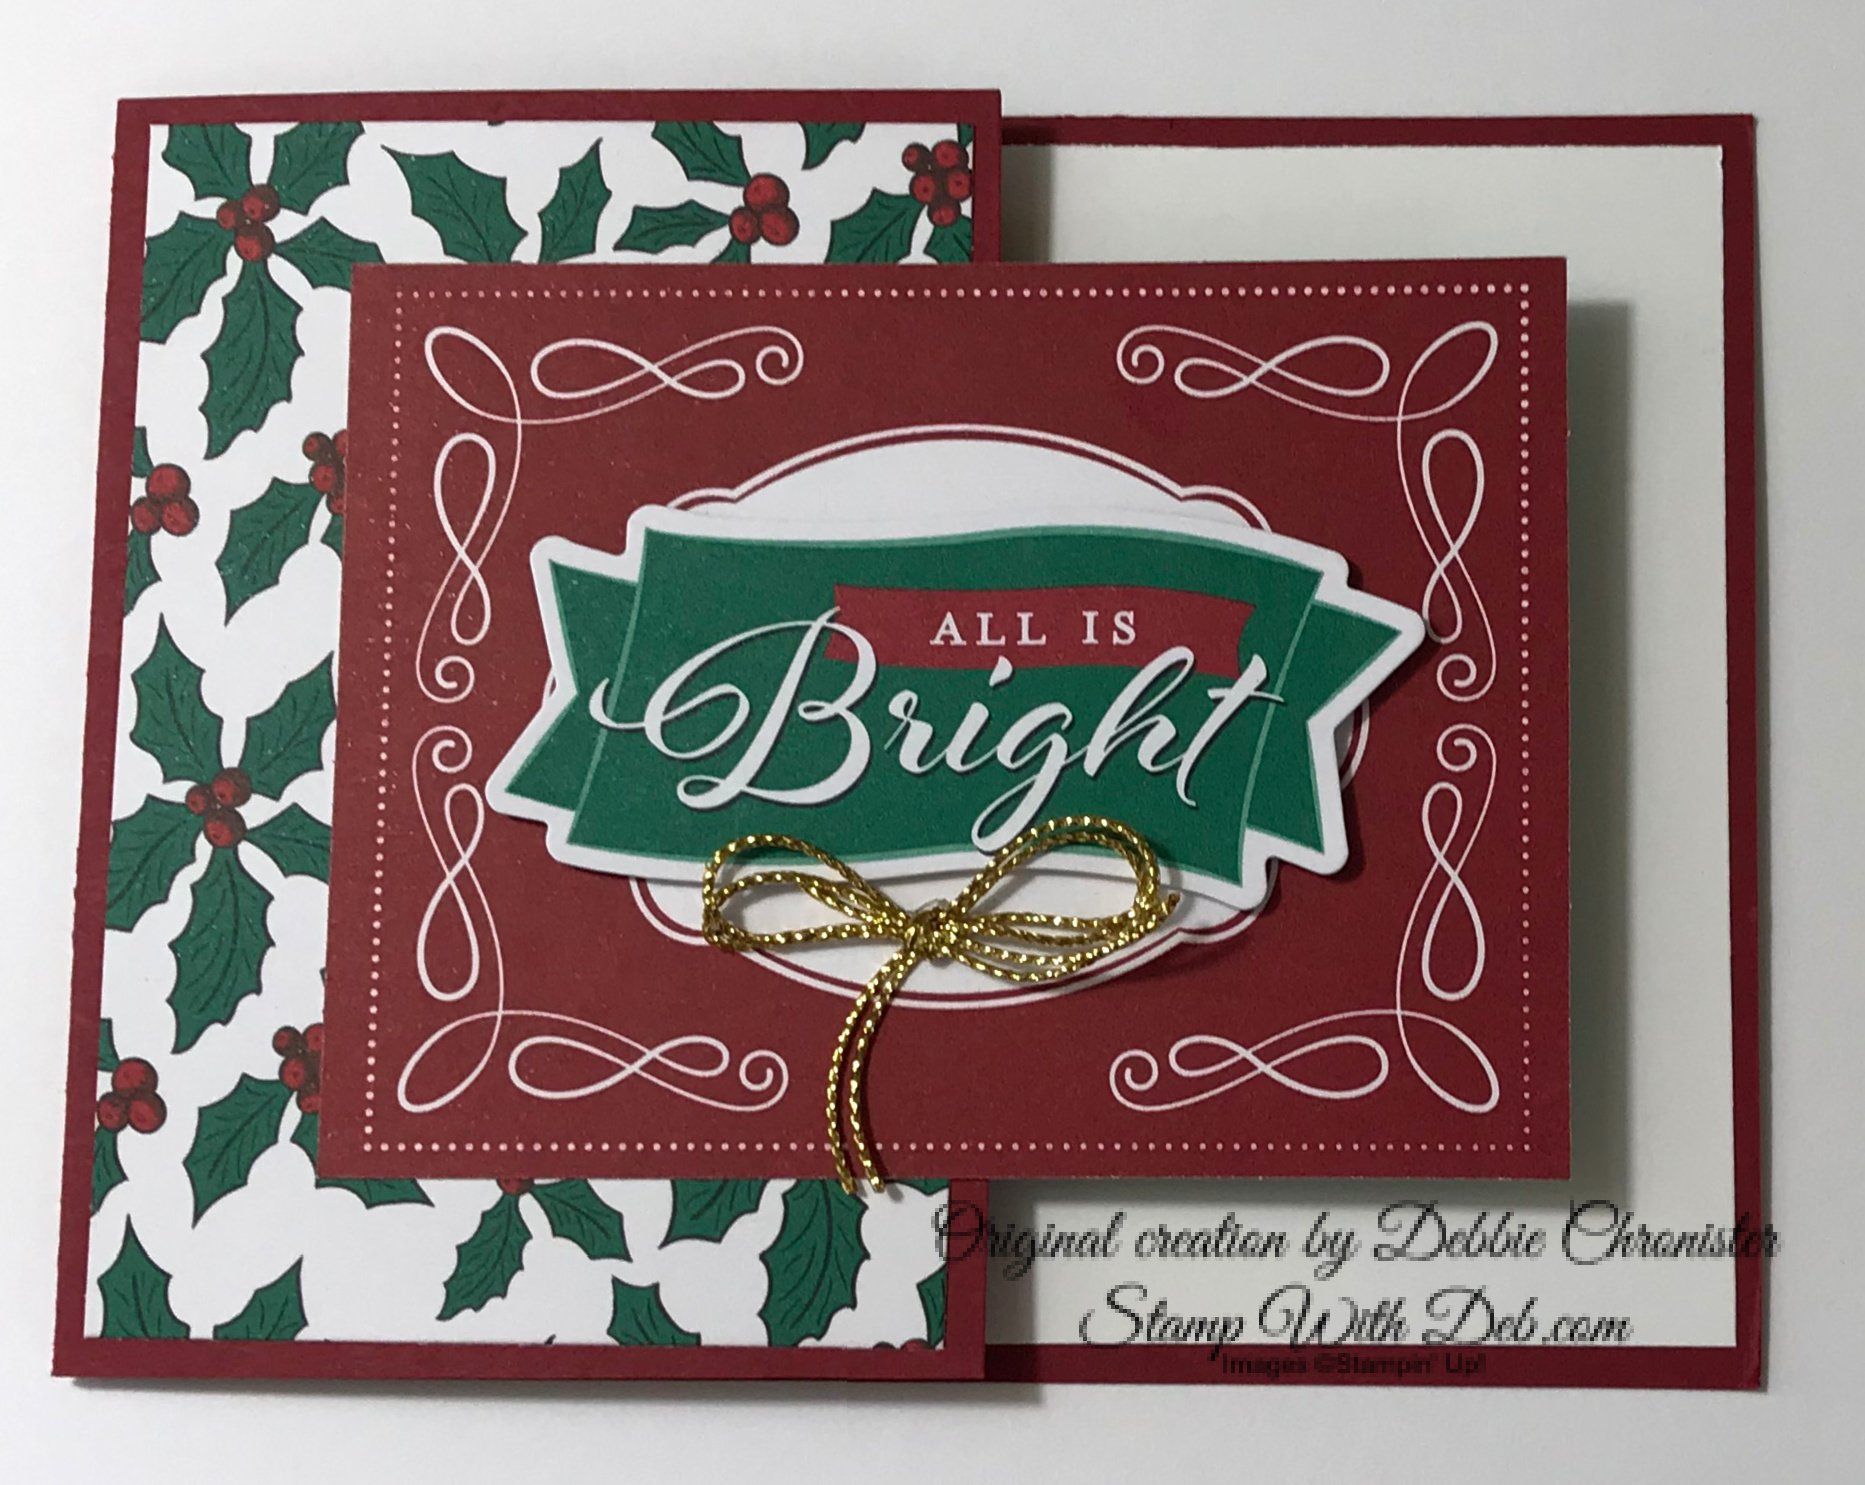
Card #3 - All Is Bright 

Cherry Cobbler - 8 1/2 x 4 1/4 

Whisper White - 5 1/4 x 4 

Holly Leaves card from card pack- 2 3/4 x 4 

Rest of the products came from the card pack


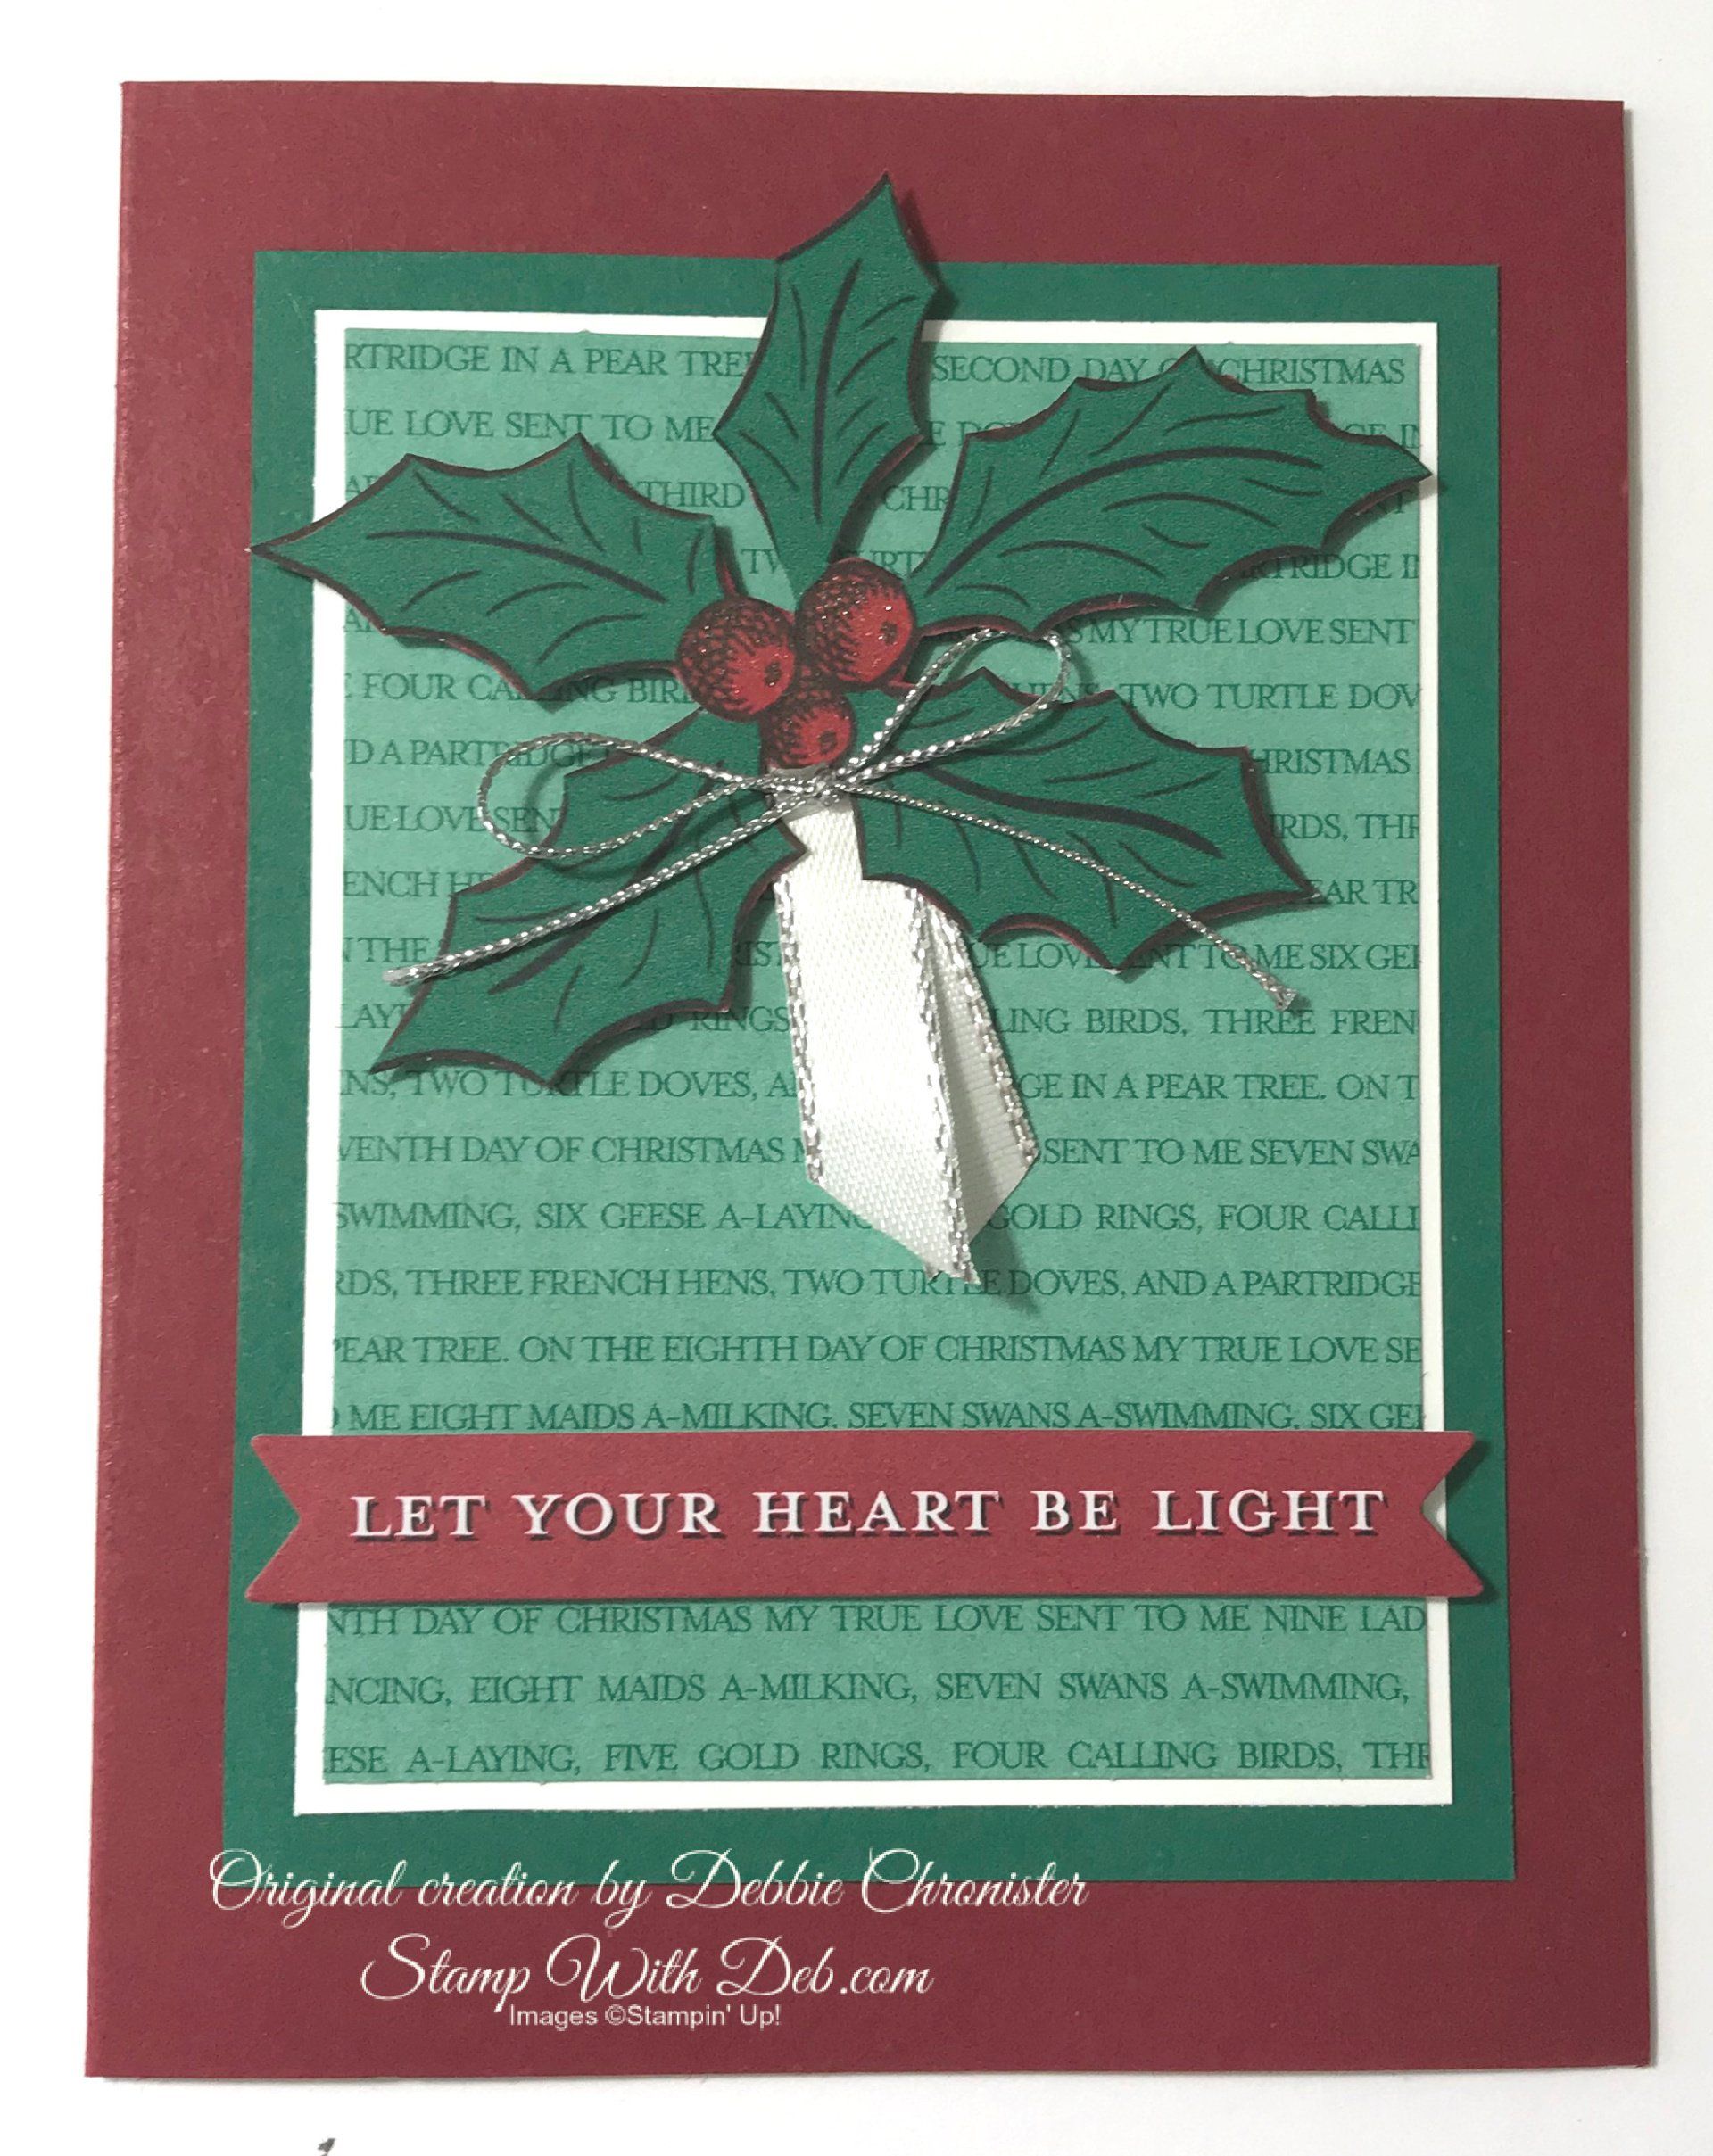
Card #4 - Let Your Heart Be Light 

Cherry Cobbler - 8 1/2 x 5 1/2 

Whisper White - 5 1/4 x 4 (inside) 

Shaded Spruce - 4 1/2 x 3 1/2 

Whisper White - 3 1/8 x 4 1/8 

Holly leaves were one of the cards from the card pack that you cut out 

Metallic Edge Silver Ribbon - 2" fold in half and tuck under the holly leaves
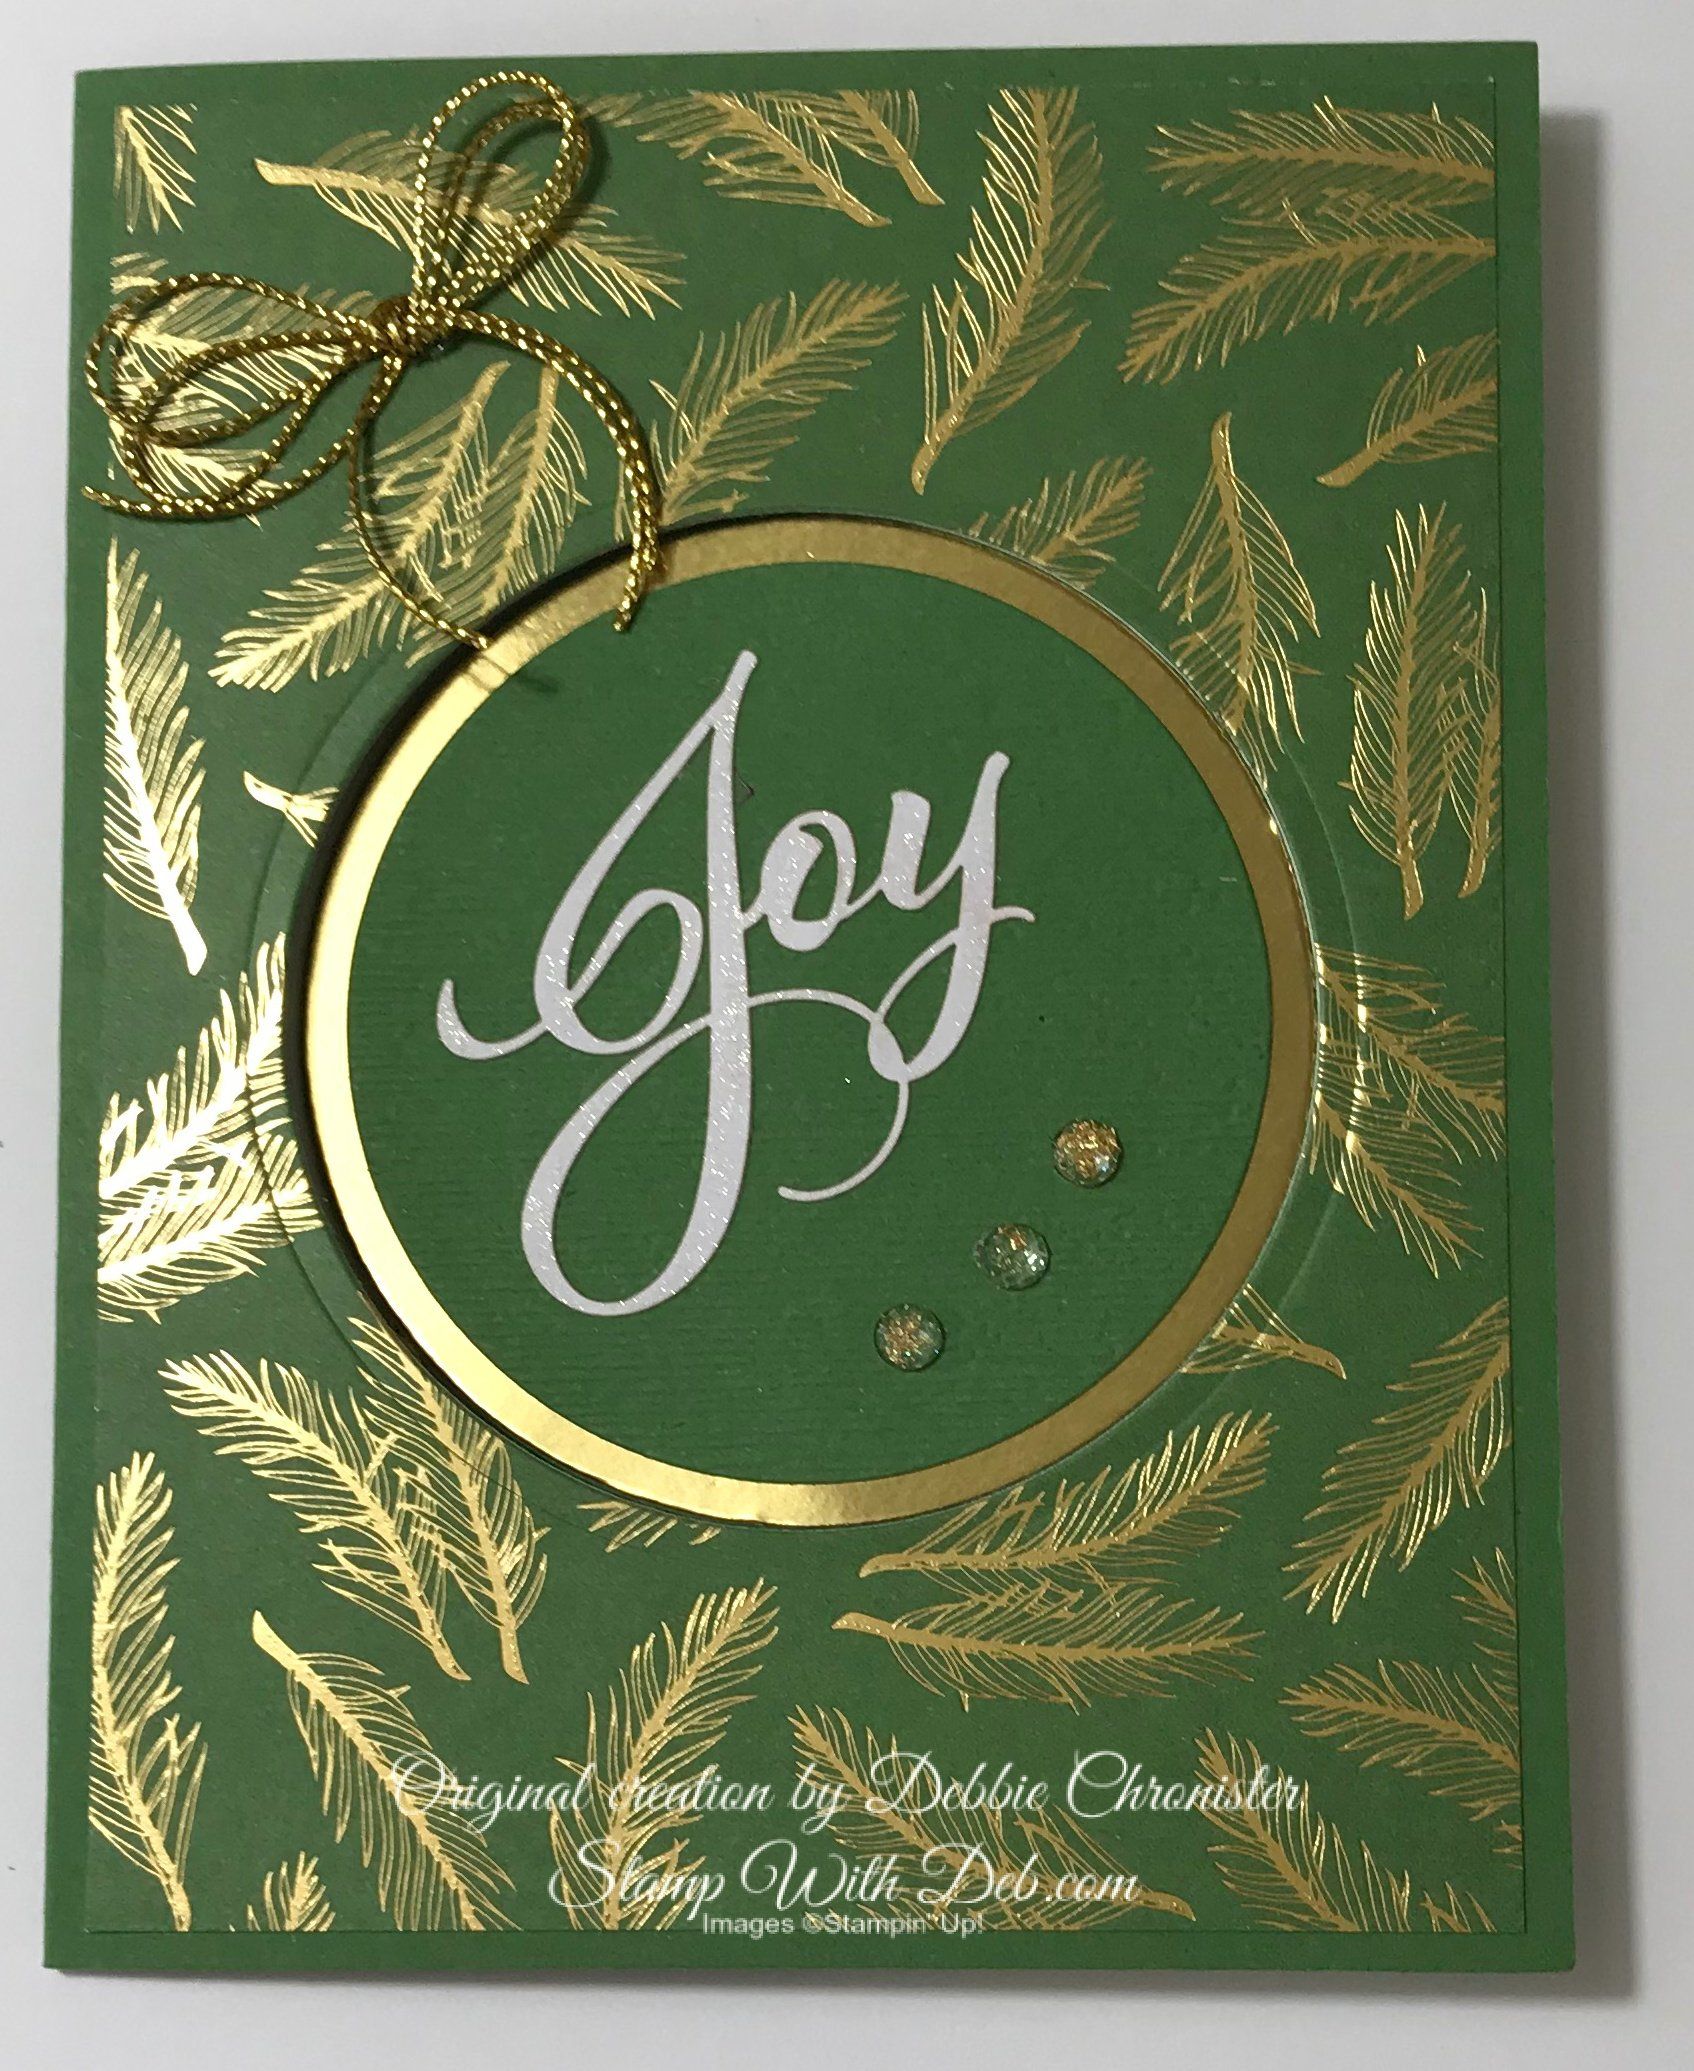


Card #5 - Joy 

This is the hardest card of the bunch


Garden Green - 8 1/2 x 5 1/2 

Whisper White - 8 x 5 1/2 (scored at 2 & 4) 

Card on front comes from packet - cut down to 5 1/4 x 4. Adhere to the top of the front of the card and cut the circle with the Layering Circle Dies. Remove and keep the Green cardstock circle cut it with the next size circle smaller. Emboss it with the Subtle Embossing Folder and use it for the center

Gold Foil Circle -3"

Adhere the front down to the card base 

Adhere the Whisper White inside the card with the largest part attached to the card. The other areas will fold over mountain, valley style

Fold the inside in and close the front. Work through the front of the card and attach the Green circle to the Gold circle. Attach them to the right (with the card closed) adhere them on the right side only. Your circle will be attached to the far right panel when you open the card.

The Joy came from the stickers in the packet and add the bling!

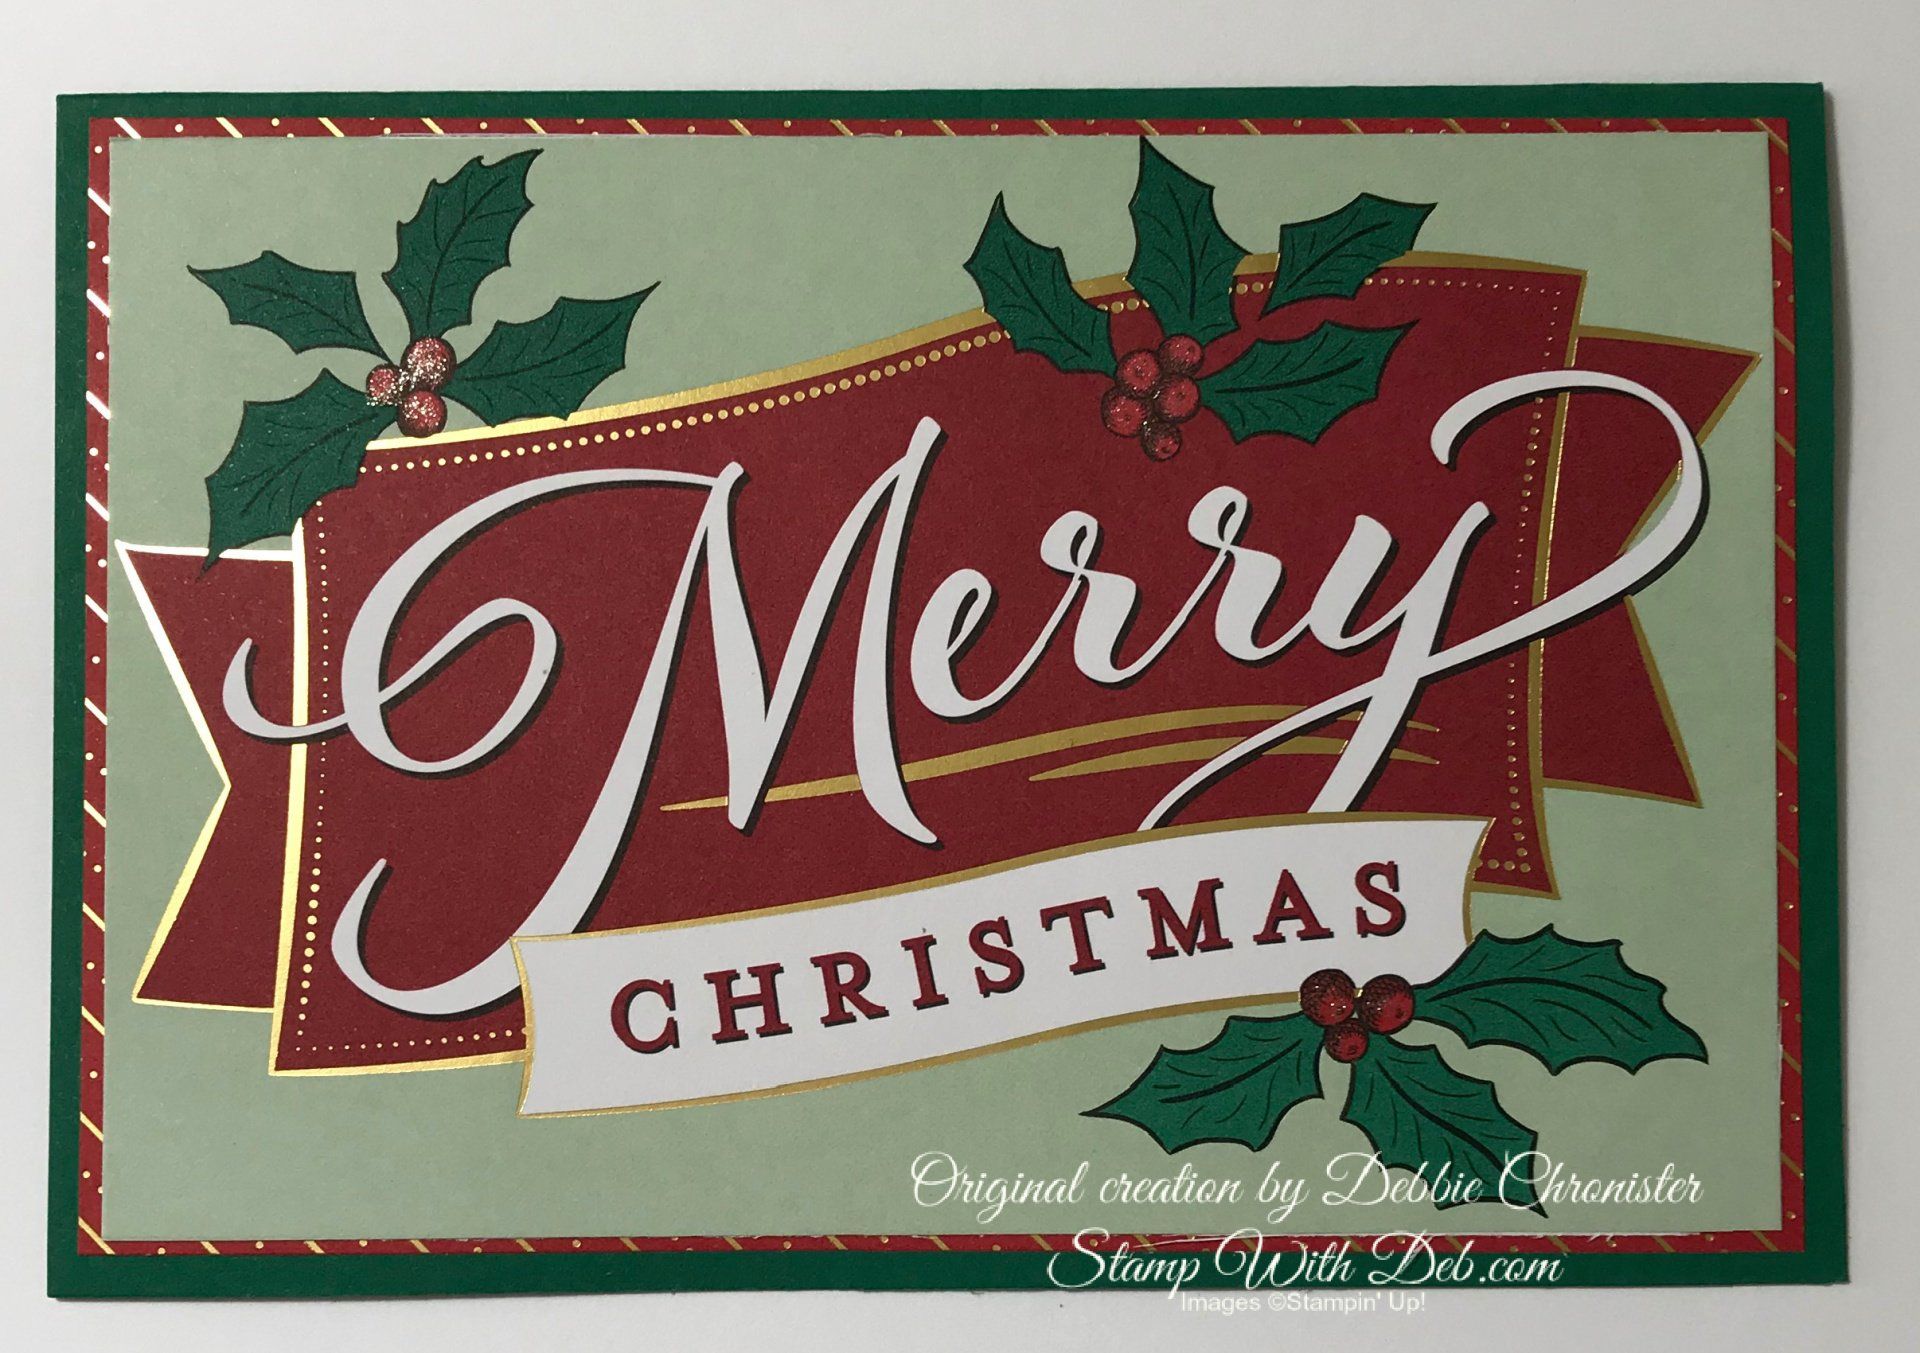
Card #6 -Merry Christmas 

Shaded Spruce - 6 1/4 x 8 1/2 

Whisper White - 6 x 4 (inside)


Card from Packet - Diagonal Red & Gold Stripe Card - 4 x 6 

Card from Packet - Merry Christmas Card - trim to 3 7/8 x 5 7/8


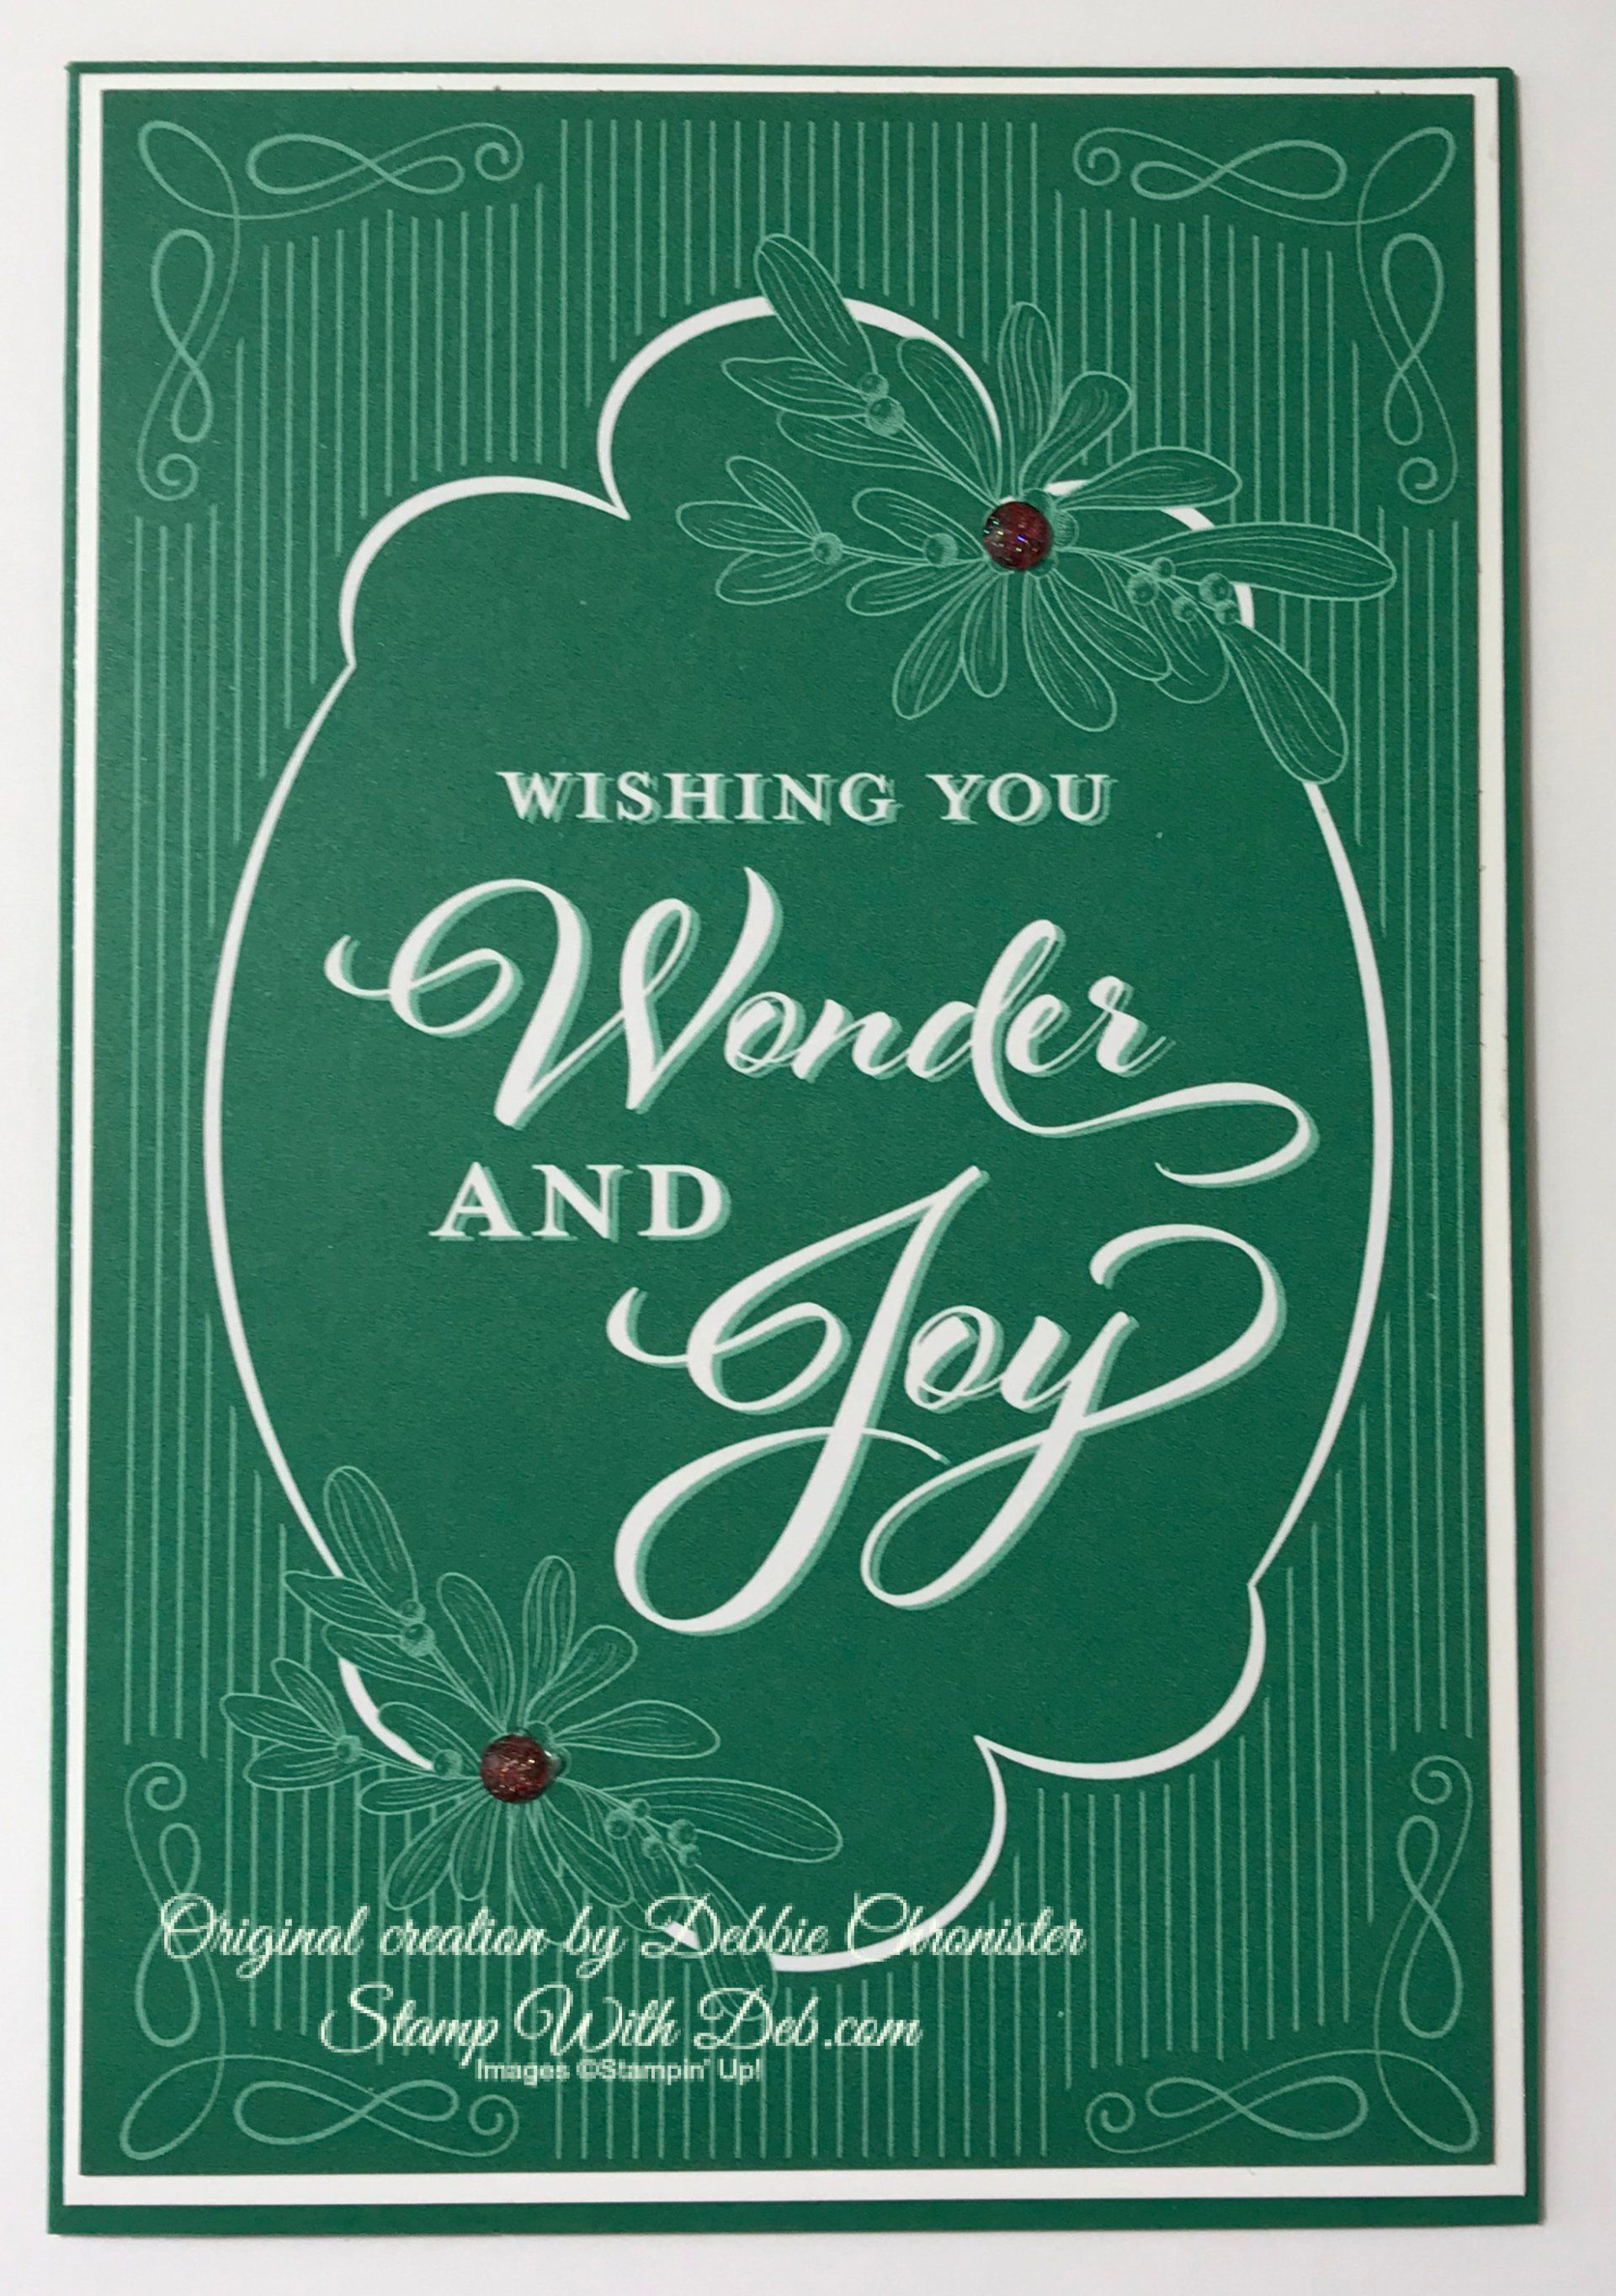
Card #7 - Wishing you Wonder & Joy 

Shaded Spruce - 6 1/4 x 8 1/2 

Whisper White - 6 1/8 x 4 /8 

Card from packet - 6 x 4

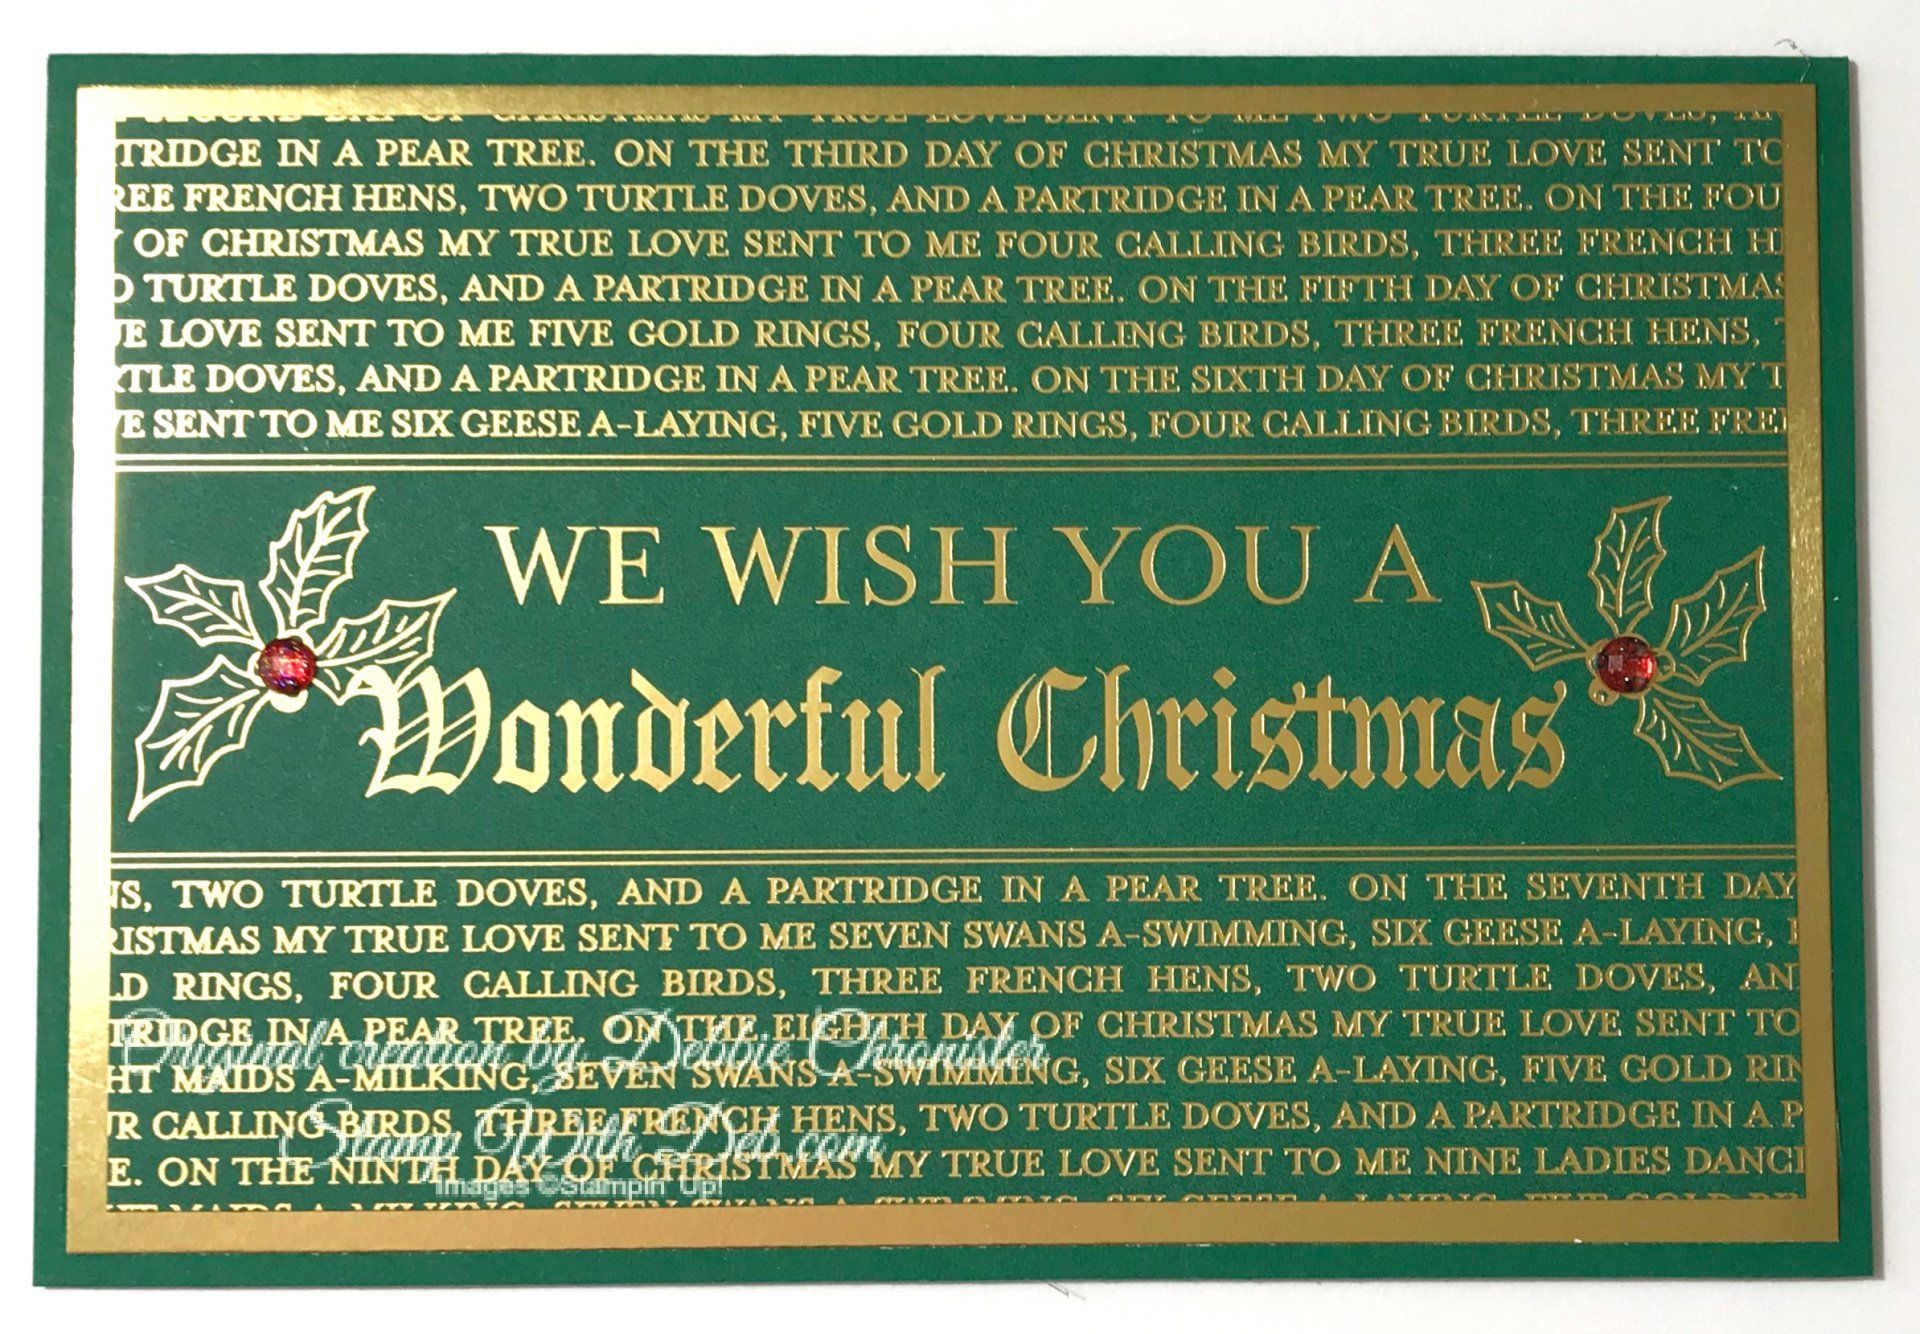
Card #8 - Wonderful Christmas 

Shaded Spruce - 6 1/4 x 8 1/2 

Gold Foil - 6 x 4 

Card from Packet cut to 5 3/4 x 3 3/4

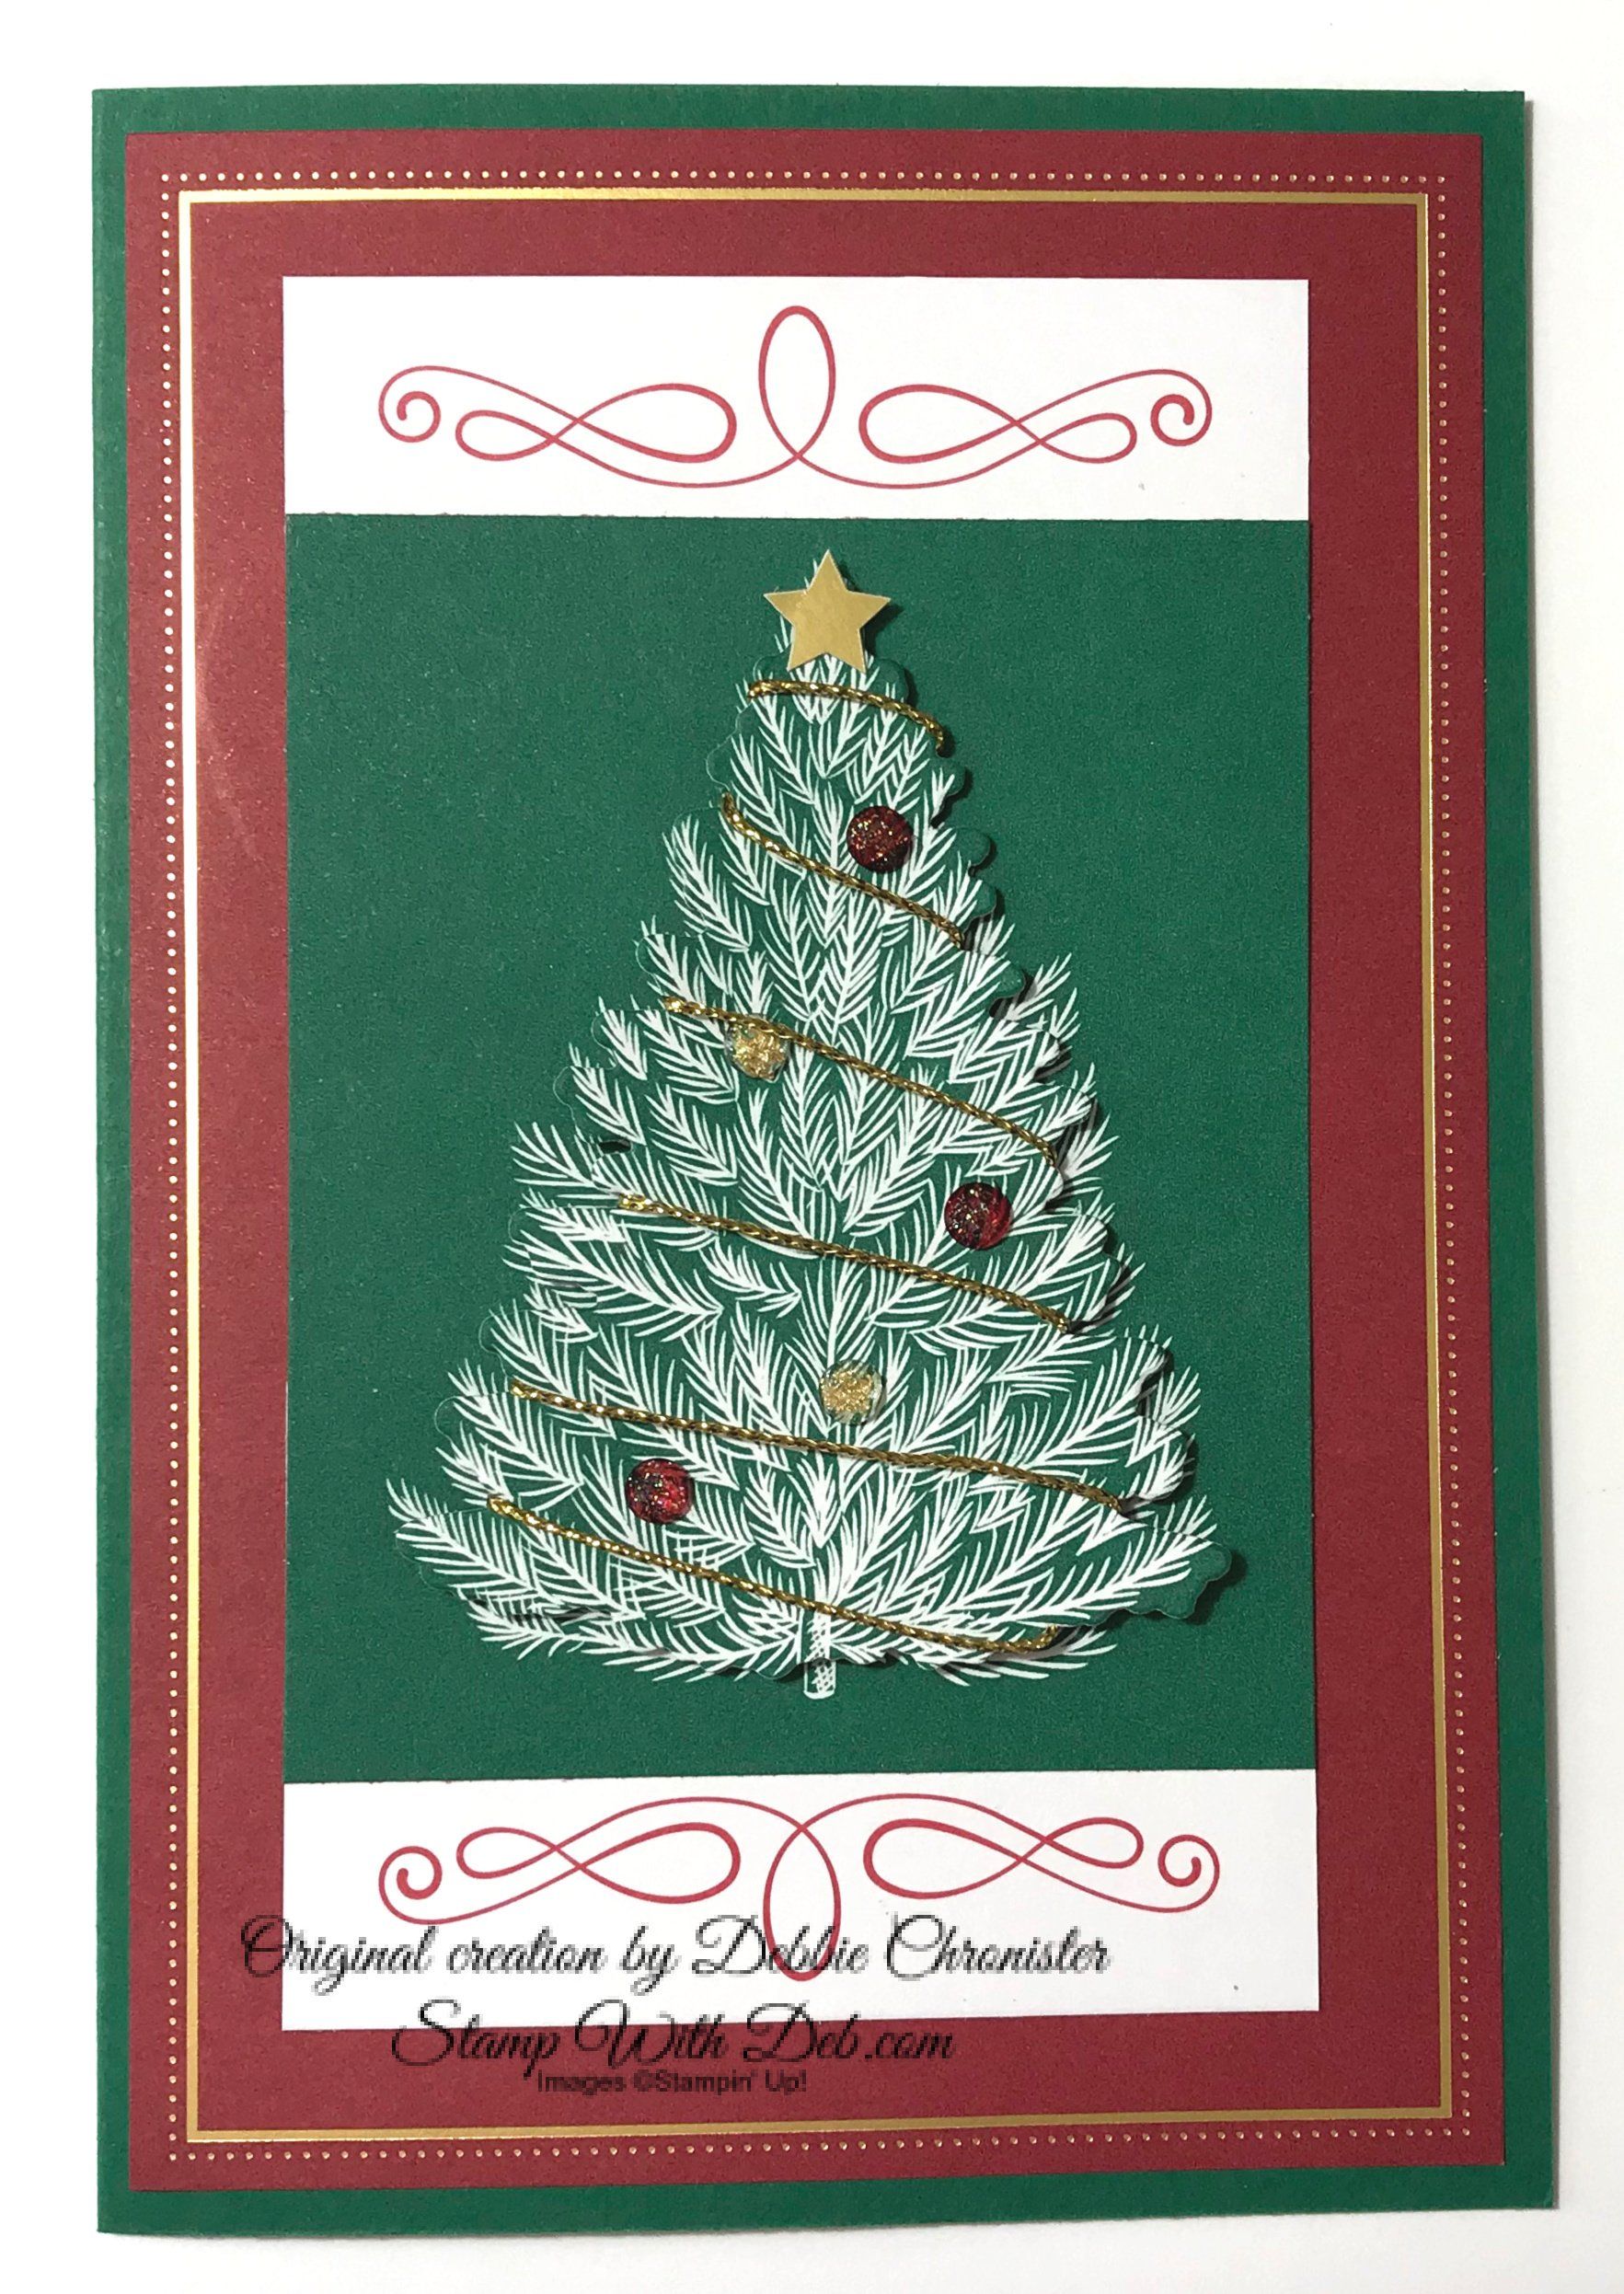
Card #9 - Christmas Tree


Shaded Spruce - 6 1/4 x 8 1/2 

Card from packet -6 x 4 

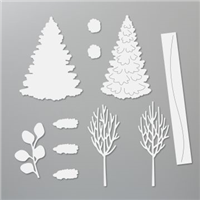
White Swirl card from packet, Trim the ends so the swirl is closer to the edge and cut the card in half


Tree Cards (2) - One you will use to attach the White Swirl to, the other you will cut out the tree. I used the tree die from "In The Woods Dies"


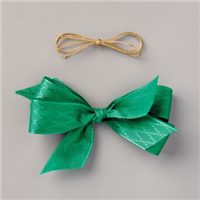
Wrap the gold cord around the tree so it looks like garland and adhere it with Dimensionals to the card with the tree


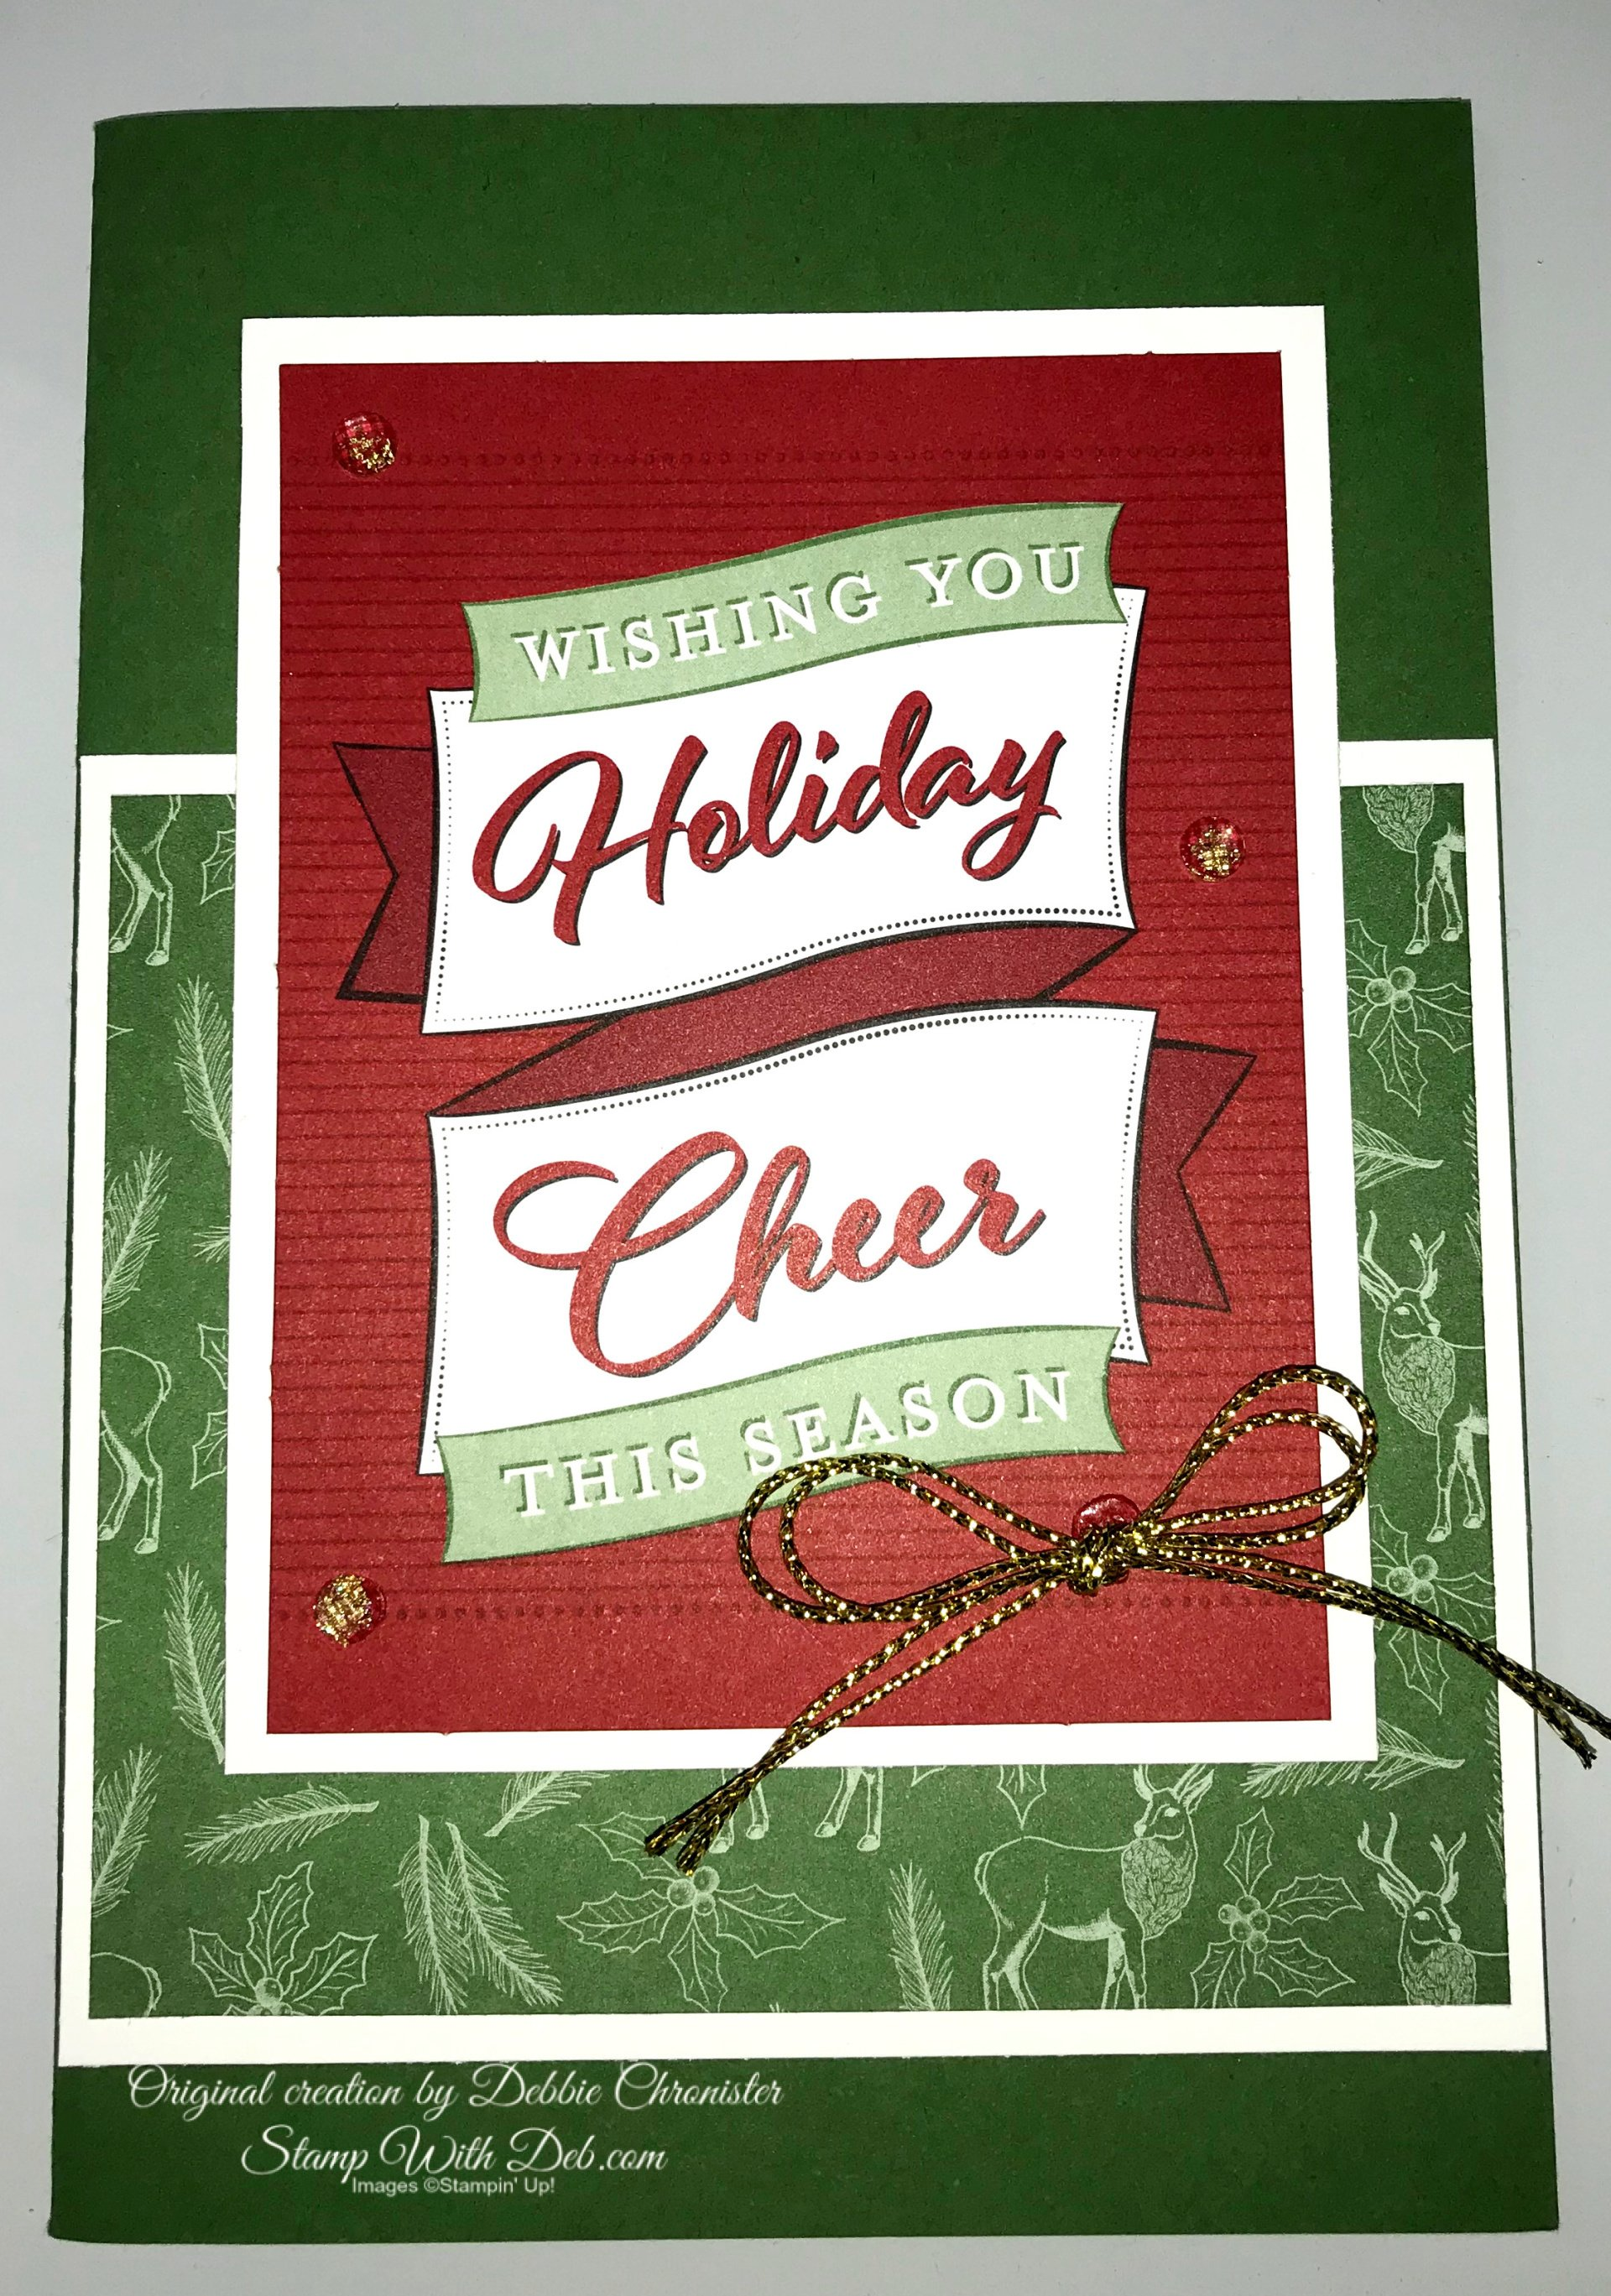
Card #10 - Holiday Cheer


Garden Green - 8 1/2 x 5 1/2 

Whisper White - 5 1/4 x 4 (Inside) 

Whisper White - 4 1/4 x 3 1/4 (2) 

Two cards from the card packet. The top panel is attached with dimensionals.


Are you about to hit that $99 mark on your order (before shipping and tax)? If so, why not consider joining my team? As a member, you’ll enjoy $125 worth of products of your choice for only $99! Plus, you’ll snag a fantastic 20% discount on all your future purchases and a variety of exclusive perks from me and Stampin' Up! Dive into this exciting journey of paper crafting with us! For more information, check out my Join My Team page


Check out the  2024-25 ANNUAL CATALOG

May - April Annual Catalog releases May 6, 2025. Contact me to get yours!

Subscribe to my My YouTube paper crafting video channel
Follow me on 
Pinterest

Follow me on Facebook every week for Stampin' Tell Tuesday
Shop my 
Online Store


916-420-0562

Email Me

By Debbie Chronister May 13, 2026
This elegant pop up Z fold card combines the timeless beauty of Basic White with soft layers of Crisp Cantaloupe for a fresh and inviting design. Many of our favorite card layouts begin with some form of a Z fold, and this fun interactive style is always a showstopper. I used the beautiful Fragrant Layers Bundle from Stampin' Up! along with the gorgeous Bloom Boutique Designer Series Paper to create soft floral layers and elegant detail throughout the card. The flowers were accented with the sparkling 2026–2028 In Color Dots for the centers, while the adorable 2026–2028 In Color Butterflies add the perfect finishing touch. A delicate bow tied with Crisp Cantaloupe Bordered Ribbon completes this charming project with just the right amount of texture and sweetness.
By Debbie Chronister May 6, 2026
I created this card using one of the more challenging patterns from the Valley In Bloom Designer Series Paper, and I love how it pushed me to think a little more creatively with my design. The detailed background really makes a statement, so I paired it with a simple, elegant greeting from the Scalloped Blooms stamp set to keep the focus balanced. To add a bit of texture and shine, I included Dew Drops embellishments, which catch the light beautifully. The finishing touch is a Mossy Meadow and gold bow, bringing in a rich, coordinated look that ties everything together perfectly while adding just the right amount of sophistication.
By Debbie Chronister April 22, 2026
This beautiful fun fold card was created using the Waterside Retreat April 2026 Paper Pumpkin kit from Stampin’ Up!, featuring the soft, calming tones of Gray Granite for an elegant and serene look. The unique fold adds an extra touch of interest, allowing the peaceful waterside imagery to shine from every angle while creating a delightful surprise when opened. The layered elements and coordinating designs from the kit make it easy to craft a card that feels both sophisticated and heartfelt, perfect for a variety of occasions. Be sure to check out the Free Project Sheet for step-by-step instructions so you can recreate this lovely design with ease!
By Debbie Chronister April 18, 2026
If you missed out on this acorable, all-occasion cards with the adorable Cute As A Bug Designer Series Paper in a project that’s as relaxing as it is rewarding. This kit makes it easy—everything is pre-cut and ready to go, except for the charming images from the Designer Series Paper that you’ll get to fussy cut yourself. Simply turn on a favorite movie, grab your scissors, and enjoy cutting out the delightful designs that will bring each card to life. Don't like fussy cutting? You will be able to purchase the coordinating dies. Ten of the images can be cut with the coordinating dies. This is an online class. You will receive PDF Instructions and videos to guide you through putting the cards together. The registration for this online class is closed. You can purchase the Tutorial by clicking the button below. This will give you all the measurements and product lists you need to complete these adorable cards.
By Debbie Chronister April 15, 2026
This cheerful greeting card comes to life with the playful patterns of the Cute As A Bug Designer Series Paper paired beautifully with rich Blackberry Bliss cardstock. Adorable bug images are carefully hand-cut from the paper, adding a whimsical, handmade touch that makes each card feel extra special. A sweet greeting tag ties the design together, while charming ladybug embellishments bring dimension and a pop of personality. Finished with a soft accent of Blackberry Bliss striped ribbon, this card is a delightful combination of fun and elegance—perfect for brightening someone’s day for any occasion.
By Debbie Chronister April 8, 2026
I had so much fun creating this playful fun fold card using the Sweet Bugs Bundle from Stampin’ Up! The interactive design adds an extra element of surprise, making it just as exciting to open as it is to display. I paired it with a greeting from the Lovely Arrangements set, which complements the whimsical bug images perfectly. One of my favorite features of this bundle is how the coordinating dies effortlessly cut out the images from the Designer Series Paper, making it easy to create a polished, layered look with minimal fuss. This card is a great example of how simple tools can come together to create something truly special! Be sure to download the Free Project Sheet below for the correct measurements.
Show More