
How to refill your blender pens

February 19, 2017

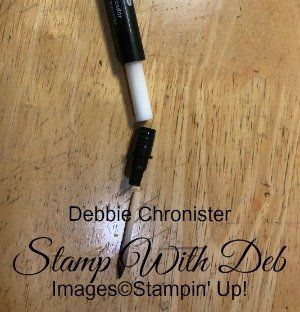
How about a helpful hint today? I’m sure some of you have seen this recipe before but with the new Stampin’ Up! Watercolor Pencils I thought it would be a good time to post it again. When my blender pens are not wet enough to give me the best blending look possible it’s time to refill the pens. In order to do this I remove the tips with a pair of tweezers or my fingers.
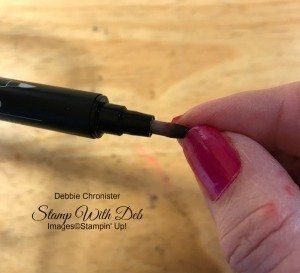
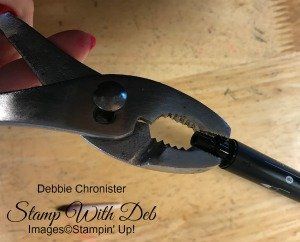
Then I remove the connector on one end of the pen with a pair of pliers. Inside the pen is a foam tube.
Here is the recipe:

1 oz. glycerin (2 tbsp)
2 oz. distilled water
¾ teaspoons alcohol

I mix it in a larger bottle and store it for future use.
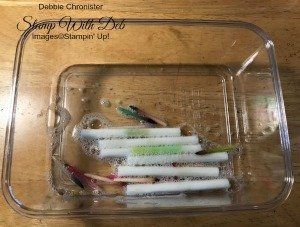
Take out the foam tube and either drip the solution into the foam tube or soak the tube in the solution. If you need to use the pen soon you can drip the solution into the foam tube. I prefer to soak them for about 1/2 hour. You can feel the difference in the weight when they have absorbed enough of the solution.
Replace the tips and let them sit 15-20 minutes and you are ready to use them. Be sure that you put the black connectors back on firmly. They should snap twice before they are in place and they should meet the barrel of the pen. NO GAPS!
You can use the Blender pens with the ink pads, reinkers and watercolor pencils on a variety of mediums (Very Vanilla, Whisper White and watercolor paper.

So now you are ready to purchase those Watercolor Pencils from Stampin’ Up! Click the shop logo to take you to my web page to make that purchase.

Are you about to hit that $100 mark on your order (before shipping and tax)? If so, why not consider joining my team? As a member, you’ll enjoy $125 worth of products of your choice for only $100 Plus, you’ll snag a fantastic 15% discount on all your future purchases and a variety of exclusive perks from me and Stampin' Up! Dive into this exciting journey of paper crafting with us! For more information, check out my Join My Team page


We now have 3 catalogs each year, January - April, May - August, September - December.  We no longer have an annual catalog.  You will find all of the products in the catalogs online as well as Last Chance and Online Exclusive Products. If you want to check out the May - August Catalog click on that catalog below. If you want a paper copy, please contact me to get yours!

Check out:

Online Exclusives
September - December Catalog - Contact me to get yours!

Subscribe to my My YouTube paper crafting video channel
Follow me on 
Pinterest

Follow me on Facebook every Wednesday at 11am PT for Wake Up Wednesday
Shop my 
Online Store


916-420-0562

Email Me

By Debbie Chronister • September 30, 2026
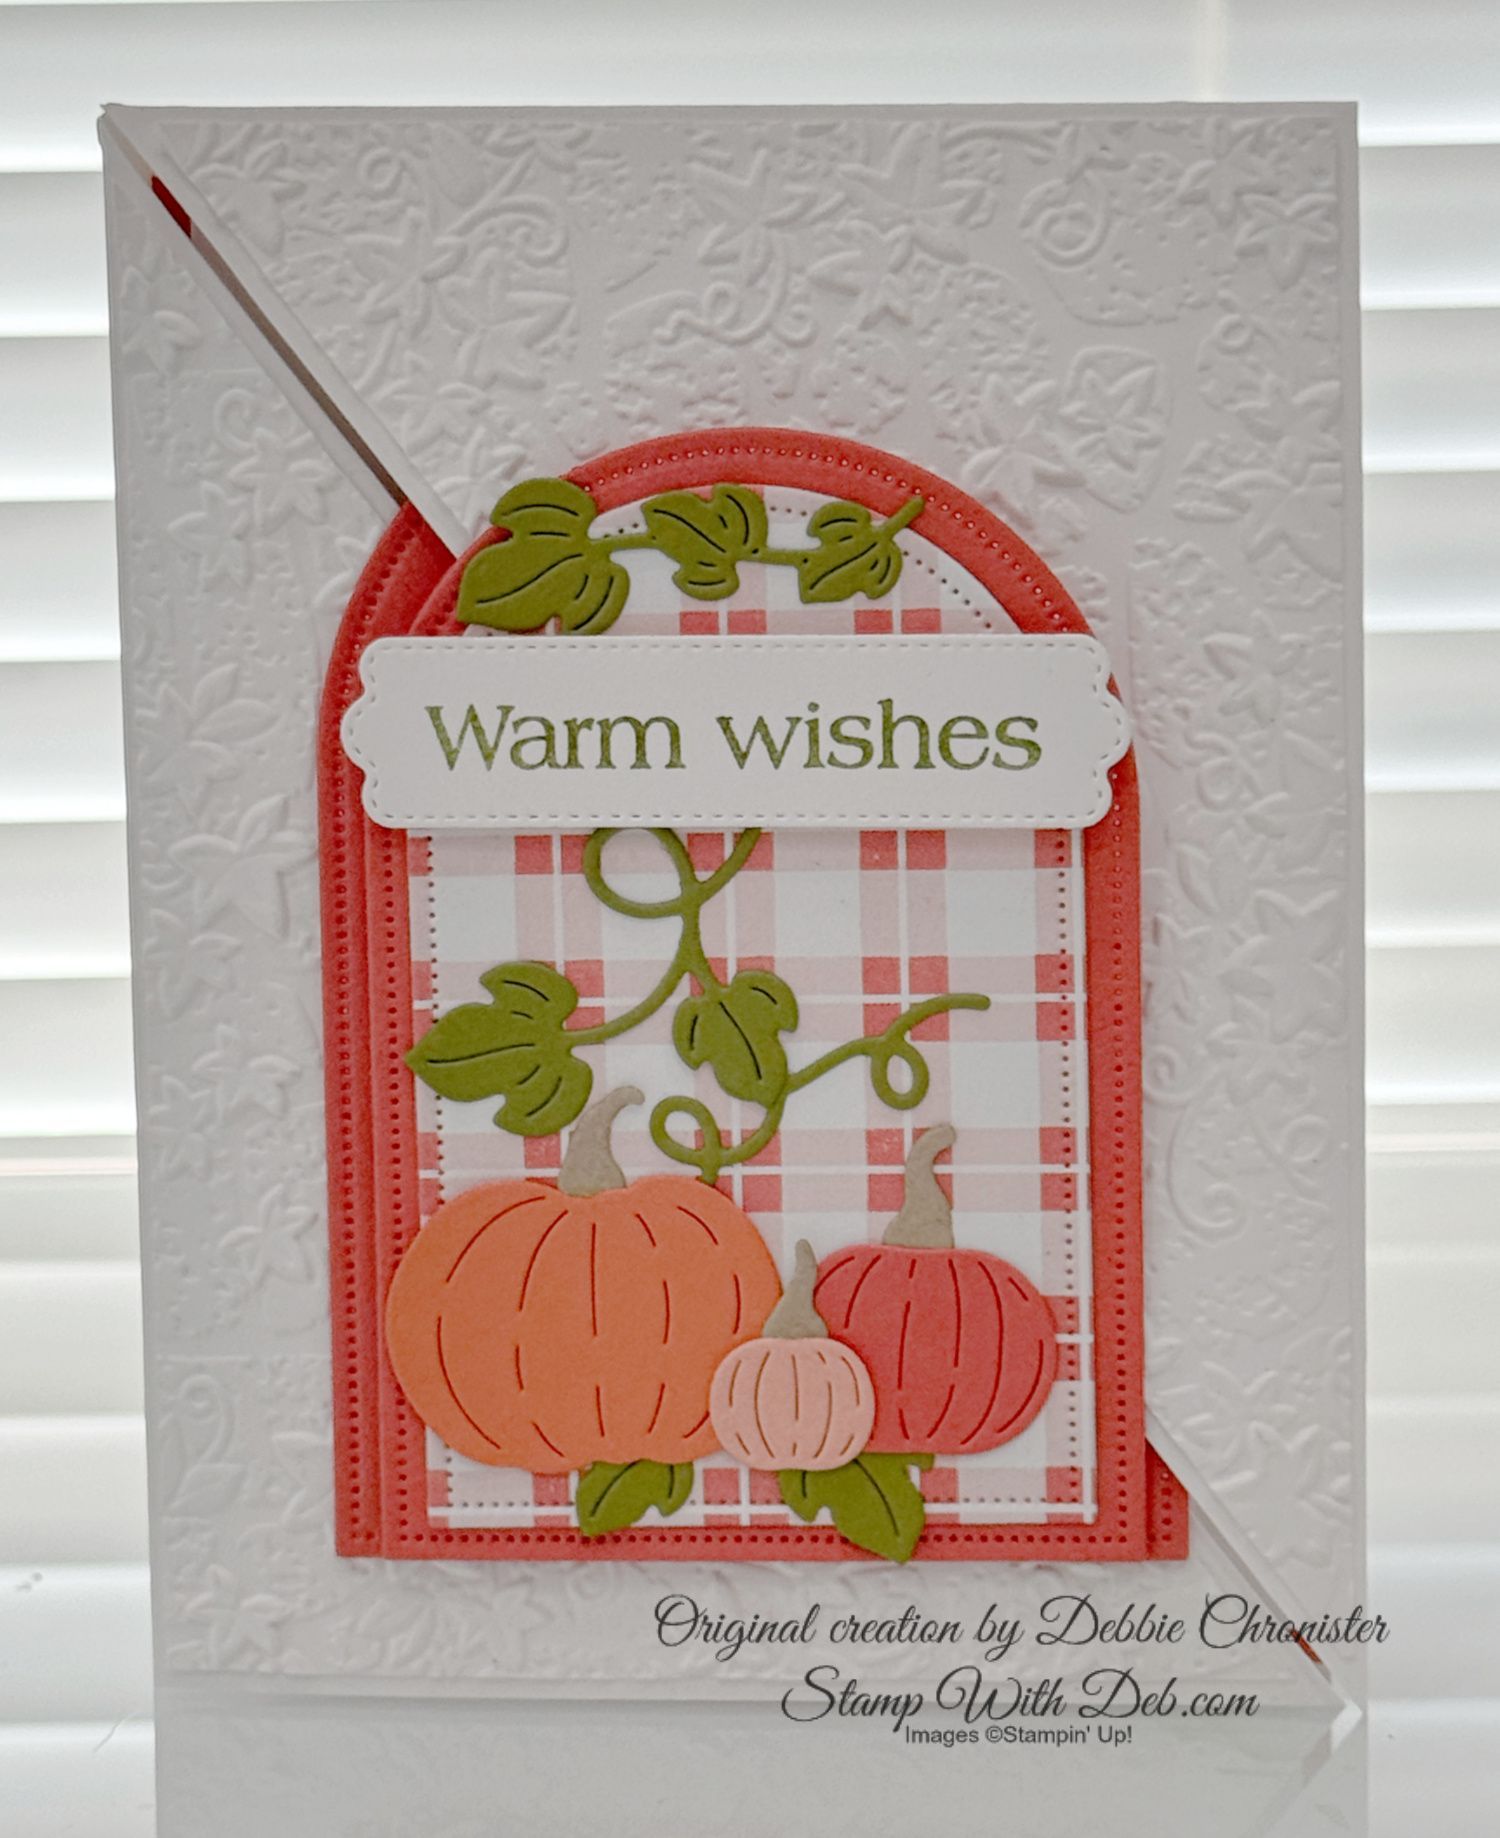
This cheerful fall fun fold card combines pretty plaid, textured layers and a trio of colorful pumpkins! I used Calypso Coral and Basic White cardstock with Painted Patch Designer Series Paper for a fresh, welcoming autumn look. The Basic White panels are embossed with the Stone & Leaves embossing folder, adding a lovely leafy texture that complements the pumpkin patch theme. The diagonal cut give the card extra interest while allowing the layered focal point to take center stage. For the centerpiece, I layered a plaid panel over a Calypso Coral arch, creating a frame for pumpkins die cut from Calypso Coral, Timid Tiger and Crisp Cantaloupe. I love how these three shades work together, giving each pumpkin its own personality! Old Olive leaves and curling vines weave around the pumpkins and extend up the arch, bringing a touch of greenery to the design. A Basic White label with the “Warm wishes” greeting finishes the card beautifully, making it a sweet way to send a little autumn happiness to someone special.
By Debbie Chronister • September 23, 2026
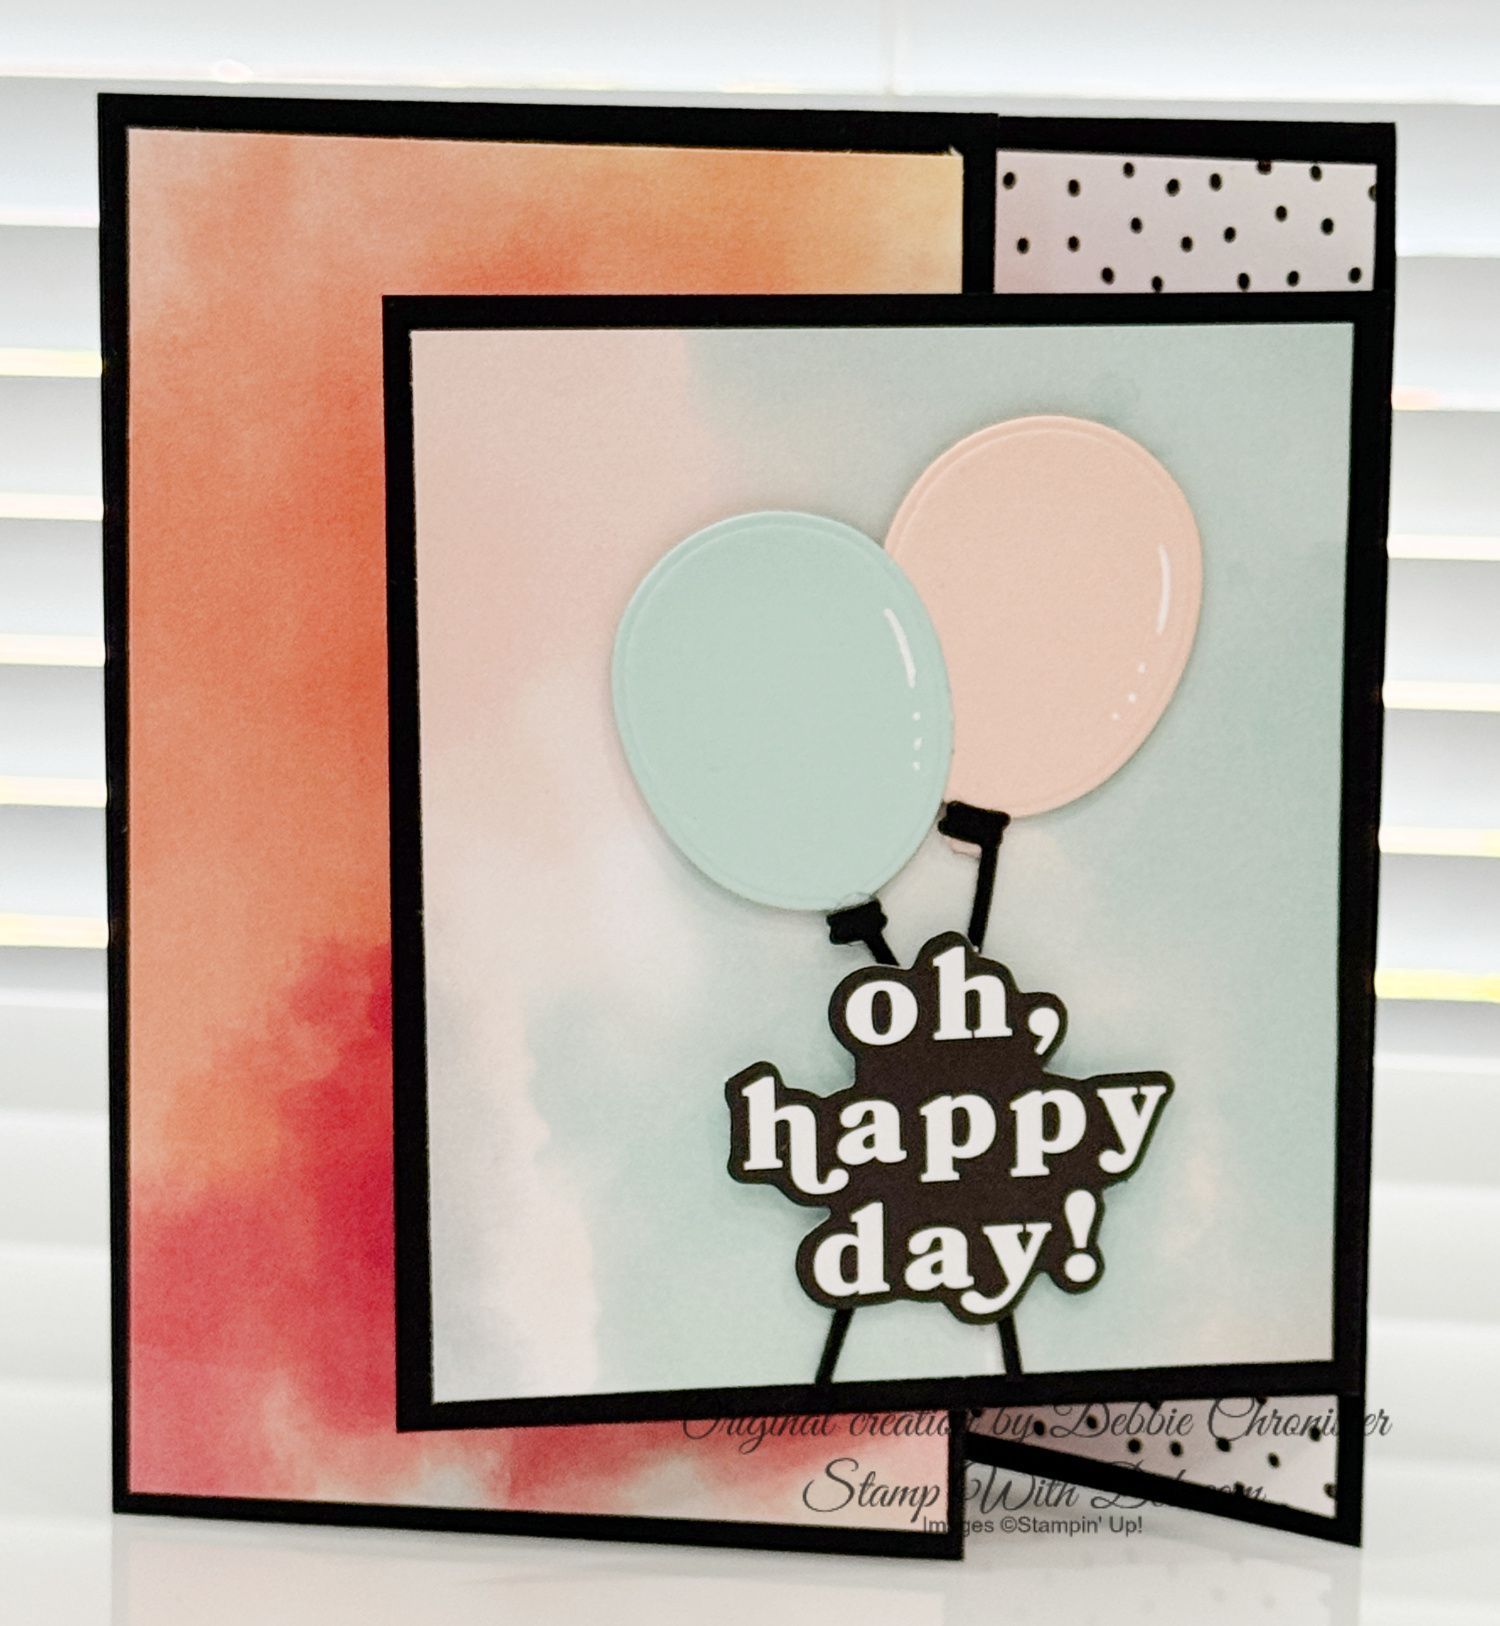
This card is such a fun way to say “Oh, Happy Day!” It could be used for a retirement, birthday or any special occasion. I started with Basic Black Cardstock, which creates a bold frame and really makes the softer colors stand out. The beautiful watercolor background comes from the Beautiful Ordinary Life Designer Series Paper, with a little black-and-white pattern peeking out for added interest. The balloons from Balloon Festoon add the perfect touch of whimsy and dimension, while the greeting from the Greetings for All Mix & Match Ephemera Pack makes creating the focal point quick and easy. I love how all of these elements come together for a cheerful card that could be used for a birthday or just about any happy occasion!
By Debbie Chronister • September 16, 2026
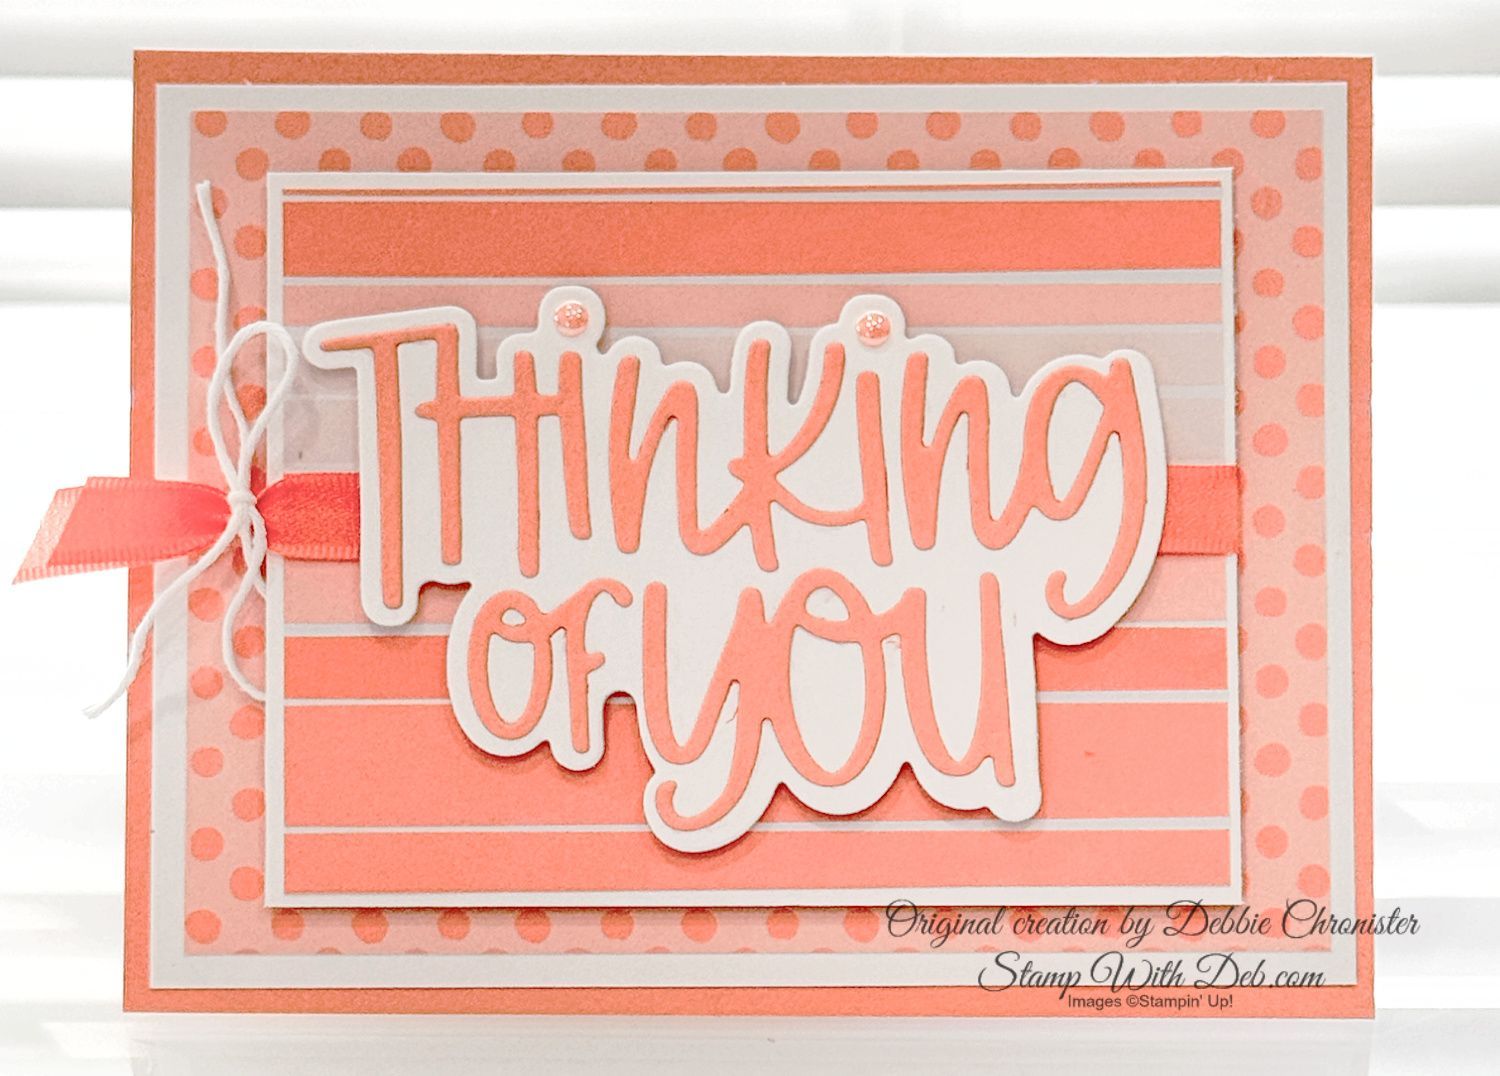
This cheerful Stampin’ Up! card features a soft, monochromatic color palette with Crisp Cantaloupe from Painted Pattern Designer Series Paper, using the playful polka dots and coordinating horizontal strips. The oversized “Thinking of You” greeting that is die cut in Crisp Cantaloupe using the "Thinking of You" dies takes center stage, layered over Basic White for added dimension. Adding Crisp Cantaloupe Bordered Ribbon, a delicate White Baker's Twine bow, and 2026-28 In Color Gems provide the perfect finishing touches to this sweet card that is sure to brighten someone’s day.
By Debbie Chronister • September 16, 2026
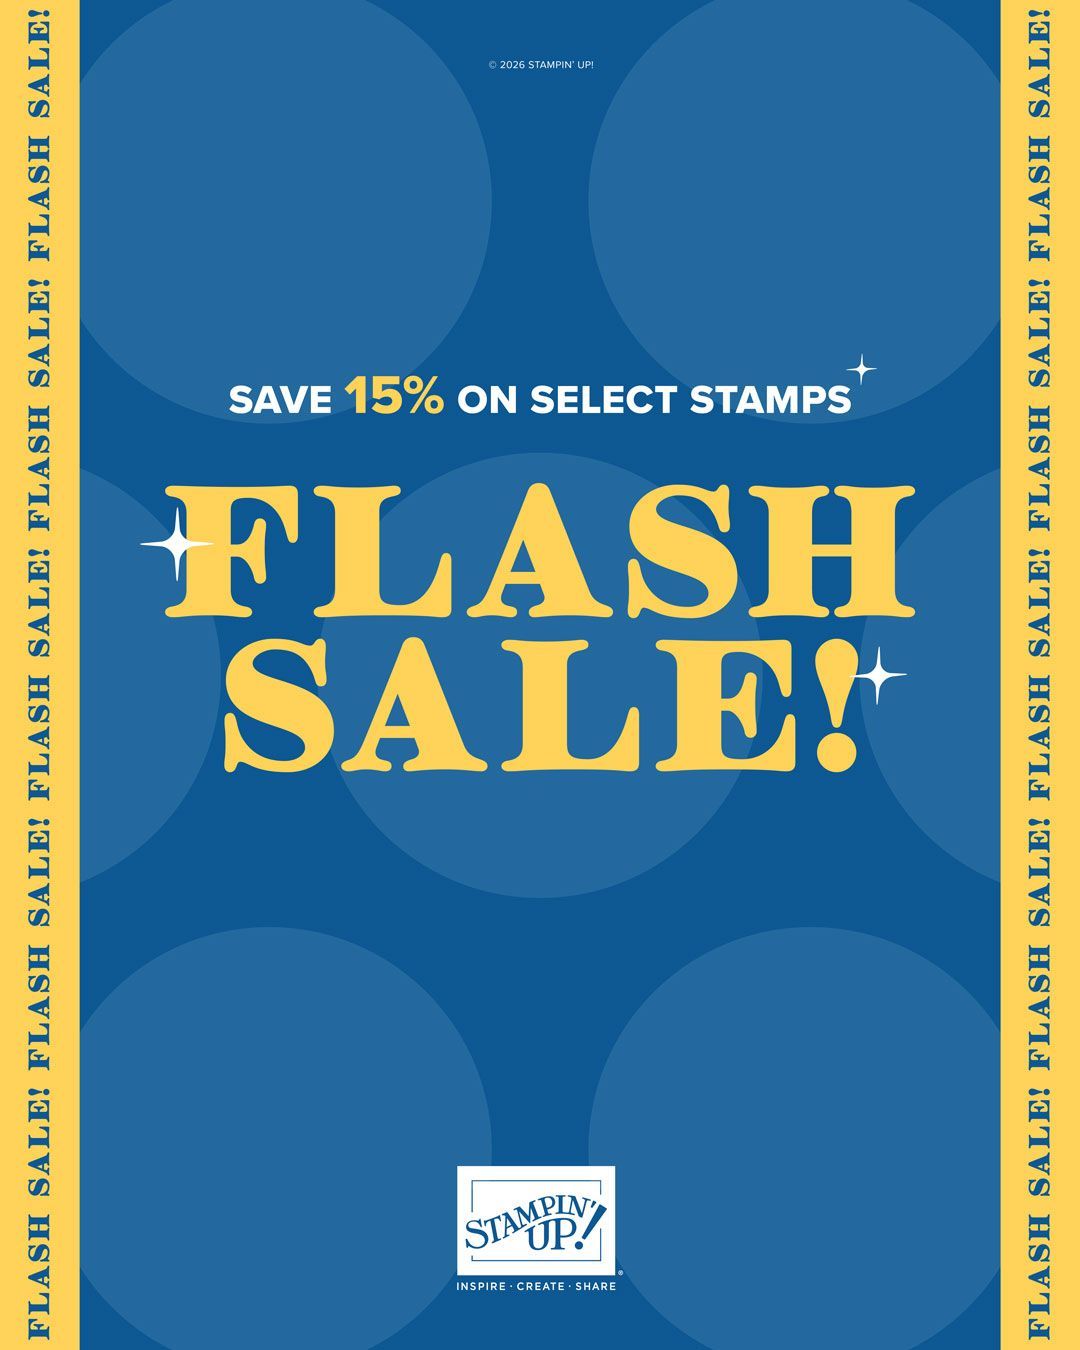
Have you been waiting for the perfect opportunity to add the latest stamp sets to your collection? Well, we’ve got some great news! From September 16–18, you can get select stamp sets at 15% off! Grab stamps that have been on your wish list or use this opportunity to explore new stamp styles. Act fast—this stamp-tacular sale only lasts for three days!
By Debbie Chronister • September 9, 2026
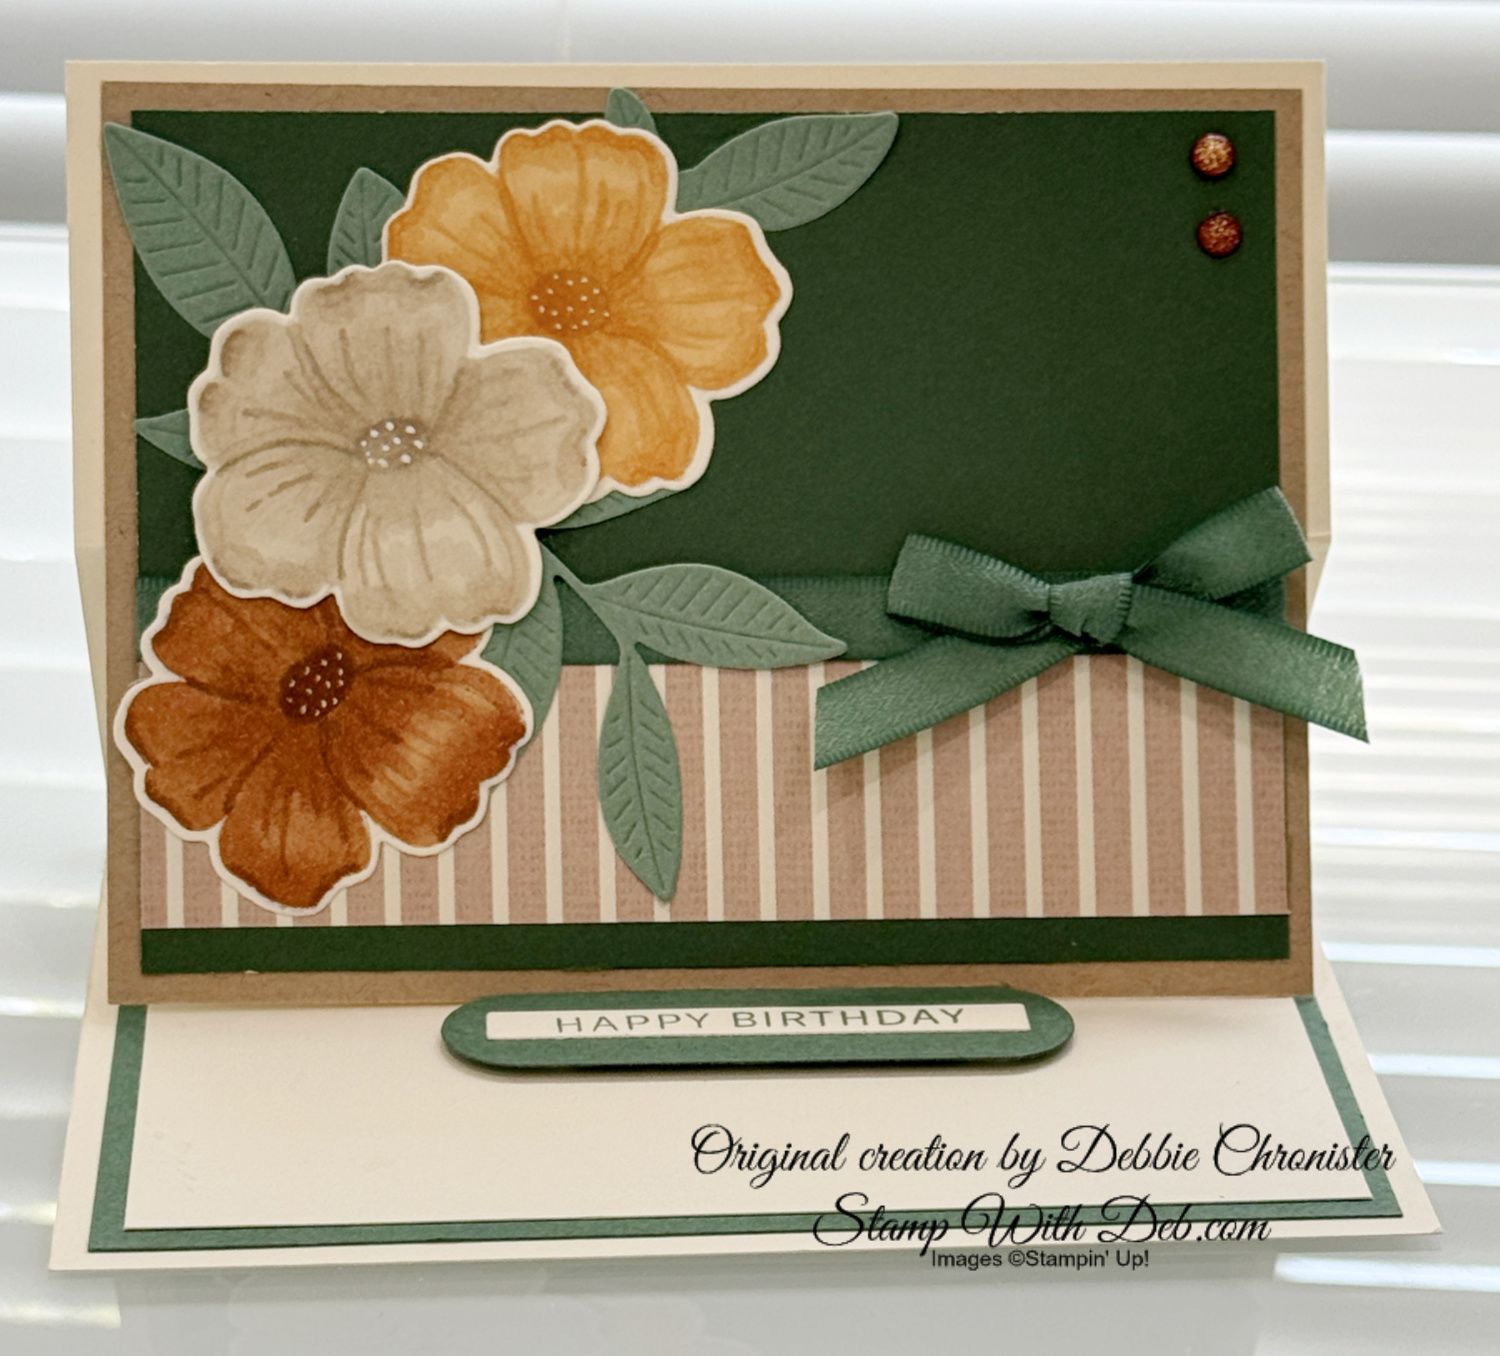
This fun easel card features a beautiful mix of warm, earthy colors. The flowers from the Lovely Arrangements Bundle were created using the no-line coloring technique with Pecan Pie, Basic Beige, and Golden Glow, then layered with leaves from Nature's Symphony Dies against a rich Peaceful Pine background. Very Vanilla and Crumb Cake cardstock add softness, while a striped piece of Brushed With Beauty Designer Series Paper brings extra pattern and interest. Peaceful Pine Bordered Ribbon, tied in a simple bow, and coordinating embellishments complete the card front. The birthday greeting inside serves as the stopper that holds the easel open, making this card as fun to display as it is to receive!
By Debbie Chronister • August 26, 2026
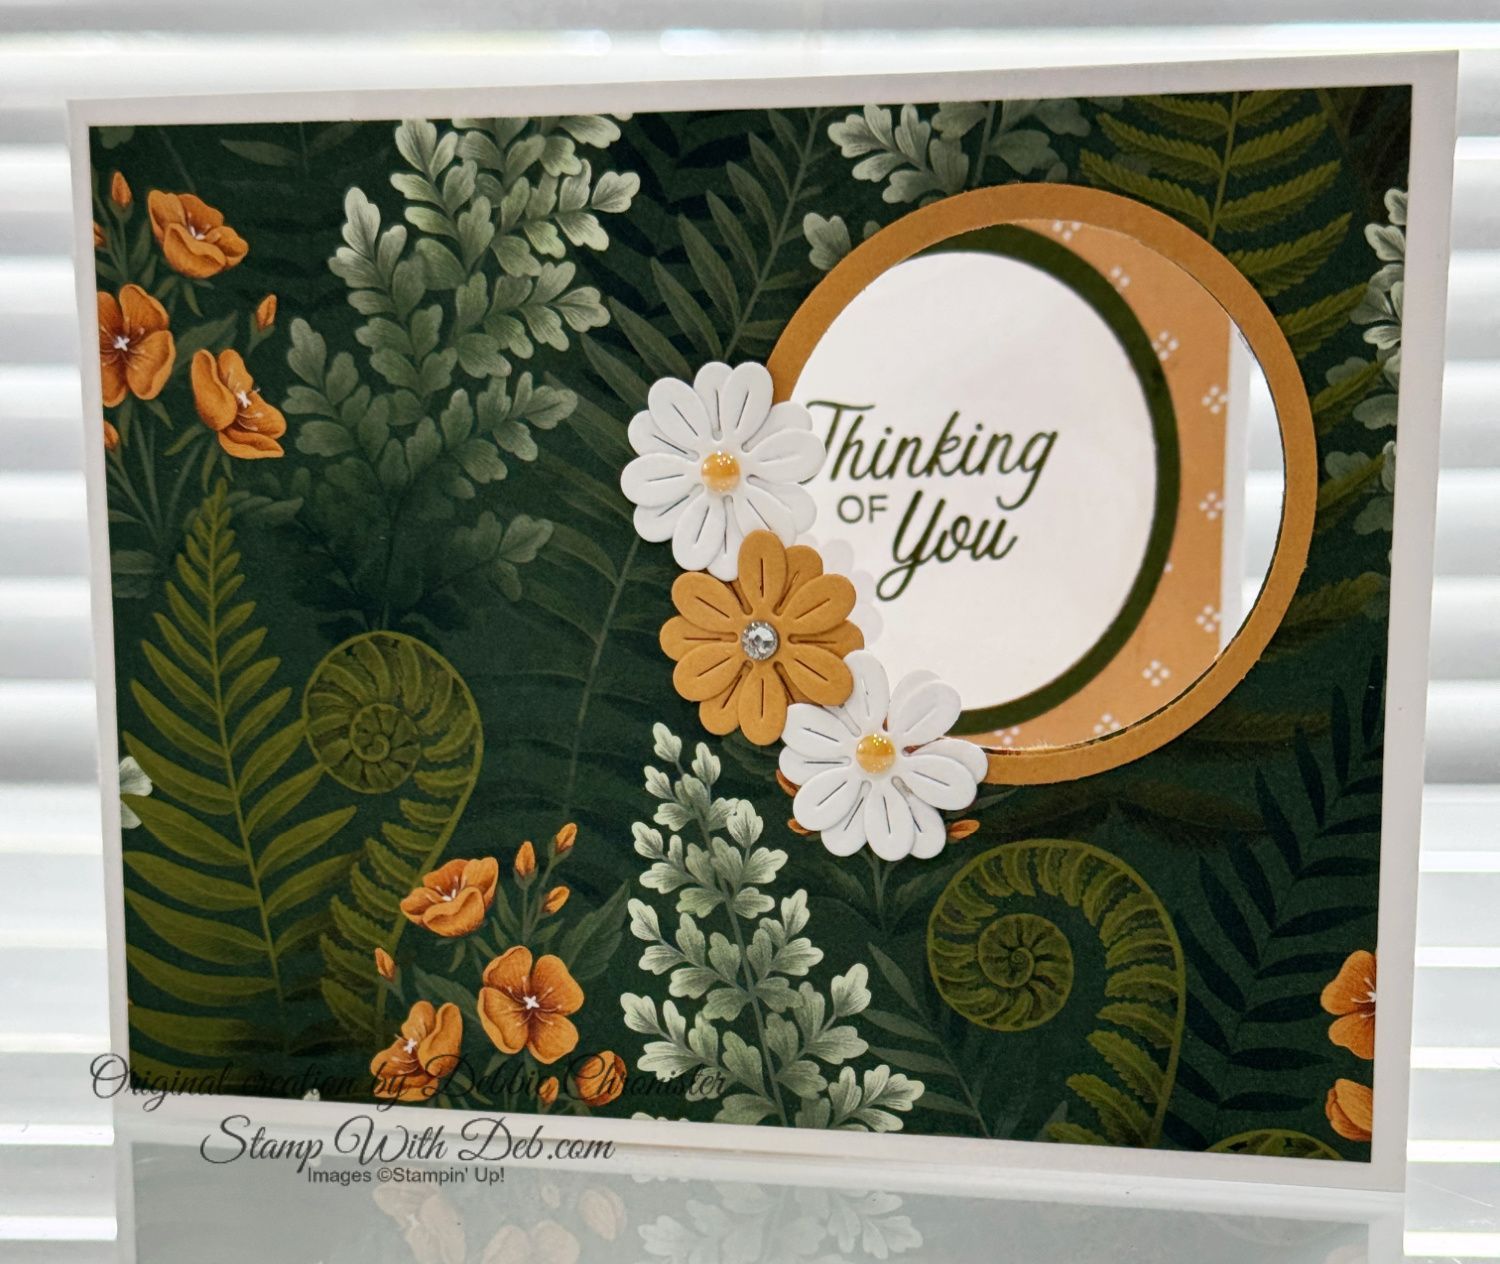
If you love interactive cards, you're going to enjoy this elegant Peek-A-Boo Slider Card! At first glance, the rich botanical pattern from the Moonlit Flora Designer Series Paper takes center stage with its deep greens, delicate ferns, and warm golden blossoms. But with one simple pull, a hidden surprise is revealed, making this card as fun to open as it is beautiful to display. For this design, I paired the gorgeous Moonlit Flora Designer Series Paper with Mossy Meadow and Golden Glow cardstock to bring out the rich colors in the paper. The layered circular slider creates the perfect focal point, revealing the "Thinking of You" at first glance
Show More