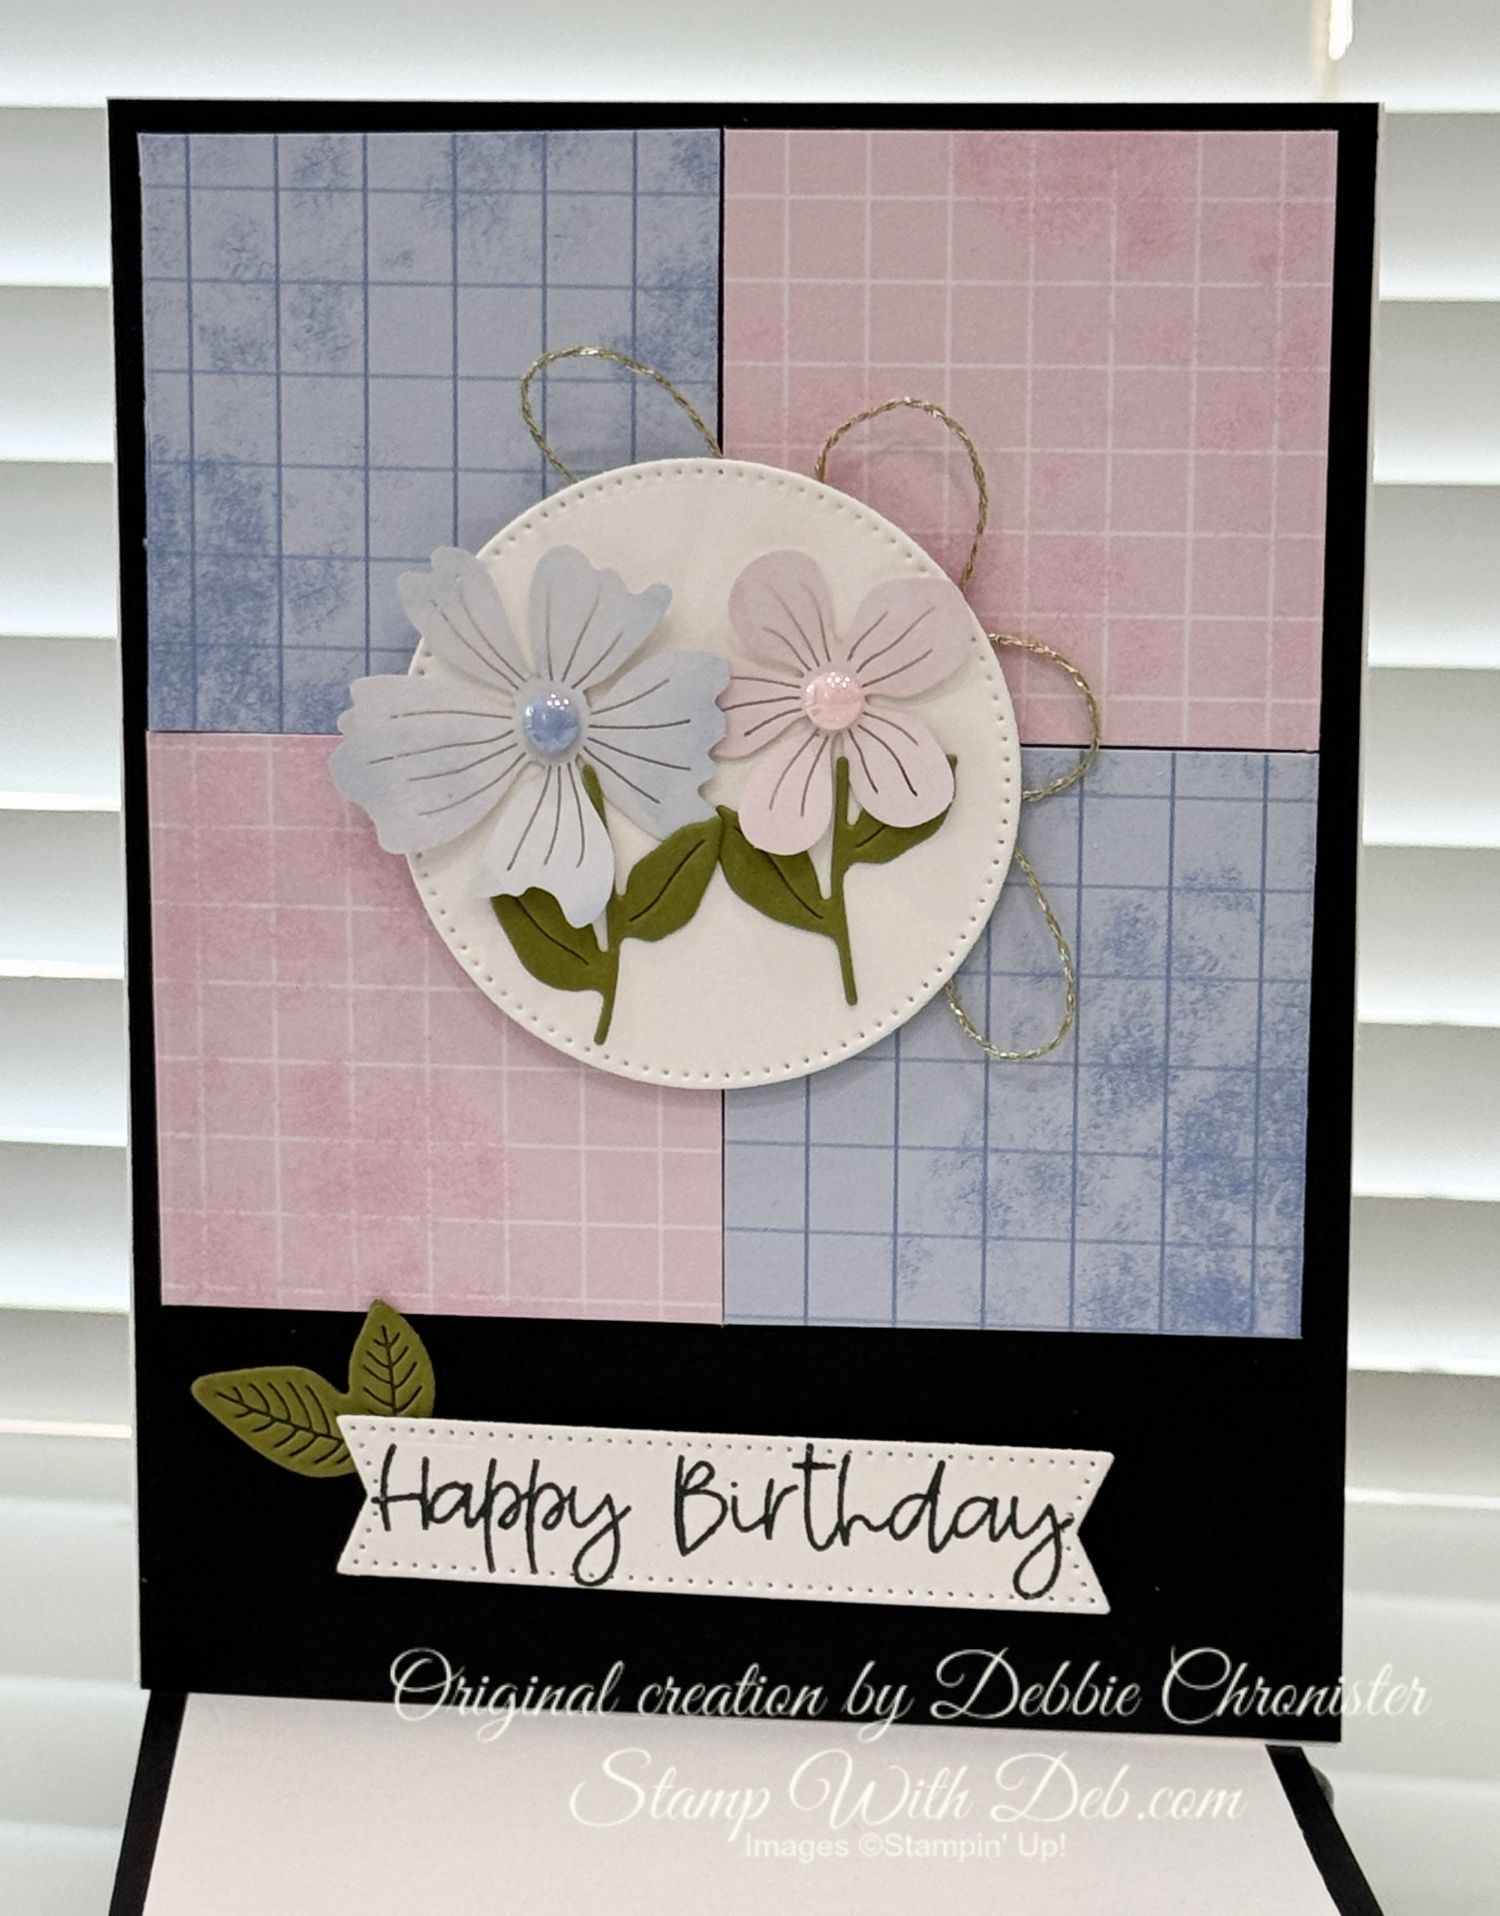
Hydrangea Haven Card Kit, Card #9
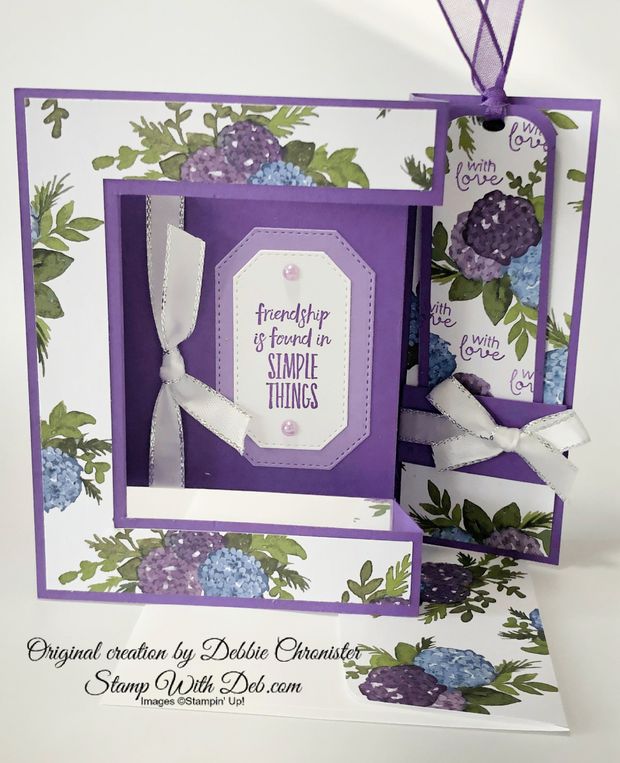
This card #9 from my Hydrangea Haven Card Kit. This suite has so much potential. Be sure to order it before it is gone. It came out in the January - June 2021 Catalog. In two weeks we will find out if it will come through to the new catalog. If you have not ordered it yet and love it as much as I do be sure to order it soon!
MEASUREMENTS
Stamps: Enjoy the Moment #154452, Happy Thoughts #154507
Cut 5 1/2 x 8 1/2 Gorgeous Grape, with 5 1/2" side at top of Paper Trimmer cut from 1" to 5 1/4, turn the paper over and do the same thing on the other side, With the 8 1/2 side at the top, score between the cut lines at 1" & 2", score outside the cut lines (top & bottom) at 4 1/4", score between the cut lines at 5 1/4, score all the way down at 6 3/8, fold the inside section valley,
mountain. Watch the video below:
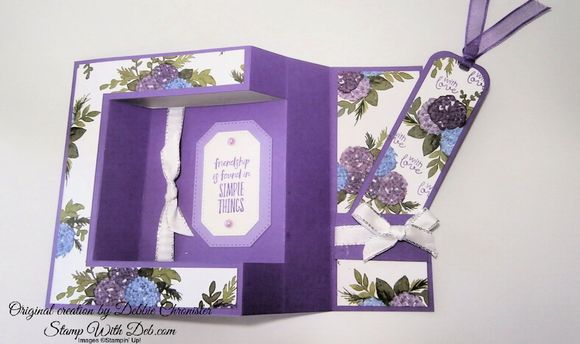
***Cut 4 x 5 1/4 Hydrangea Hill DSP, place on Paper Trimmer with 5 1/4 at top, cut from bottom up to 3/4", rotate and cut line from cut to 3/4, rotate cut from edge to 3/4" cut line this should leave you with a C shaped piece of paper, adhere it to the front (left side of the card)
***Cut 6 x 1 7/8" Hydrangea Hill DSP, fold @5 1/4
Cut 1 x 3 Gorgeous Grape, score at 1/2" on each end, wrap around the DSP and attach were you folded it up, this will create a pocket to keep the bookmark from sliding out, attach to the right end of the card
Tie a bow around the bookmark pocket using Silver Metallic Edge Ribbon
Die cut label using Hippo & Friends Dies in Highland Heather
Die cut greeting label using Hippo & Friends Dies in Whisper White, stamp greeting from Enjoy the
Moment in Gorgeous Grape, add 2 Pastel Pearls
Tie a knot around the inside section next to the greeting
Cut 3 1/4 x 3 Whisper White, stamp "Happy Birthday" from Happy Thoughts in Gorgeous Grape
adhere to the back of the card
Bookmark:
Cut 1 1/2 x 5 Gorgeous Grape, round the corners with the Detailed Trio Punch
***Cut 1 1/4 x 4 3/4 Hydrangea Hill DSP, stamp with greeting in Gorgeous Grape, round the
corners with the Detailed Trio Punch, adhere to Gorgeous Grape cardstock
Glue the two pieces together and punch a hole in the top using Detailed Trio Punch
Tie a piece of the 3/8" Sheer Gorgeous Grape Ribbon through the hole
All the products are listed below. Click on any one and it will take you to my Stampin' Up! Store where you will find these items as well as many more. Thank you for shopping with me.
Check out the NEW 2020-21 ANNUAL CATALOG
January - June 2021 Mini is fabulous!
Sale-A-Bration is HERE! Don’t miss the deals!
Subscribe to my
My YouTube paper crafting video channel
Follow me on
Pinterest
Follow me on
Facebook every week for Stampin' Tell Tuesday
Shop my
Online Store with February's Host Code
MERZ9ST4
Are you about to hit that $99 mark on your order (before shipping and tax)? If so, why not consider joining my team? As a member, you’ll enjoy $125 worth of products of your choice for only $99! Plus, you’ll snag a fantastic 20% discount on all your future purchases and a variety of exclusive perks from me and Stampin' Up! Dive into this exciting journey of paper crafting with us! For more information, check out my Join My Team page
We now have 3 catalogs each year, January - April, May - August, September - December. We no longer have an annual catalog. You will find all of the products in the catalogs online as well as Last Chance and Online Exclusive Products. If you want to check out the May - August Catalog click on that catalog below. If you want a paper copy, please contact me to get yours!
Check out:
Online Exclusives
May - August Catalog - Contact me to get yours!
Subscribe to my My YouTube paper crafting video channel
Follow me on Pinterest
Follow me on Facebook every week for Stampin' Tell Tuesday
Shop my Online Store