Valentine's Day Bay Window Card
Creating a Bay Window Card with Marbled Elegance Specialty Designer Series Paper is not just fun, but a breeze for crafters of all levels! With its stunning marbled patterns, this paper brings a touch of sophistication to your cards. I am here to guide you through each step, making it an enjoyable experience.
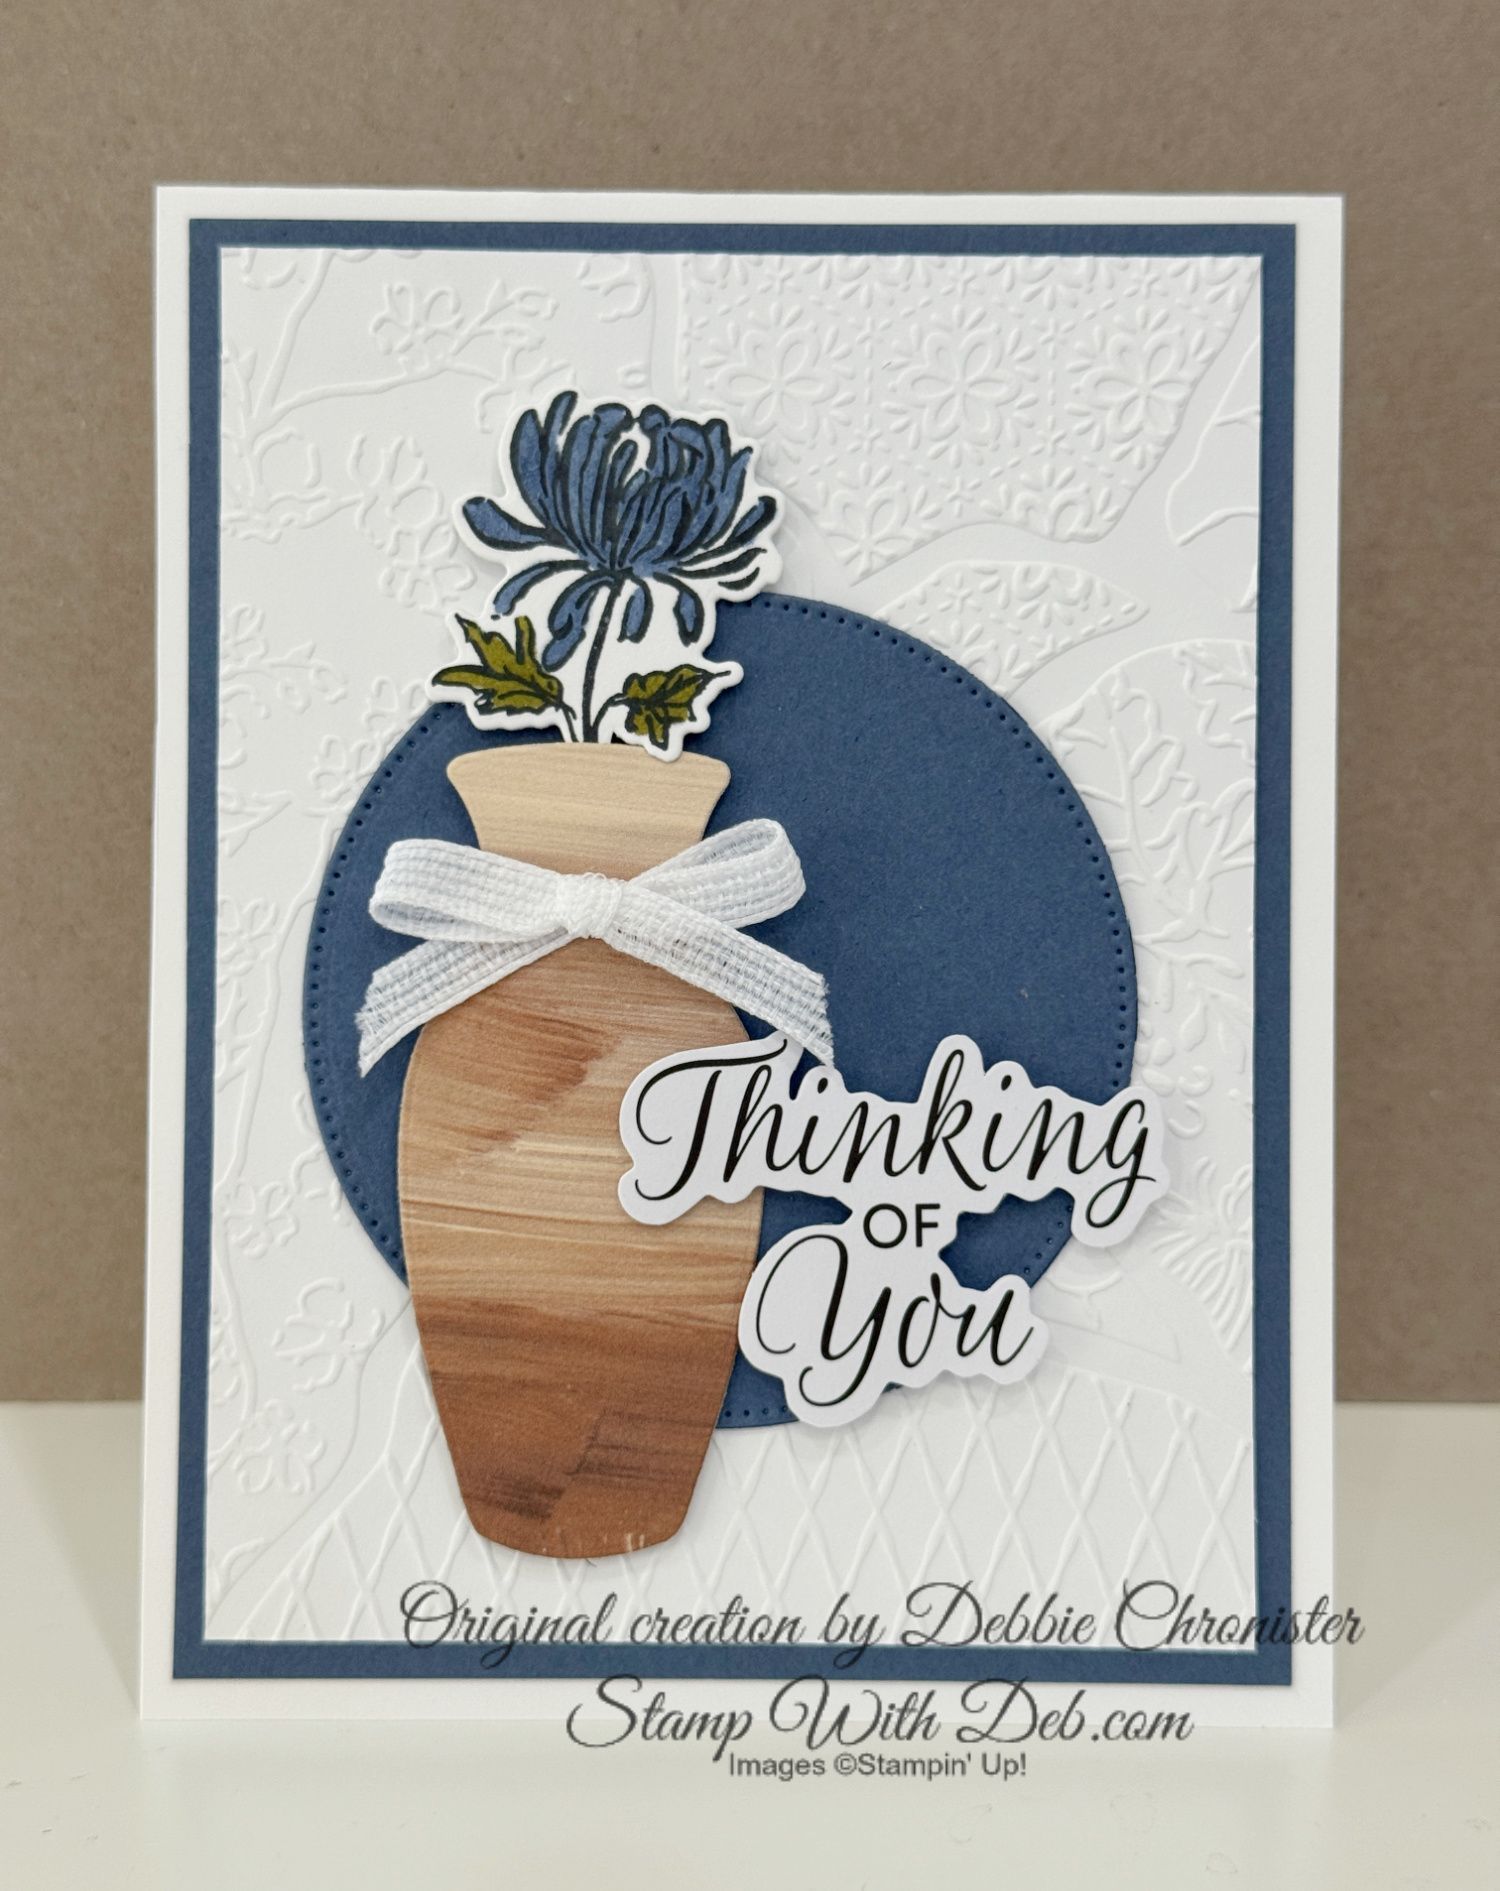
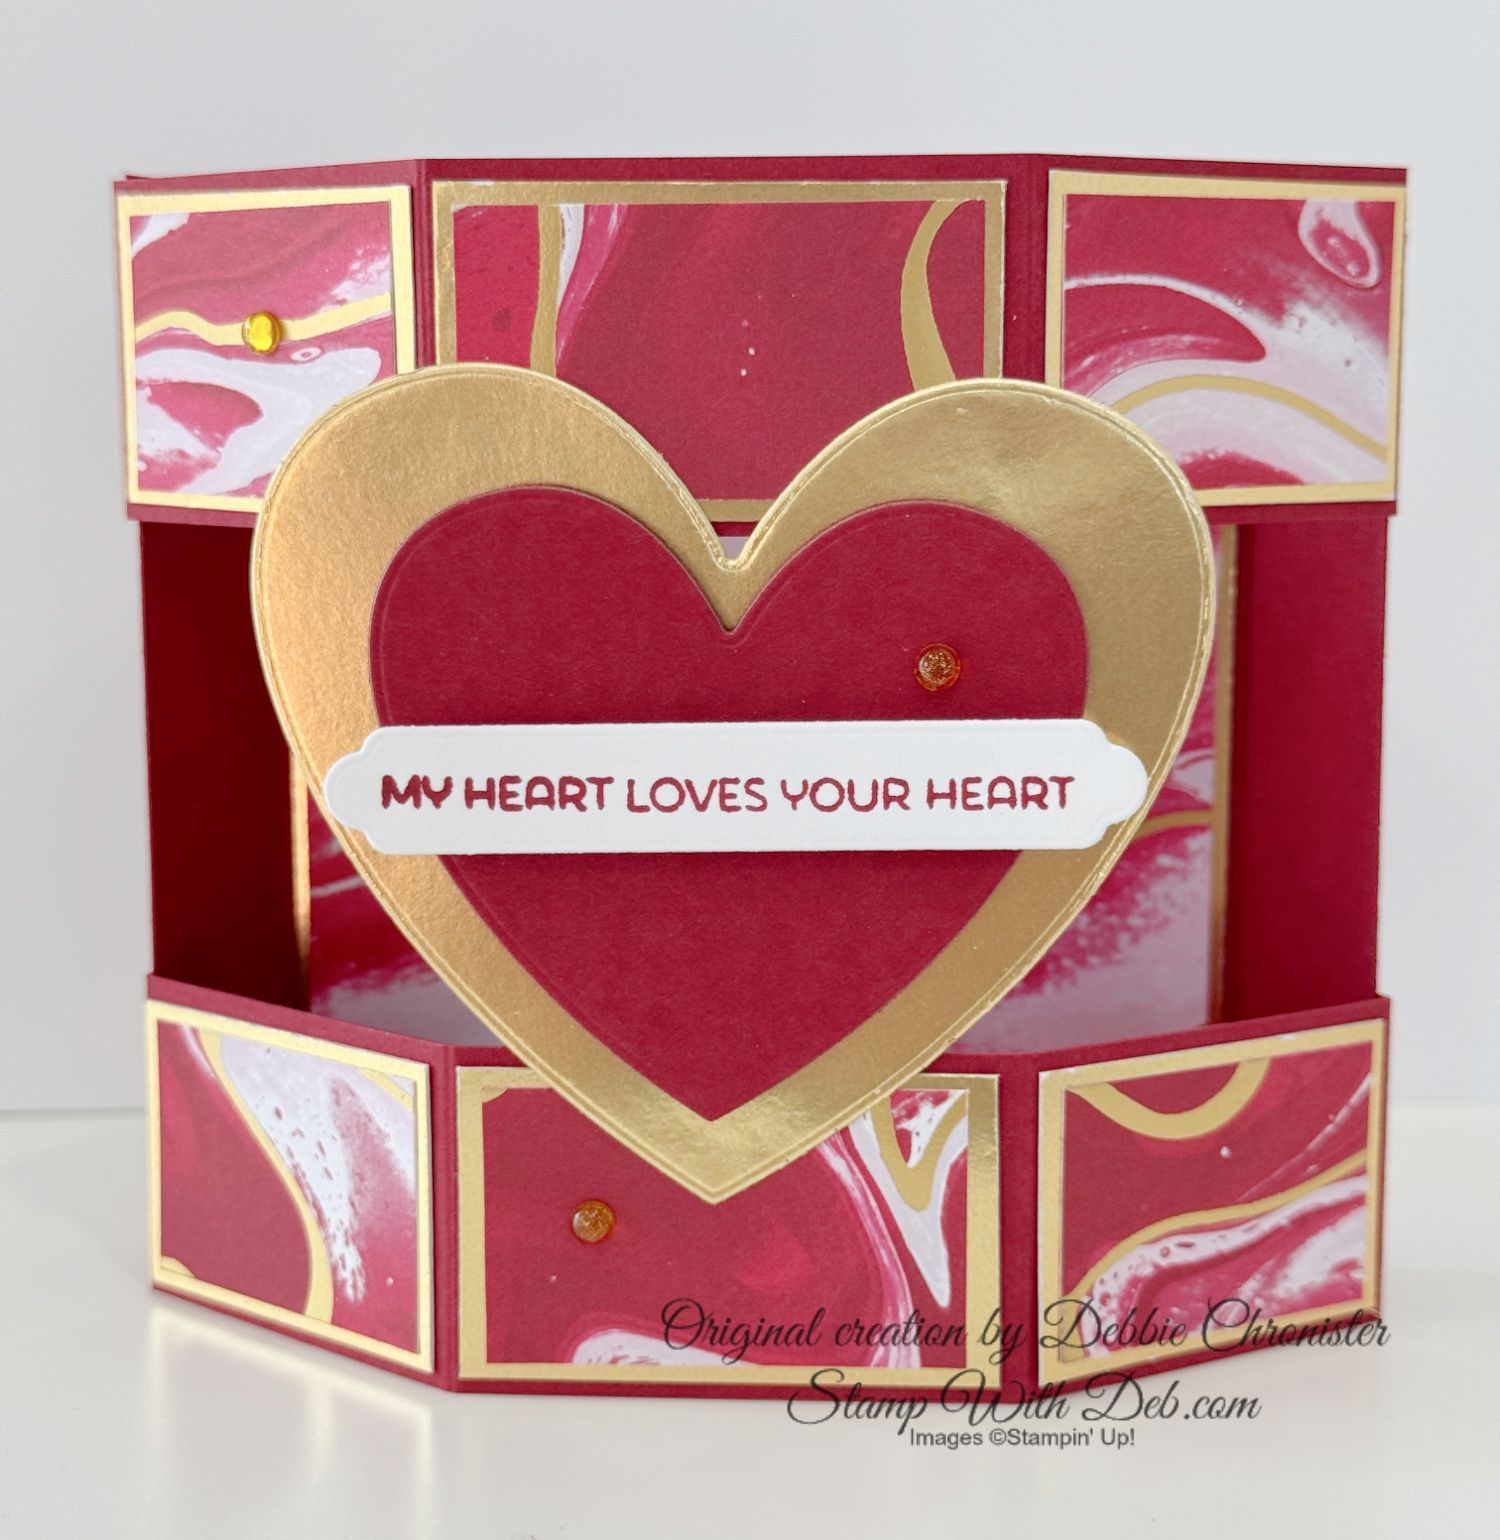
In this card I used Cherry Cobbler Cardstock, Gold Foil, a little Basic White and Cherry Cobbler Stampin' Pad. I used the dies from Hearts of Elegance Bundle which I just found out will not be available until the week of February 3, 2025. If you are an avid stamper you probably have a set of hearts in your stash. I stamped the greeting in Cherry Cobbler on the tag die from the FREE Sale-A-Bration Bundle.
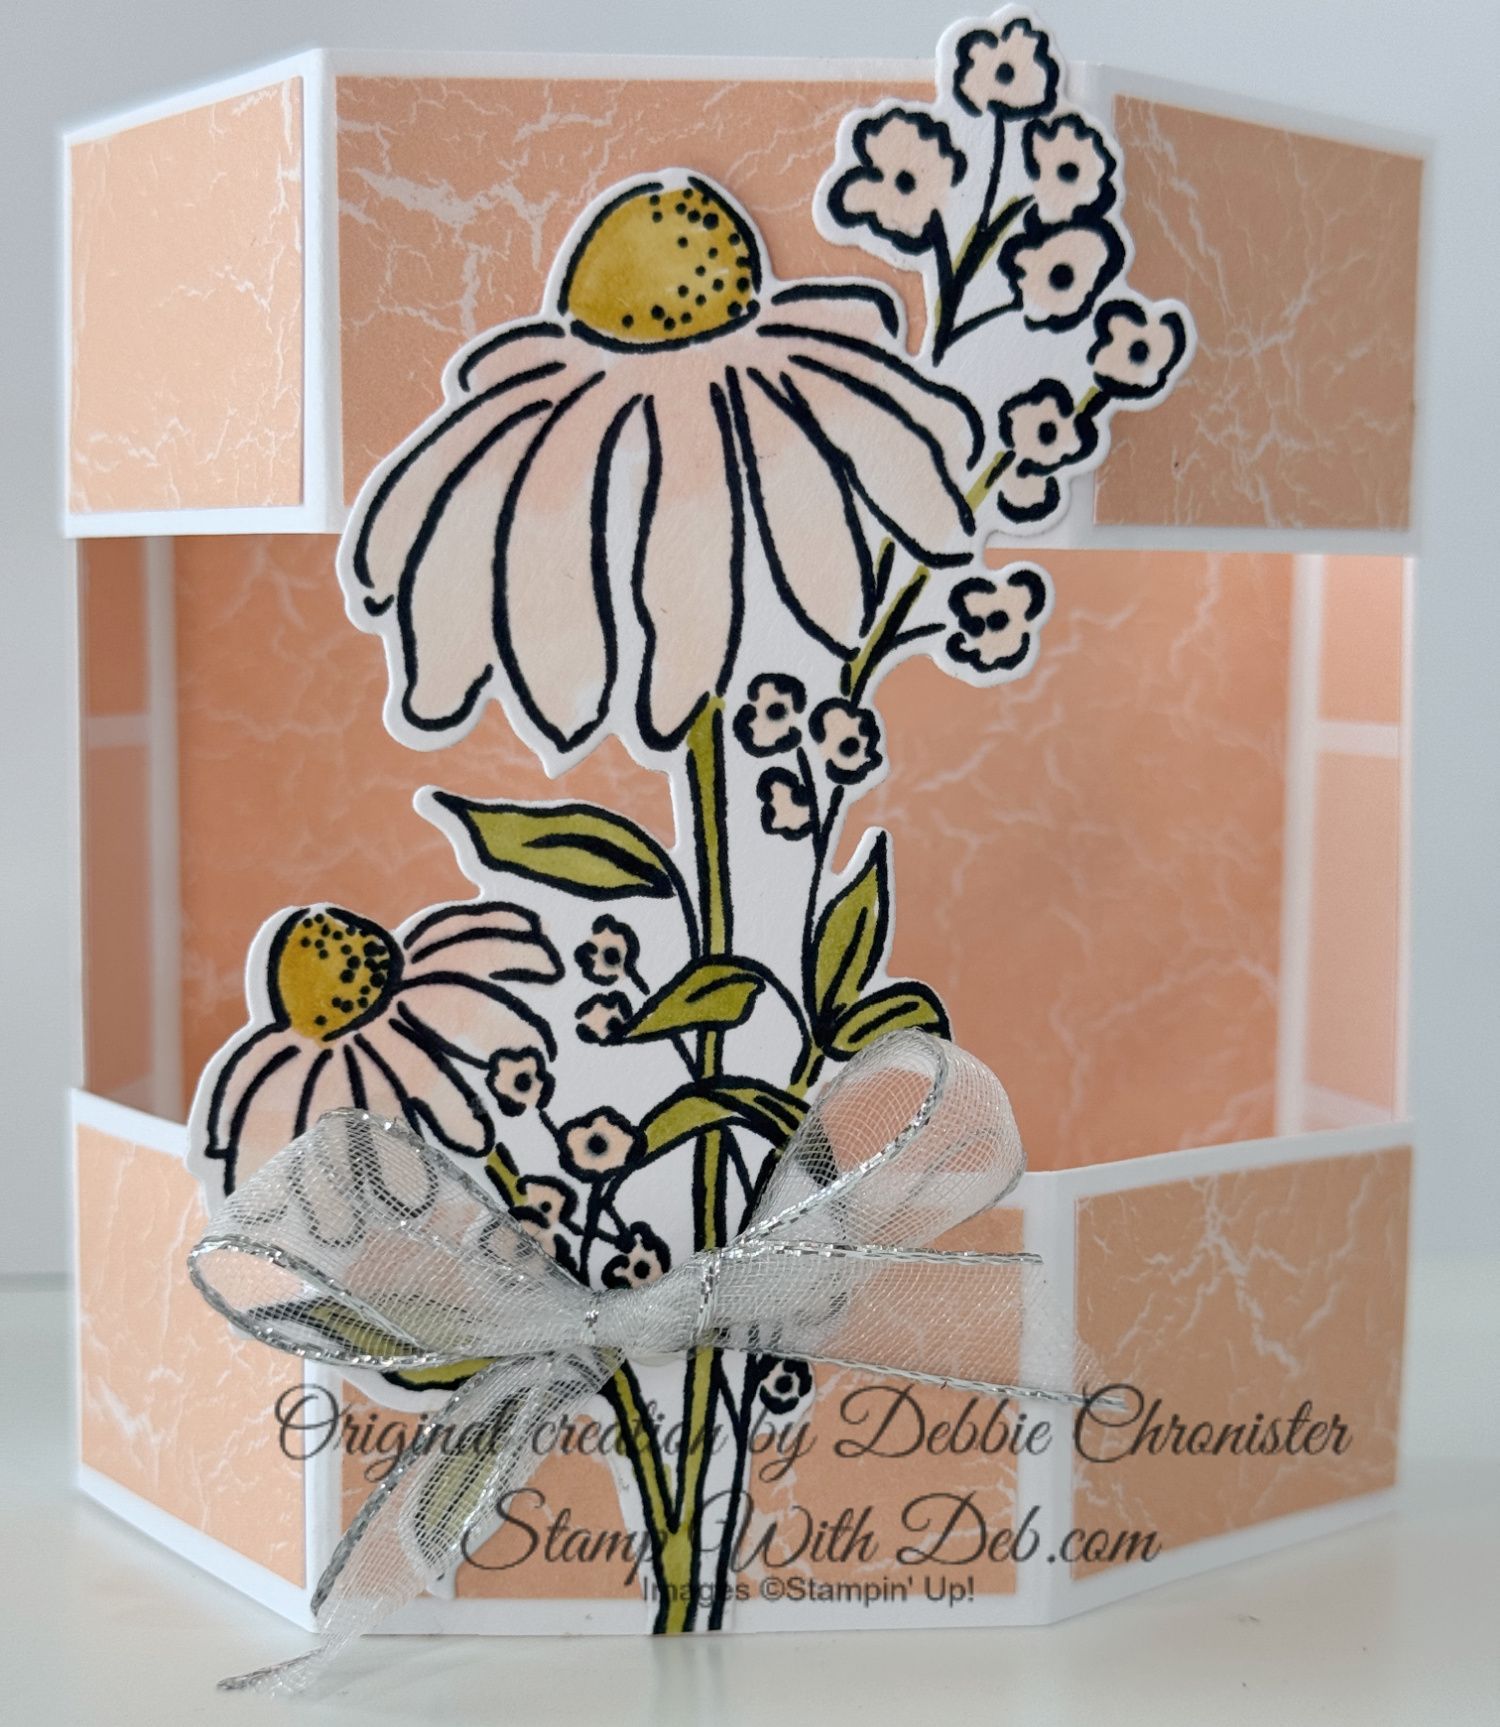
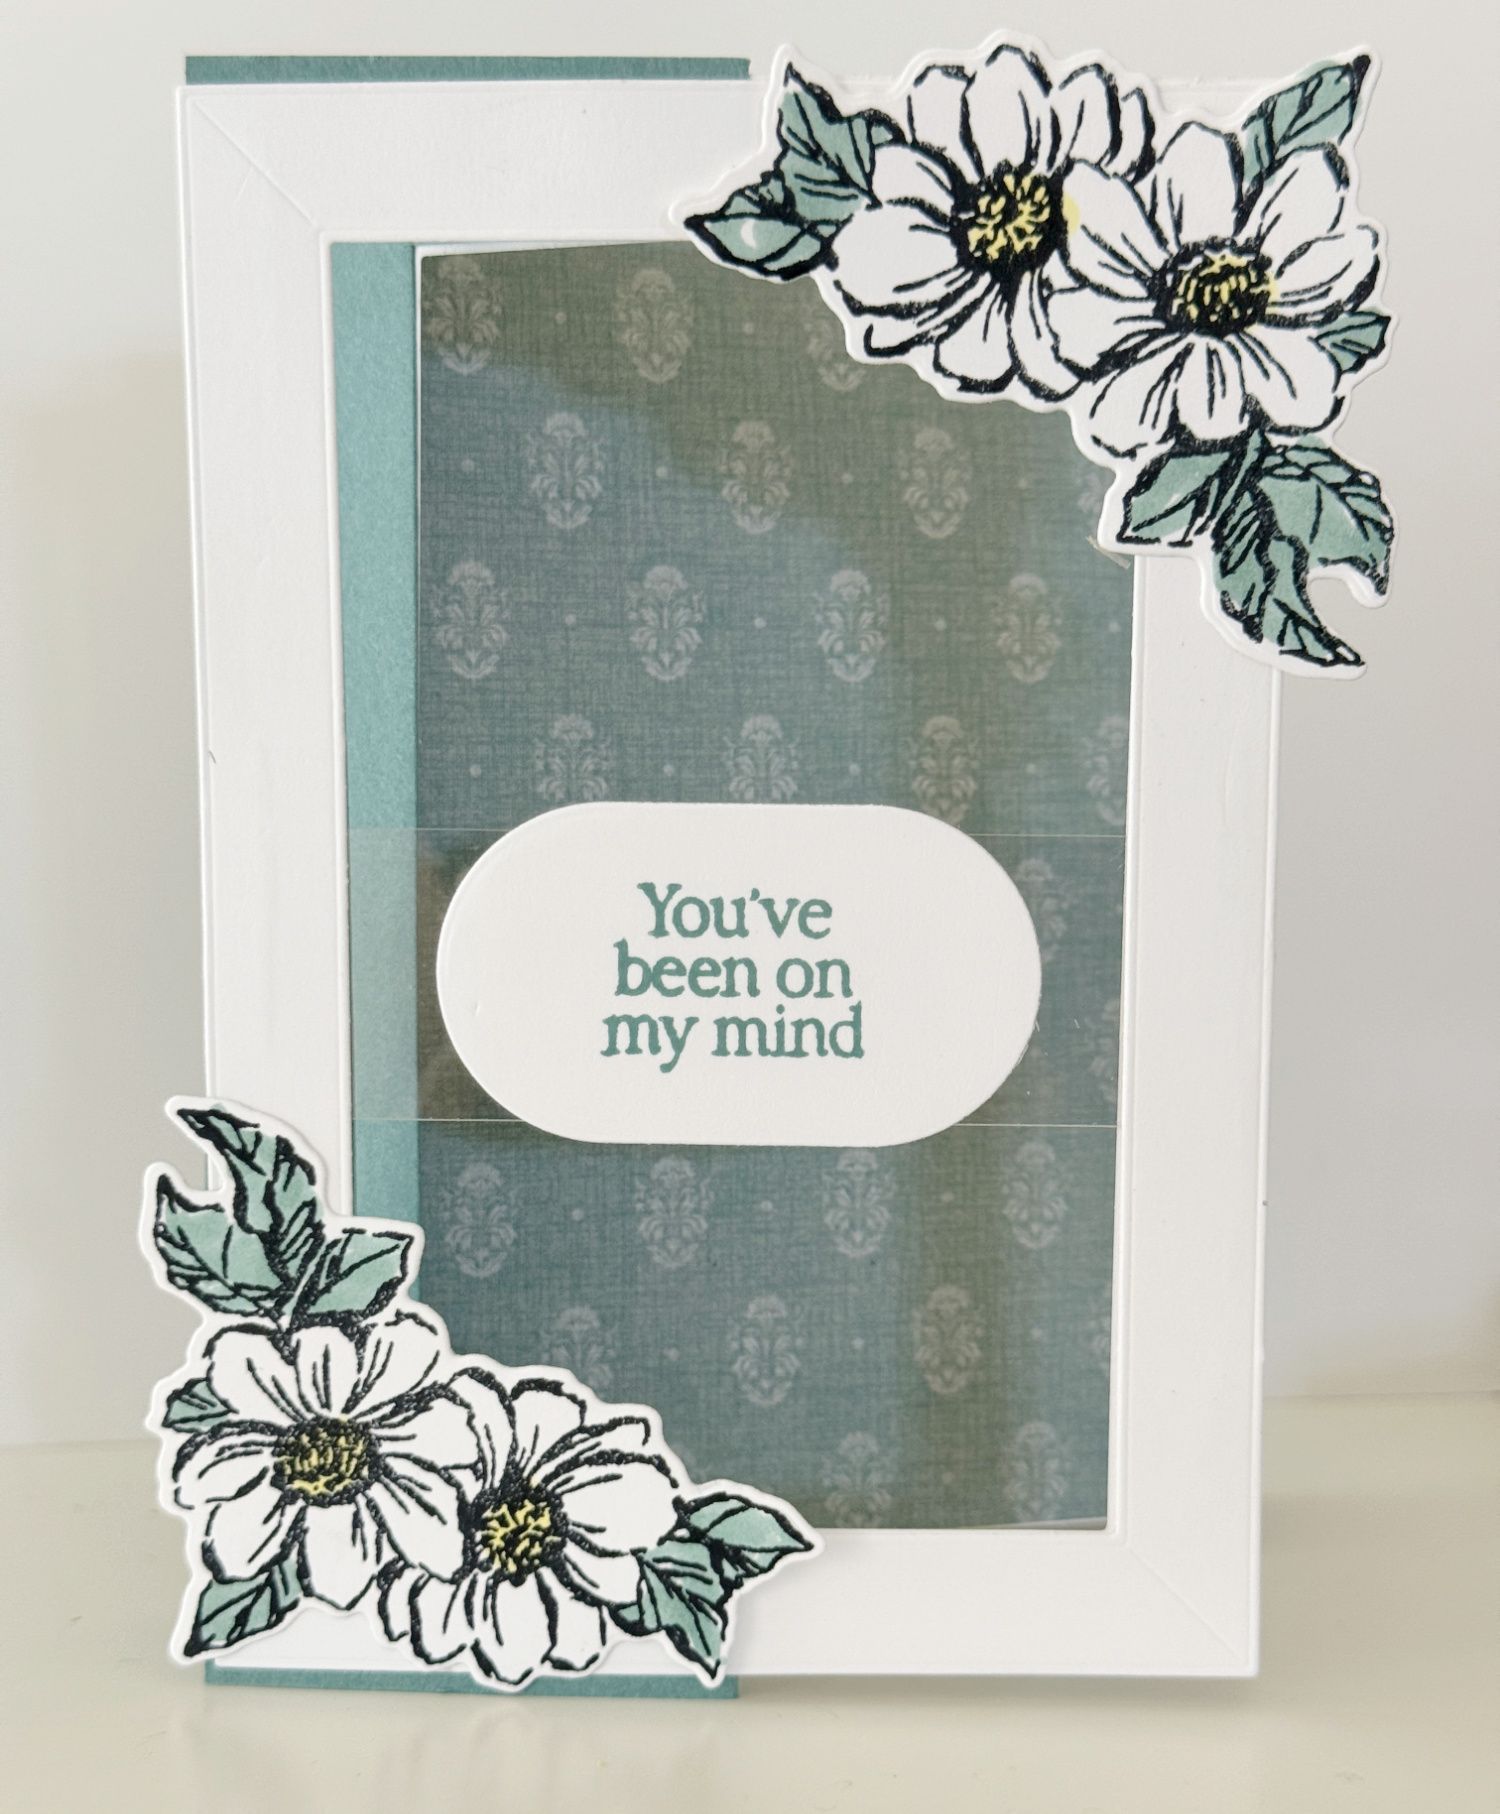
Next I changed the Cherry Cobbler to a Basic White and only used one accent paper which is the NEW Shades & Hues 6 x6 Designer Series Paper. This is a remake from one of the papers we previously had which looks like paint swatches from the hardware store on one side and cracked sandpaper on the other. I changed to the Mixed Florals Bundle for the image which is colored with Petal Pink, Old Olive & Wild Wheat Stampin' Blends and finished off with a beautiful bow in the 1/2" Silver & White Sheer Ribbon.
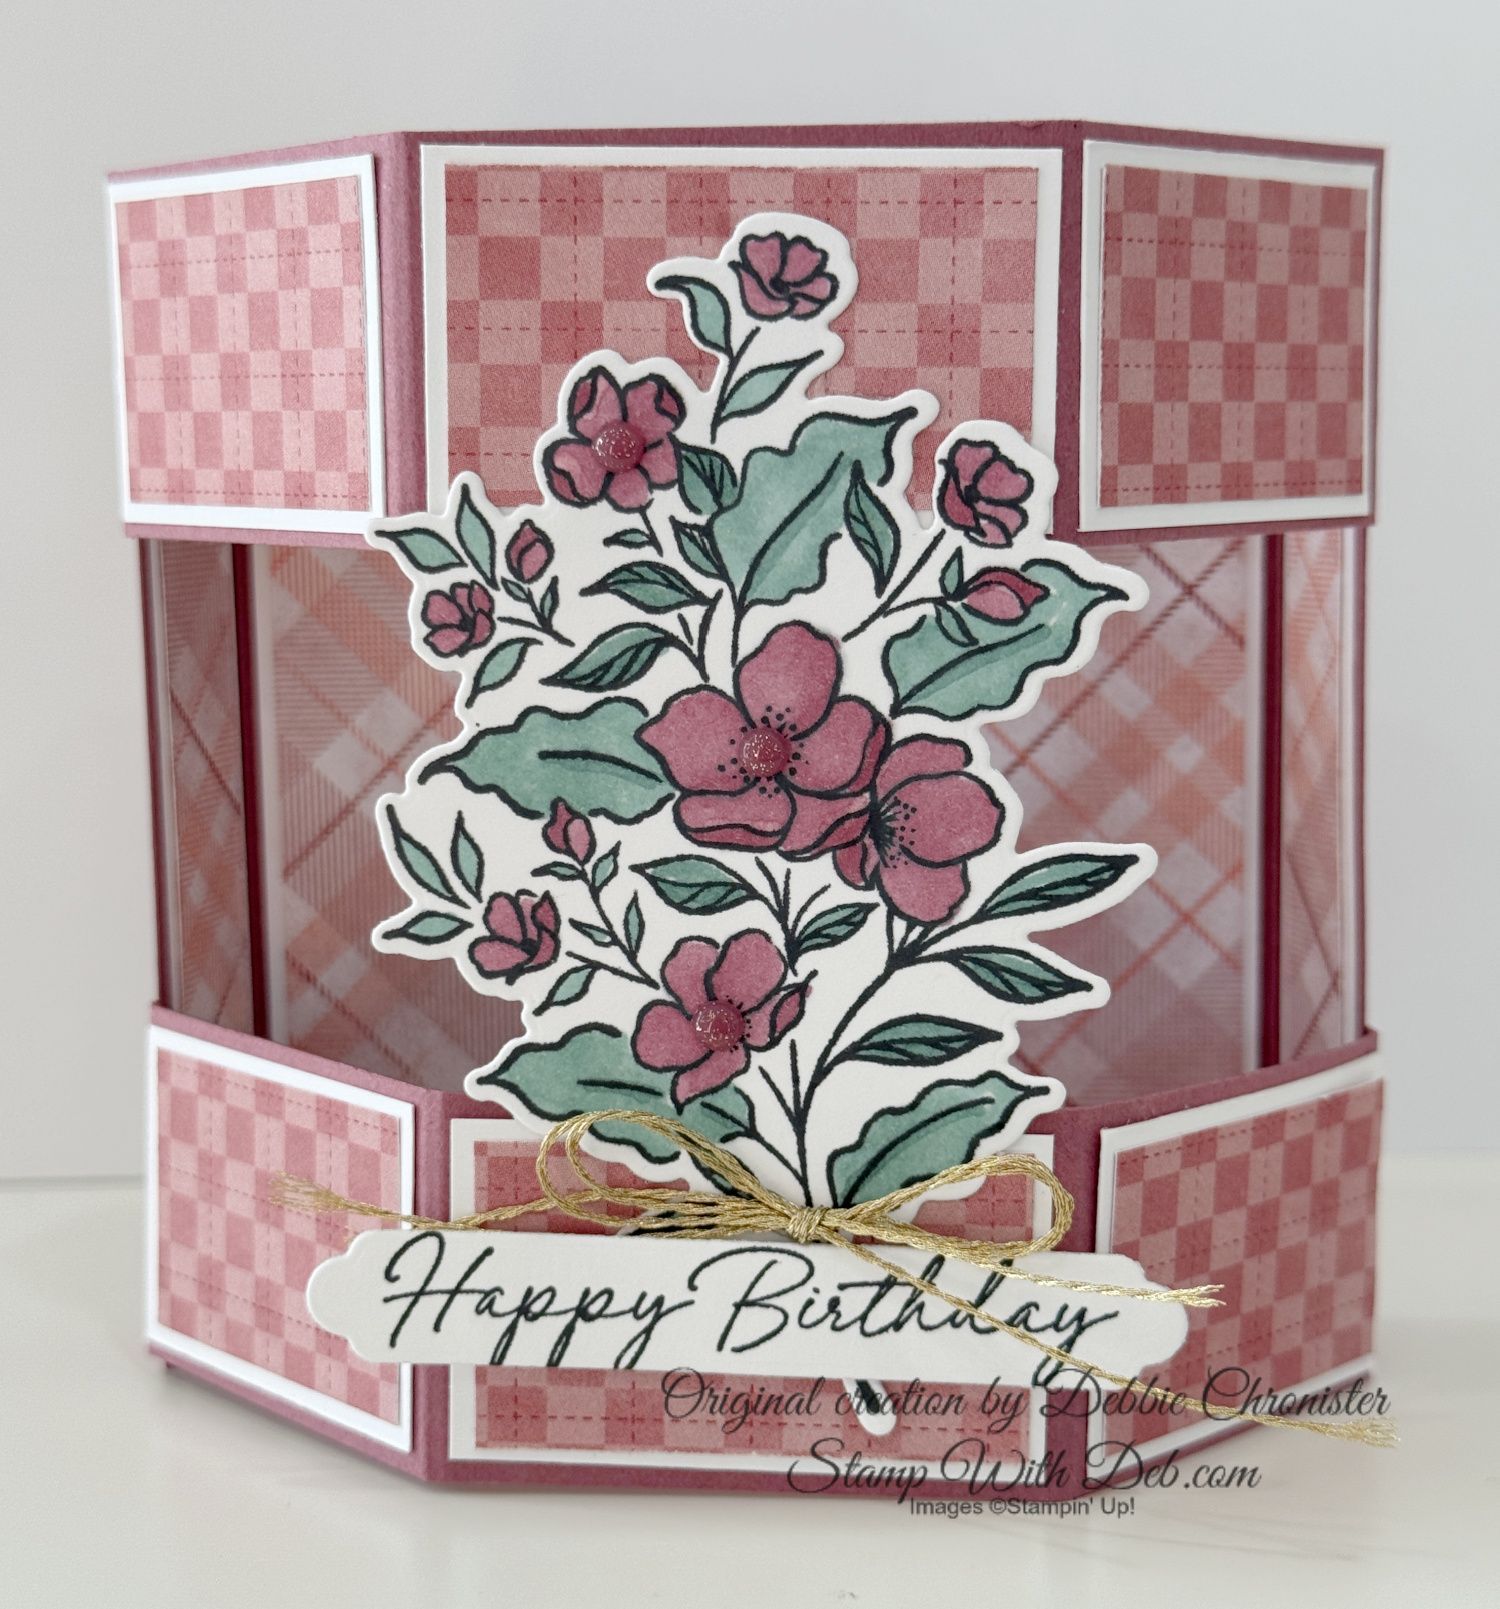
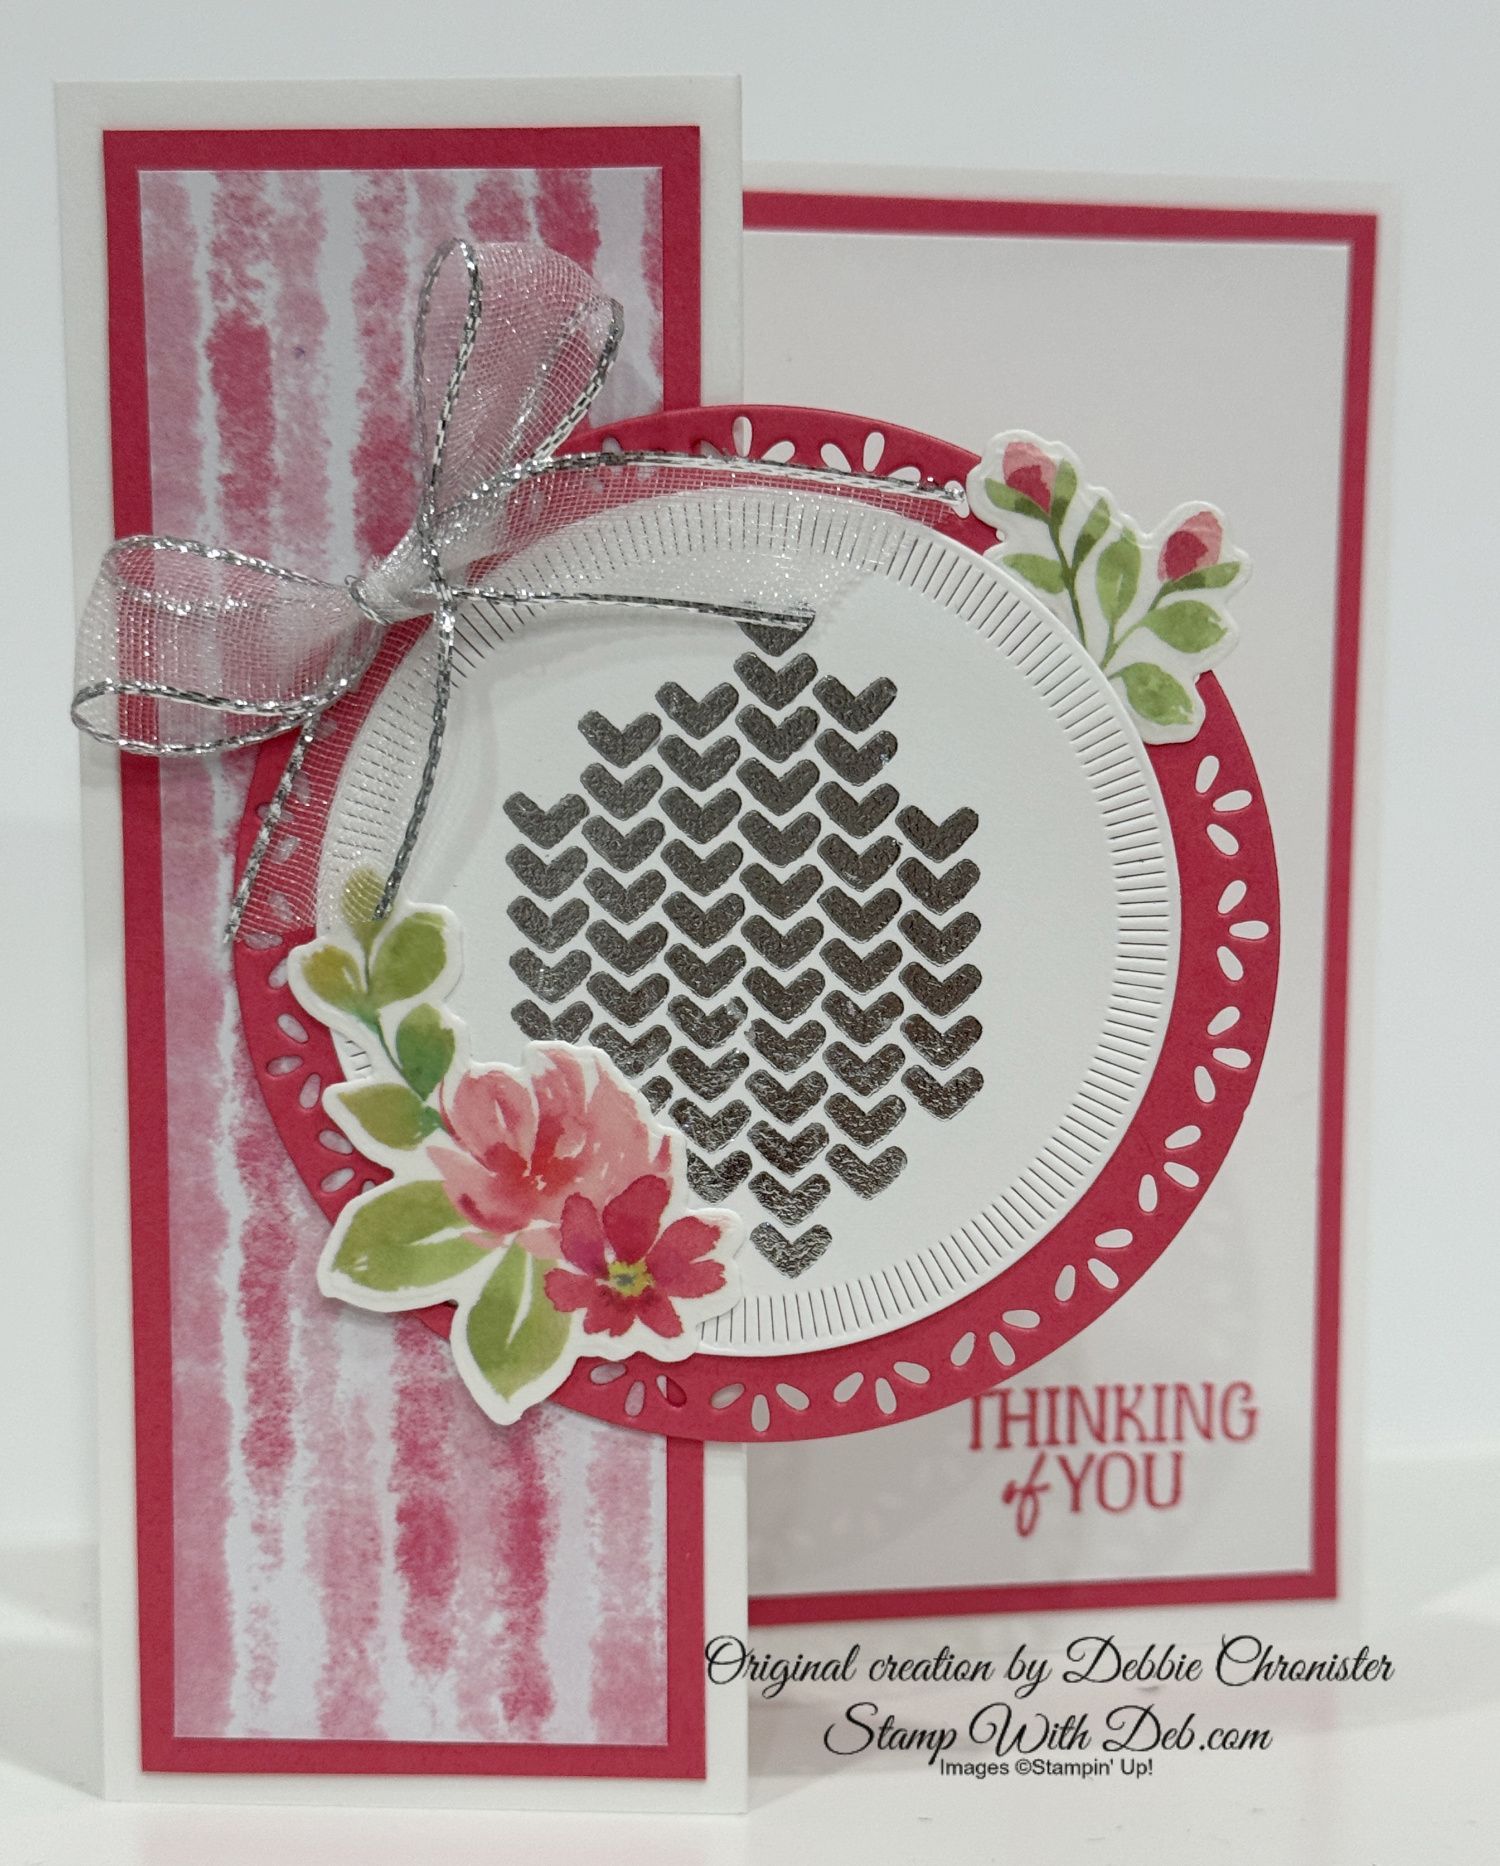
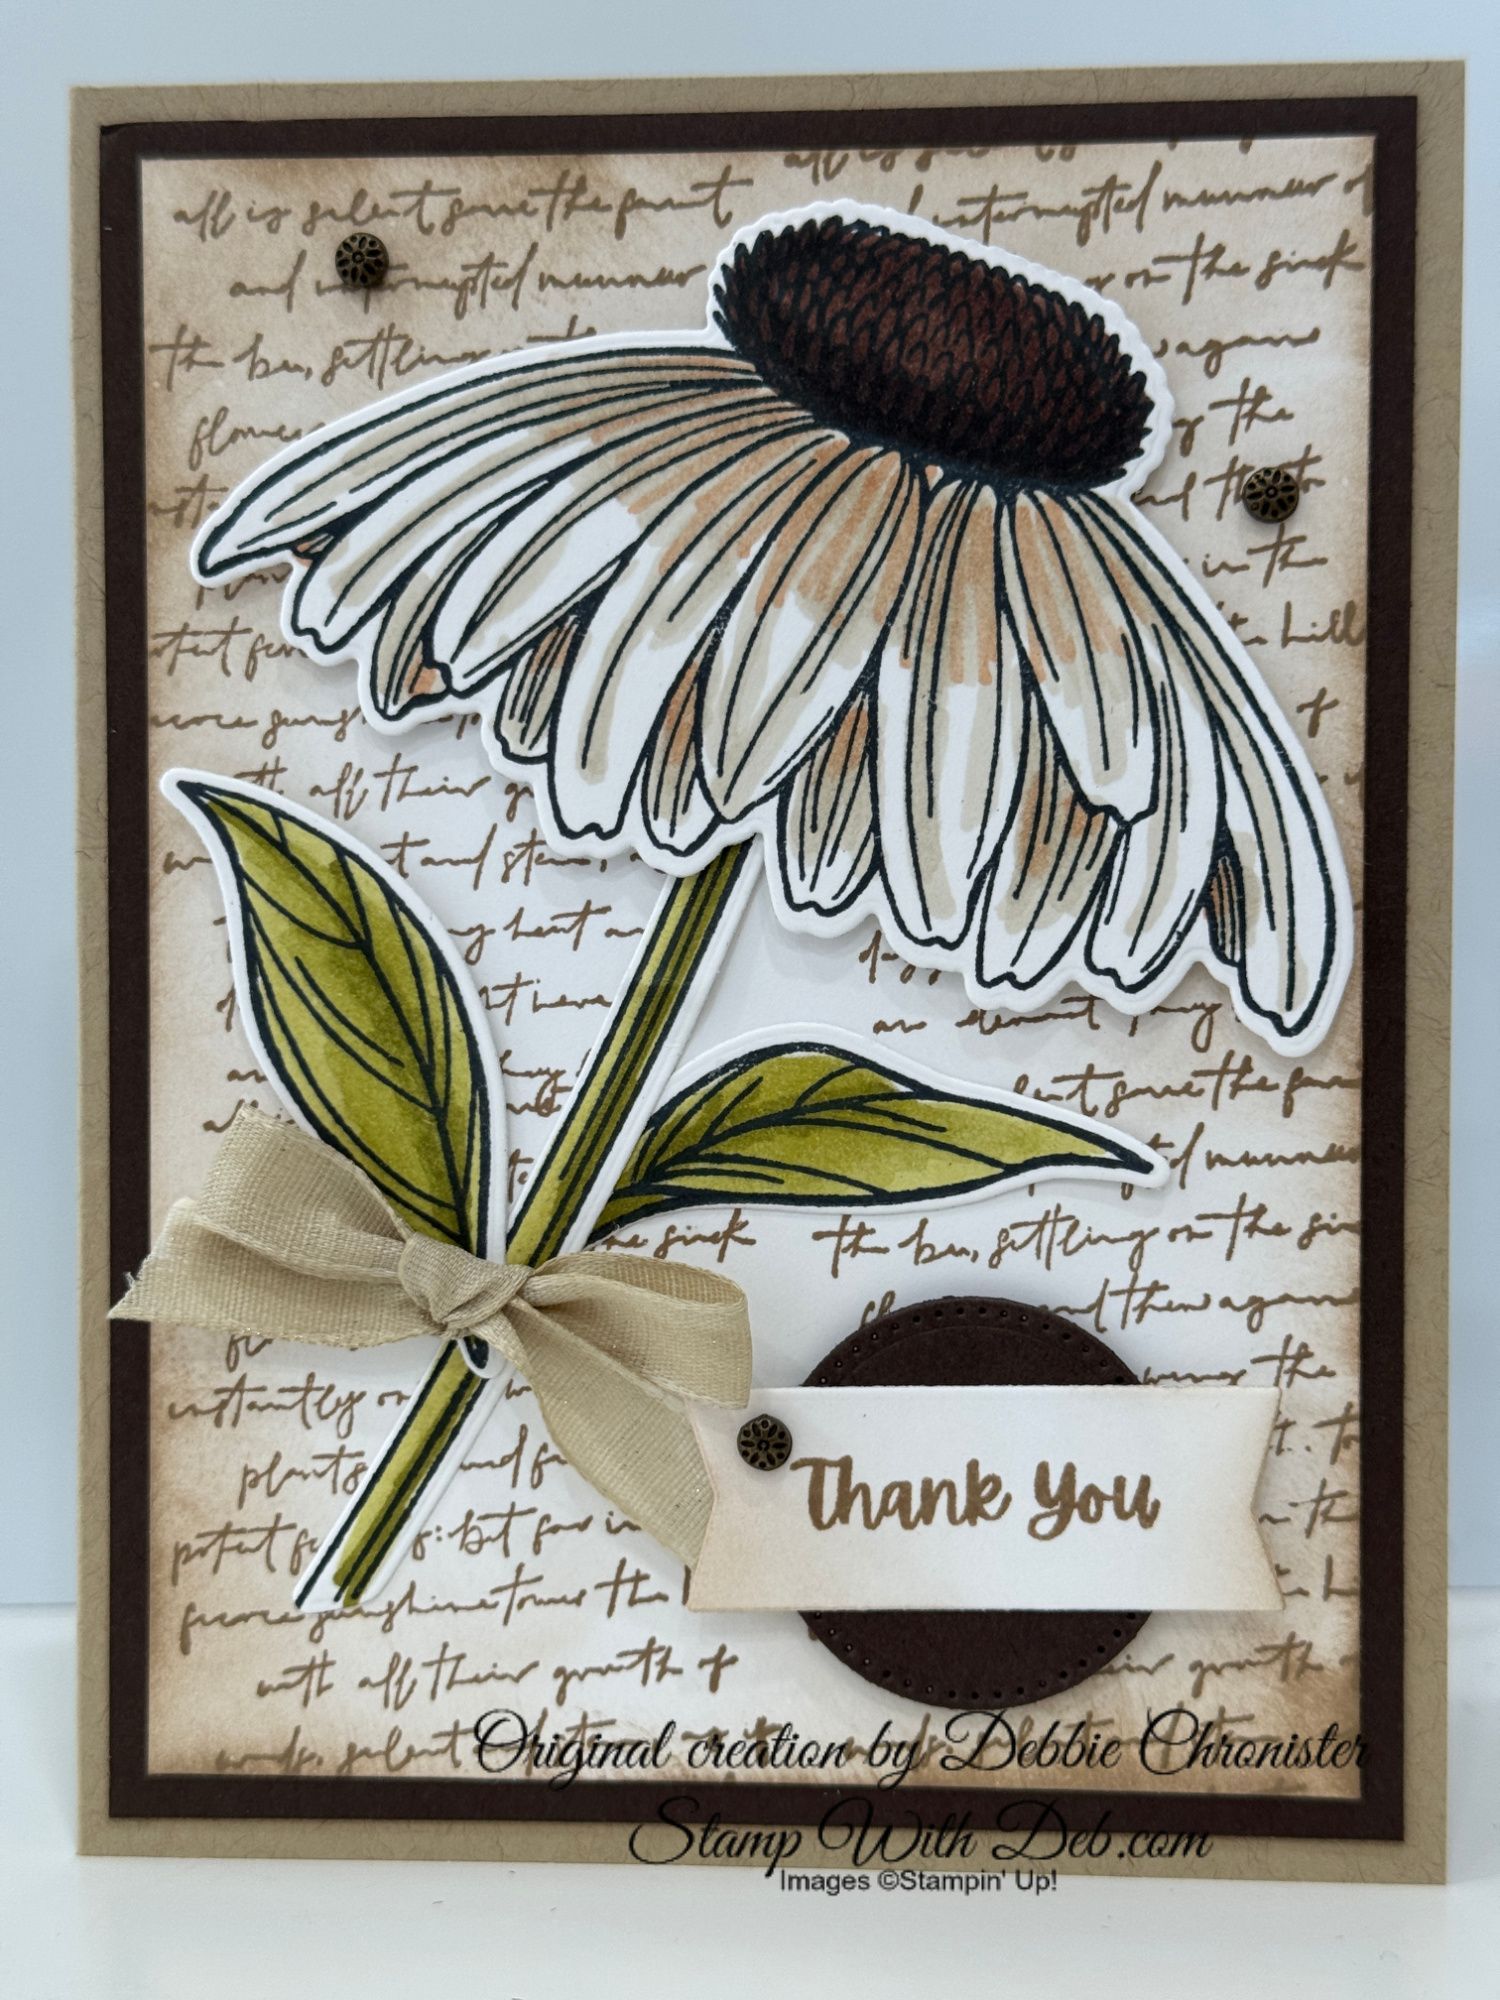
For this one I love the beautiful Timeless Plaid 6 x 6 Designer Series Paper. One side is a plaid and the other is a gingham which makes this paper so versatile. I stamped and die cut the image from Memorable Blooms Bundle in Tuxedo Black Momento. Colored the flowers in Moody Mauve and the leaves in Lost Lagoon Stampin' Blends. The tag for the greeting came from the FEE Sale-A-Bration Heart Shaped Bundle. The greeting is from Magnolia Mood Stamp Set, stamped in Tuxedo Black. I finished off with 2023-25 In Color Shimmer Dots and a double bow using Gold Twisted Thread.
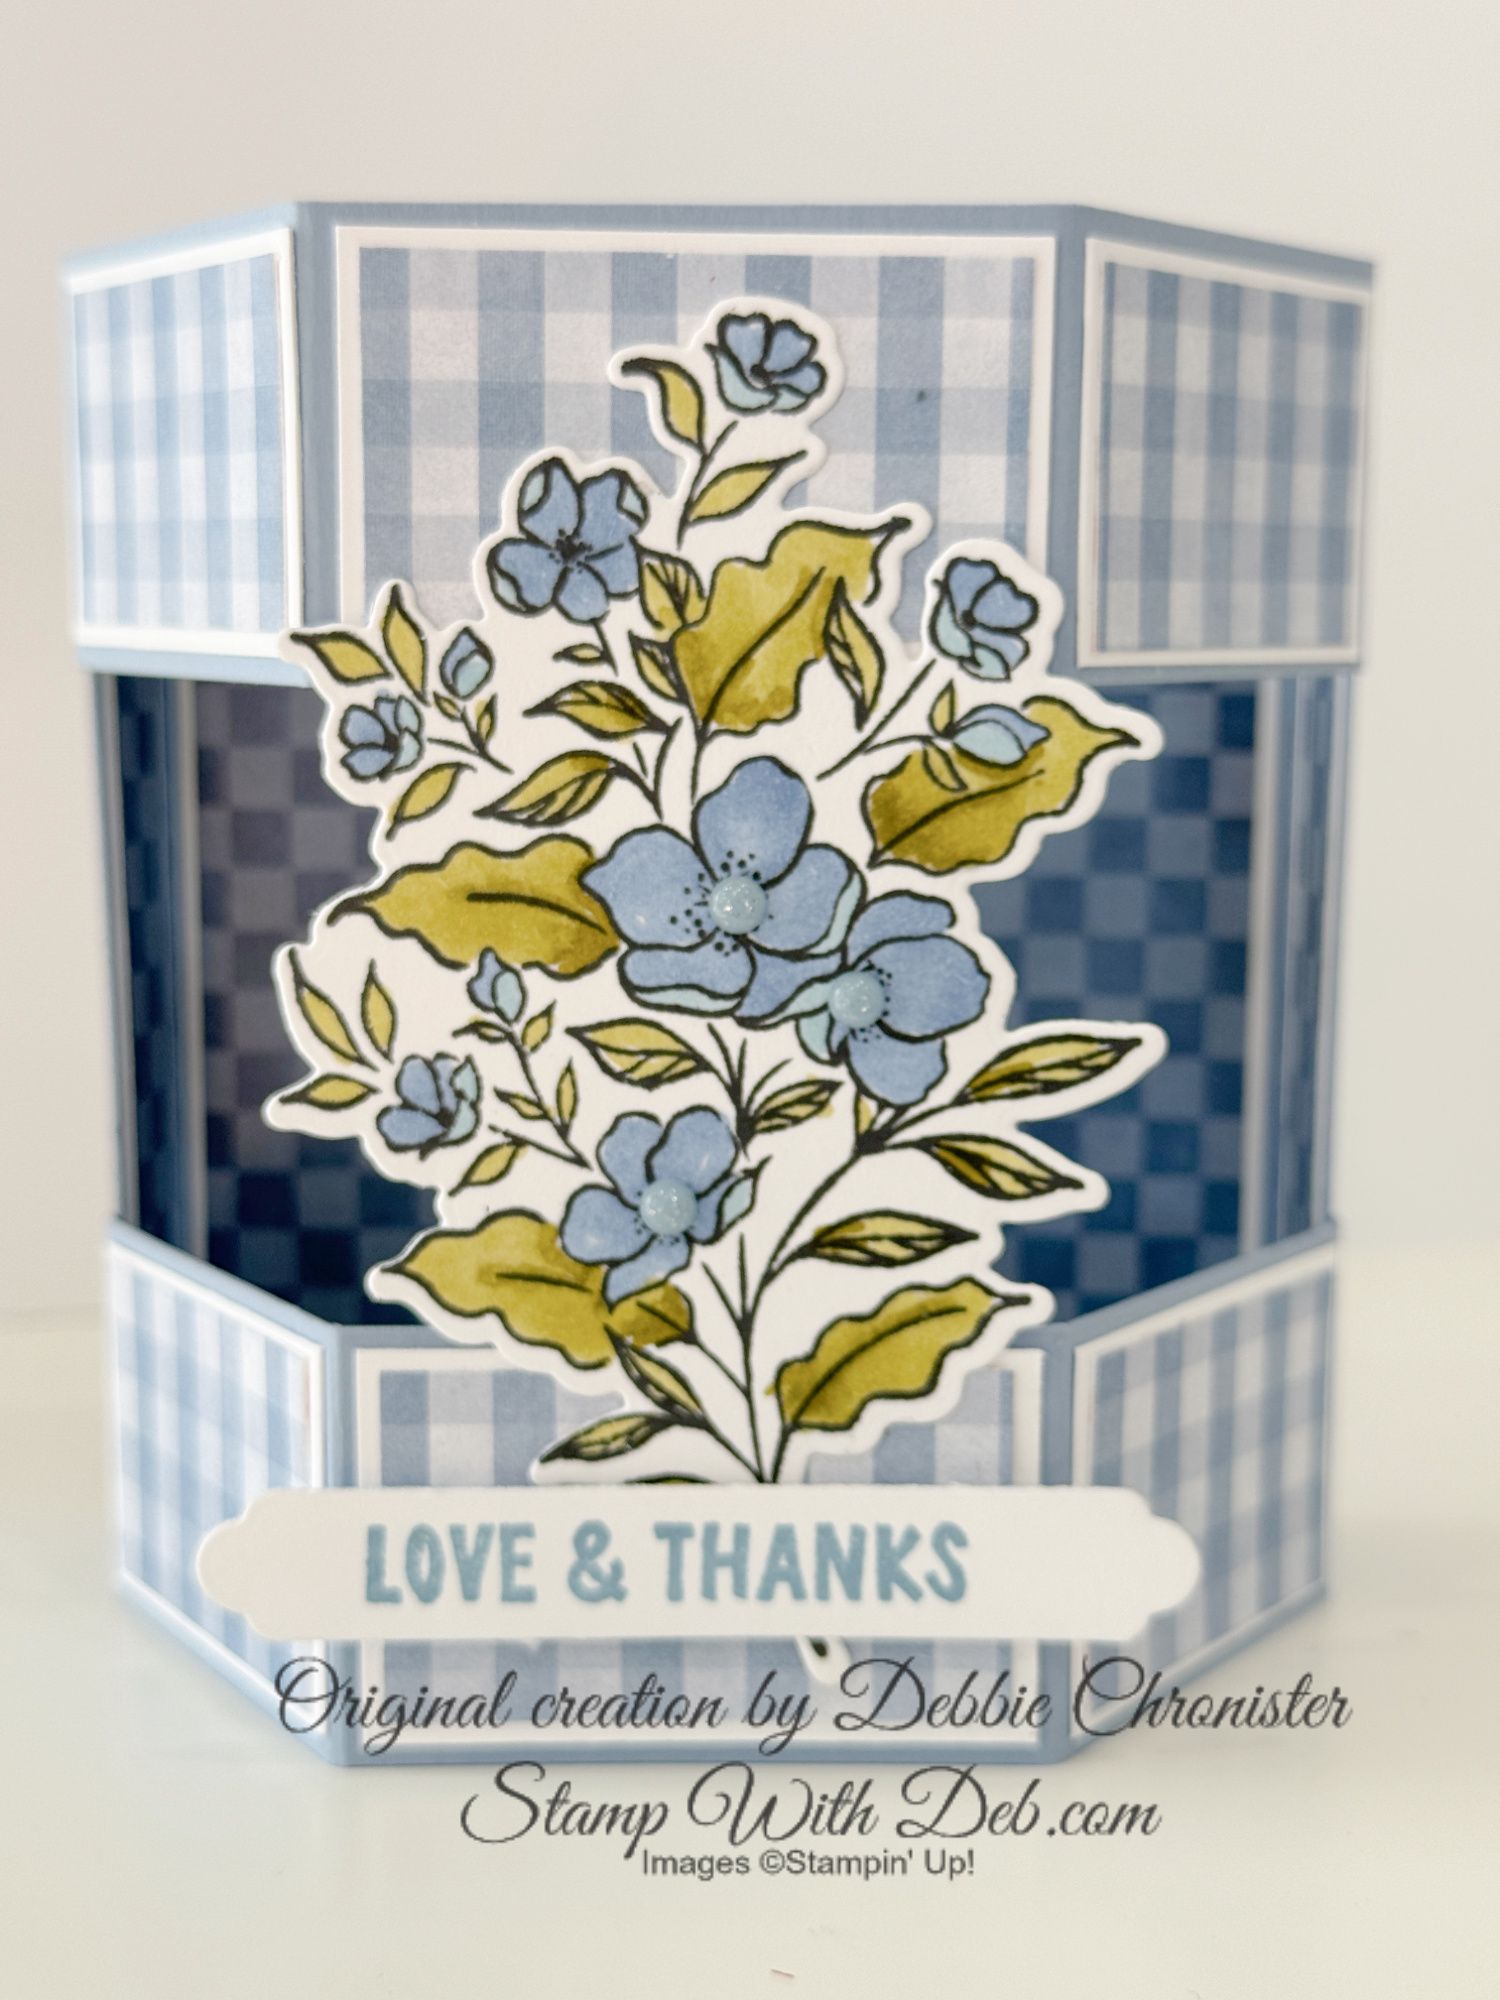
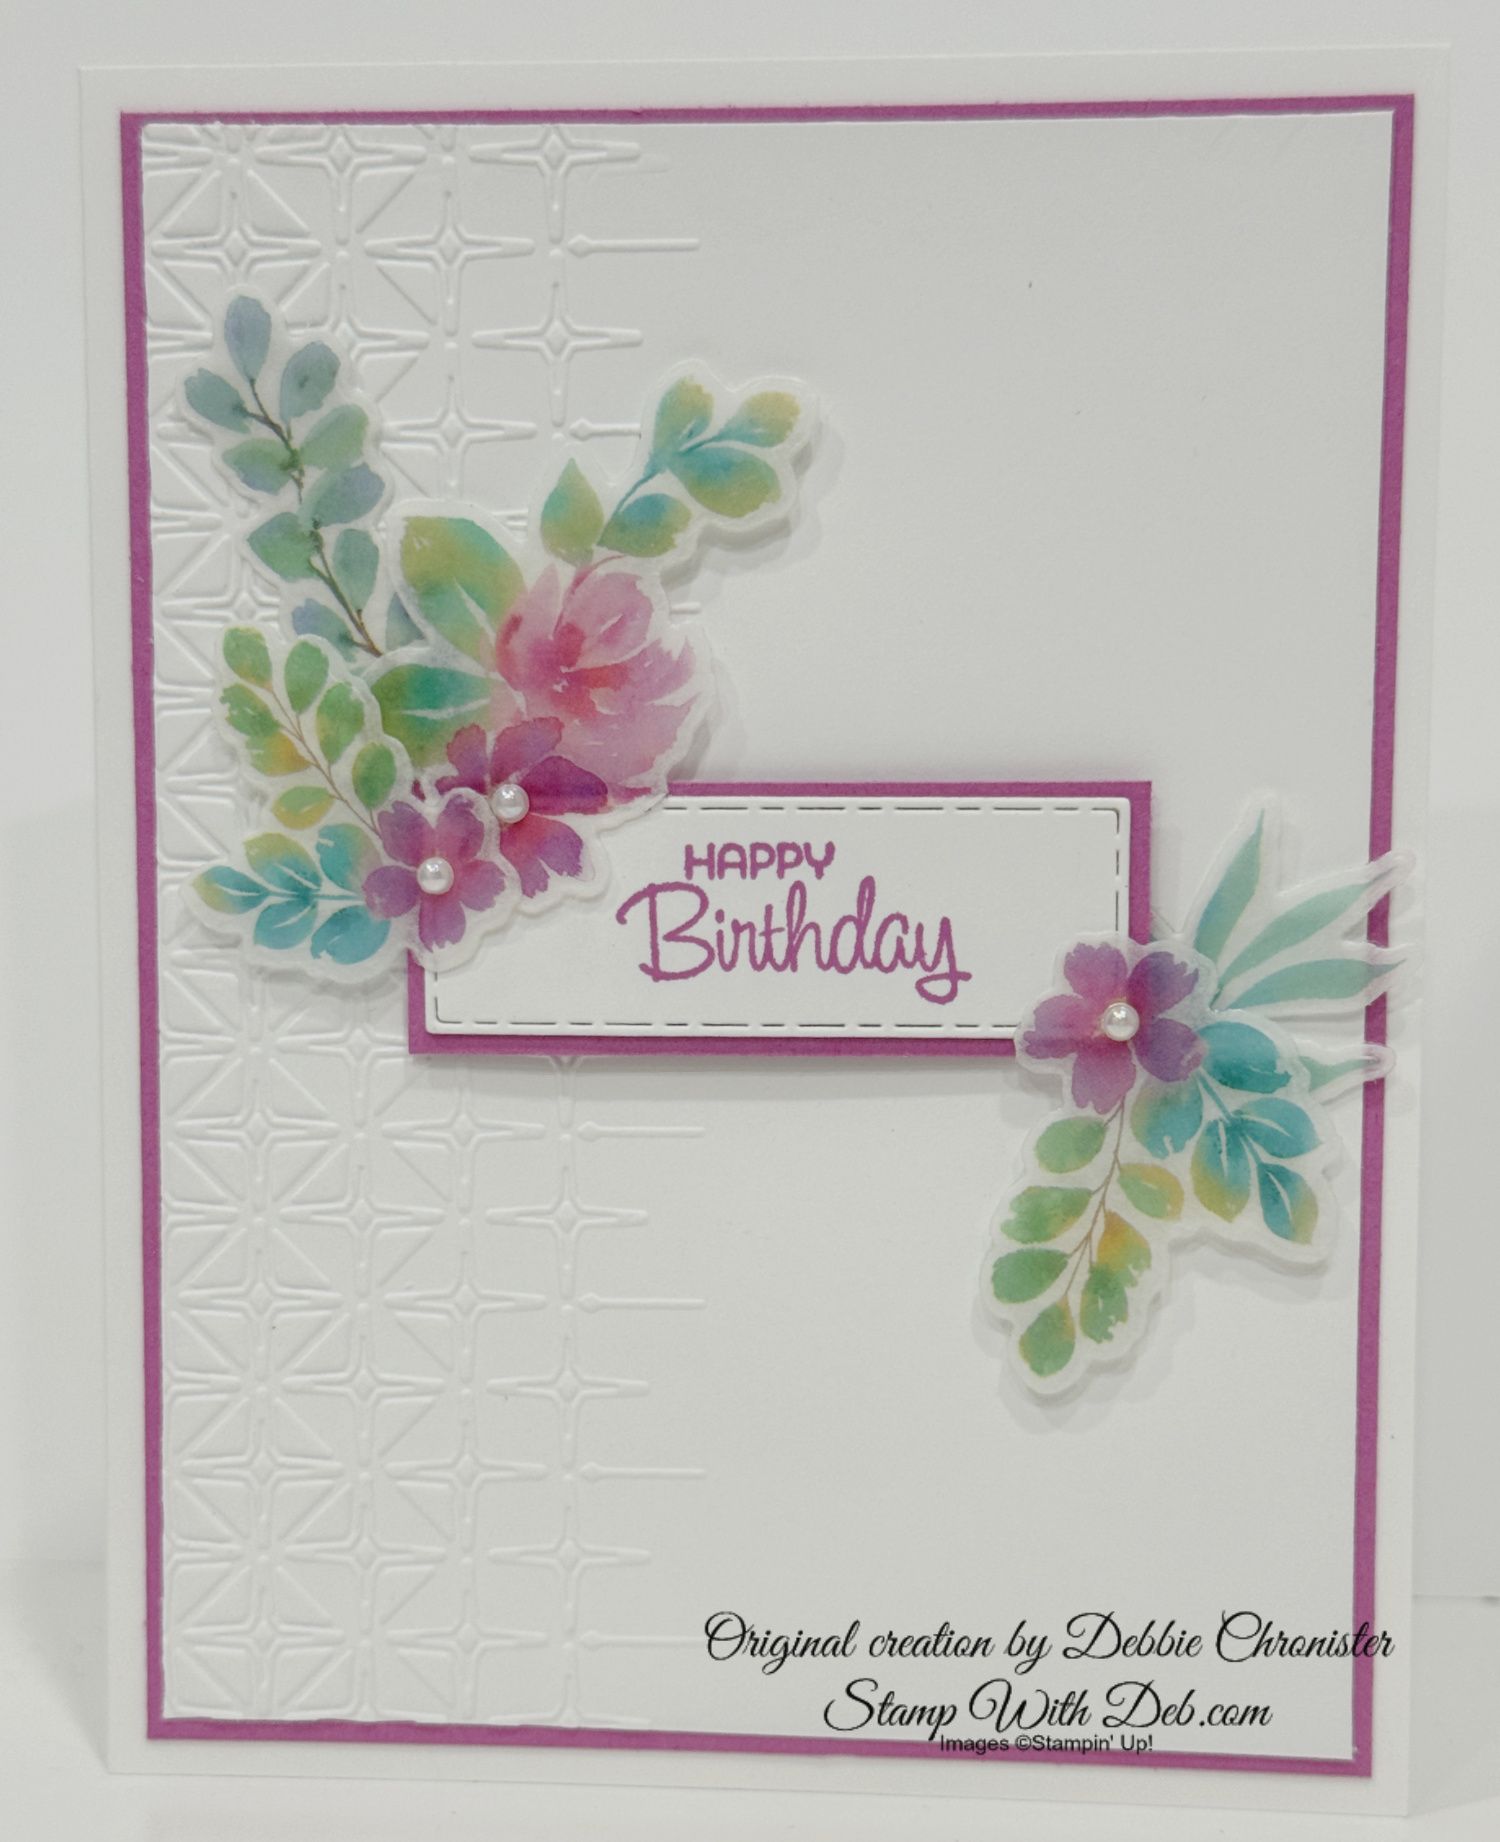
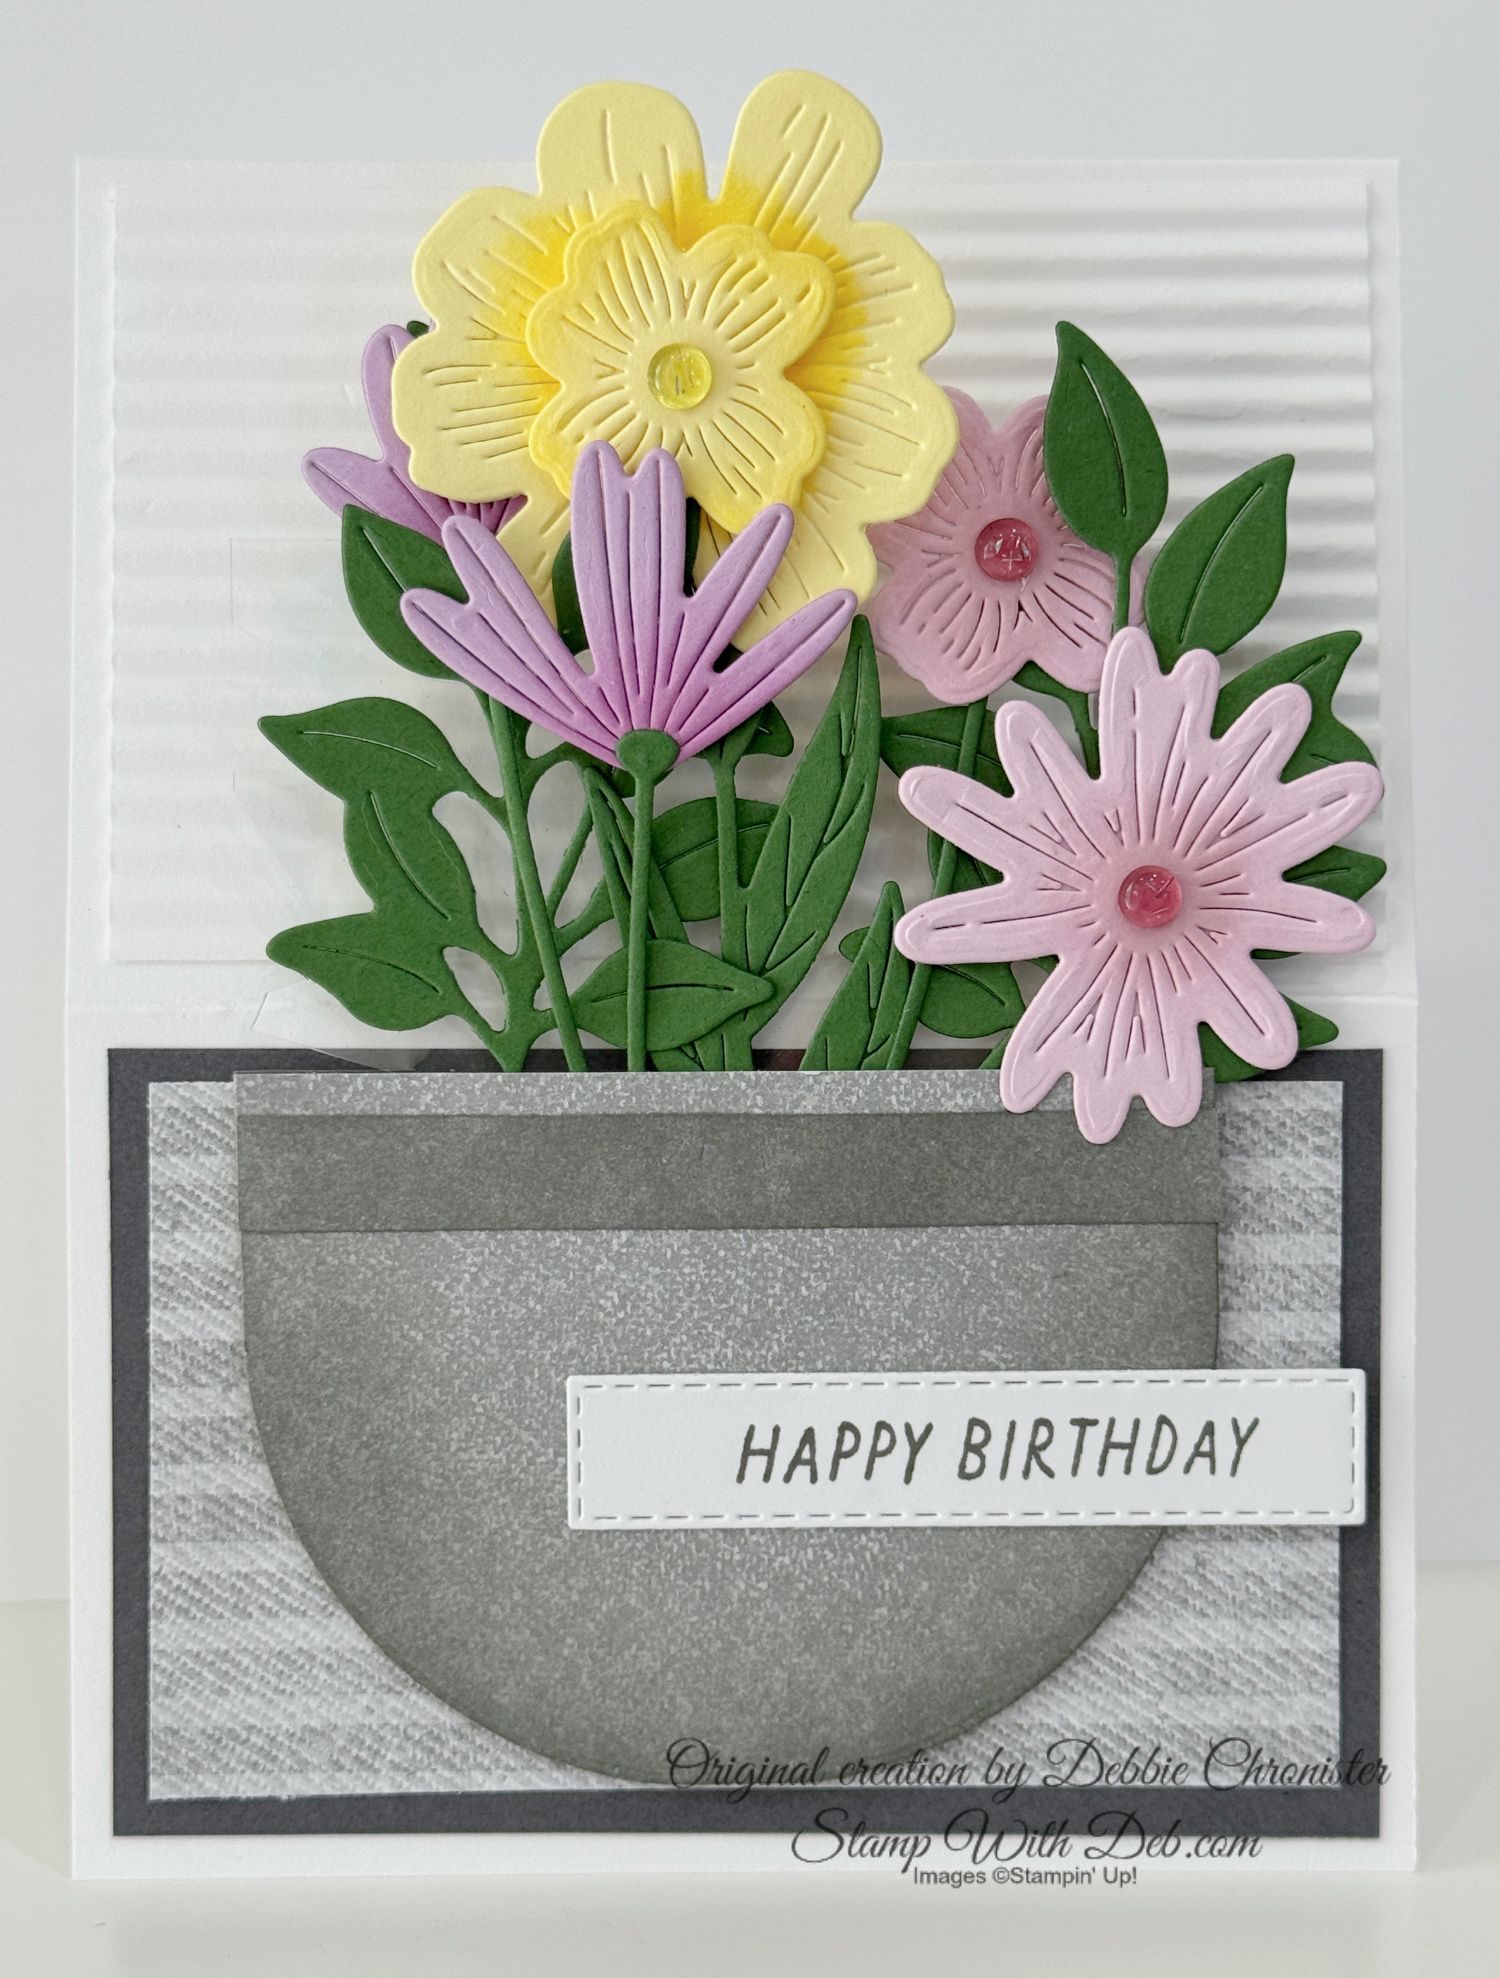
This was the final one I created using, once again, Timeless Plaid 6 x 6 Designer Series Paper only this time in the Boho Blue. I used the gingham side inside the card and another gingham pattern on the outside. The card base is Boho Blue with a layer of Basic White between the cardstock and the Designer Series Paper. The image was stamped in Tuxedo Black Momento and colored with Boho Blue, Balmy Blue & Old Olive Stampin Blends. The greeting stamped in Boho Blue was from Memorable Blooms. I finished off with 2023-25 In Color Shimmer Dots
I loved how each one came out and you could use any large image on the front or you could cut a piece of 4 1/4 x 2 Window Sheet and adhere it to the inside of the card in the center and attach your focal image to that.
Is your order going to total over $99 (before shipping & tax? You may want to consider signing up for my team
where you will get $125 in products of your choice for $99! As a member of my team you will receive a 20% discount on all your purchases as well as many other perks from me and from Stampin' Up! for more information check out Join My Team!
Check out the 2024-25 ANNUAL CATALOG
May - April Annual Catalog releases May 6, 2025. Contact me to get yours!
Subscribe to my
My YouTube paper crafting video channel
Follow me on
Pinterest
Follow me on
Facebook every week for Stampin' Tell Tuesday
Shop my
Online Store