Sorry, I’ve Been Missing
I am sure that the New Catalog brings lots of hustle, bustle to all Stampin’ Up! Demonstrators. It’s out with the old and in with the new. But we don’t just bring it in now we have to play with it. I have been so busy getting ready for my Catalog Kick Off Events, there are 3 scheduled, that I have neglected to show you what I have been doing. I have really enjoyed playing with new product and creating all kinds of new ideas. Thank you to those who have inspired me and there are many.
So today I have a simple little project for you. I usually give away stamp sets at my Catalog Kick off and I want them to look like a gift. Last year I wrapped them in tissue paper but that just didn’t do it for me this year. So I wanted to create a simple little bag that I could put them in. I had lots of DSP left from last year but when you are wrapping 60 stamp sets that means at least 120 sheets of DSP so when I realized I didn’t have enough to do them all in the same paper, I did them in all different designs and I created this perfect little bag just right for them.
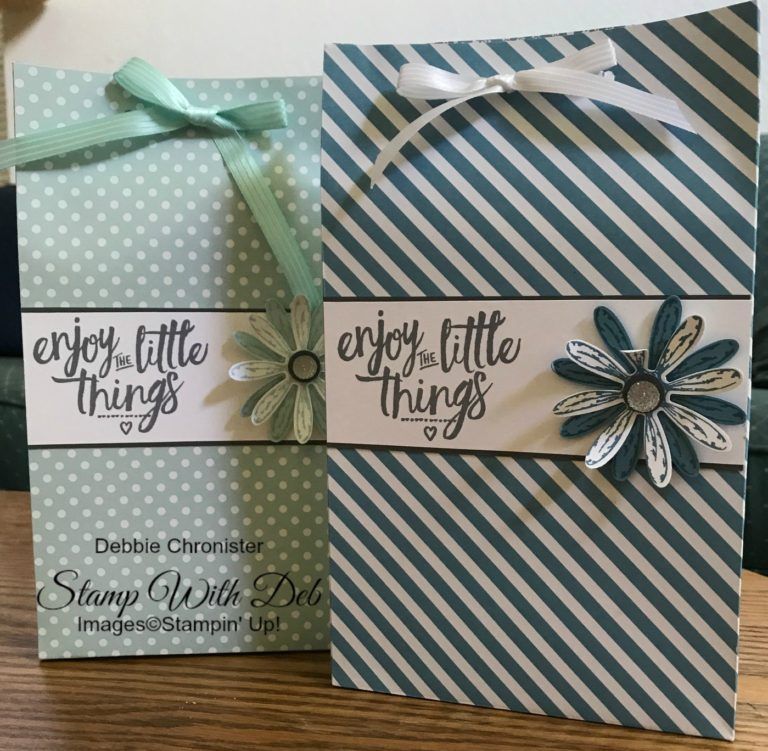
On this one I used “Retired” Mint Macaron but it is just adorable in any DSP.
Start with a 12 x 12 Designer Series paper,keep the 2″ piece you cut off
*Cut to 10 x 12 , with the long side at the top, score at 5 1/2″ & 6 1/2″
Rotate one quarter turn (10″ side at top)score at 1″
*Cut the 2″ piece to 2 x 10″, score with the 2″ side at the top, at 1/2 & 1 1/2
Rotate one quarter turn and score at 1″
Burnish all your fold lines.
Put Tear & Tape on long edges of the 2″ strip and attach it to the 10 x 12 so that the 1″ score line matches the 1″ score line on the 10 x 12. You are creating the side pleat for the bag.
Fold up the bottom and adhere the flap closed.
Using the Crop A Dial punch 2 holes in the top and thread the ribbon through, after putting the stamp set inside, and tie a bow!
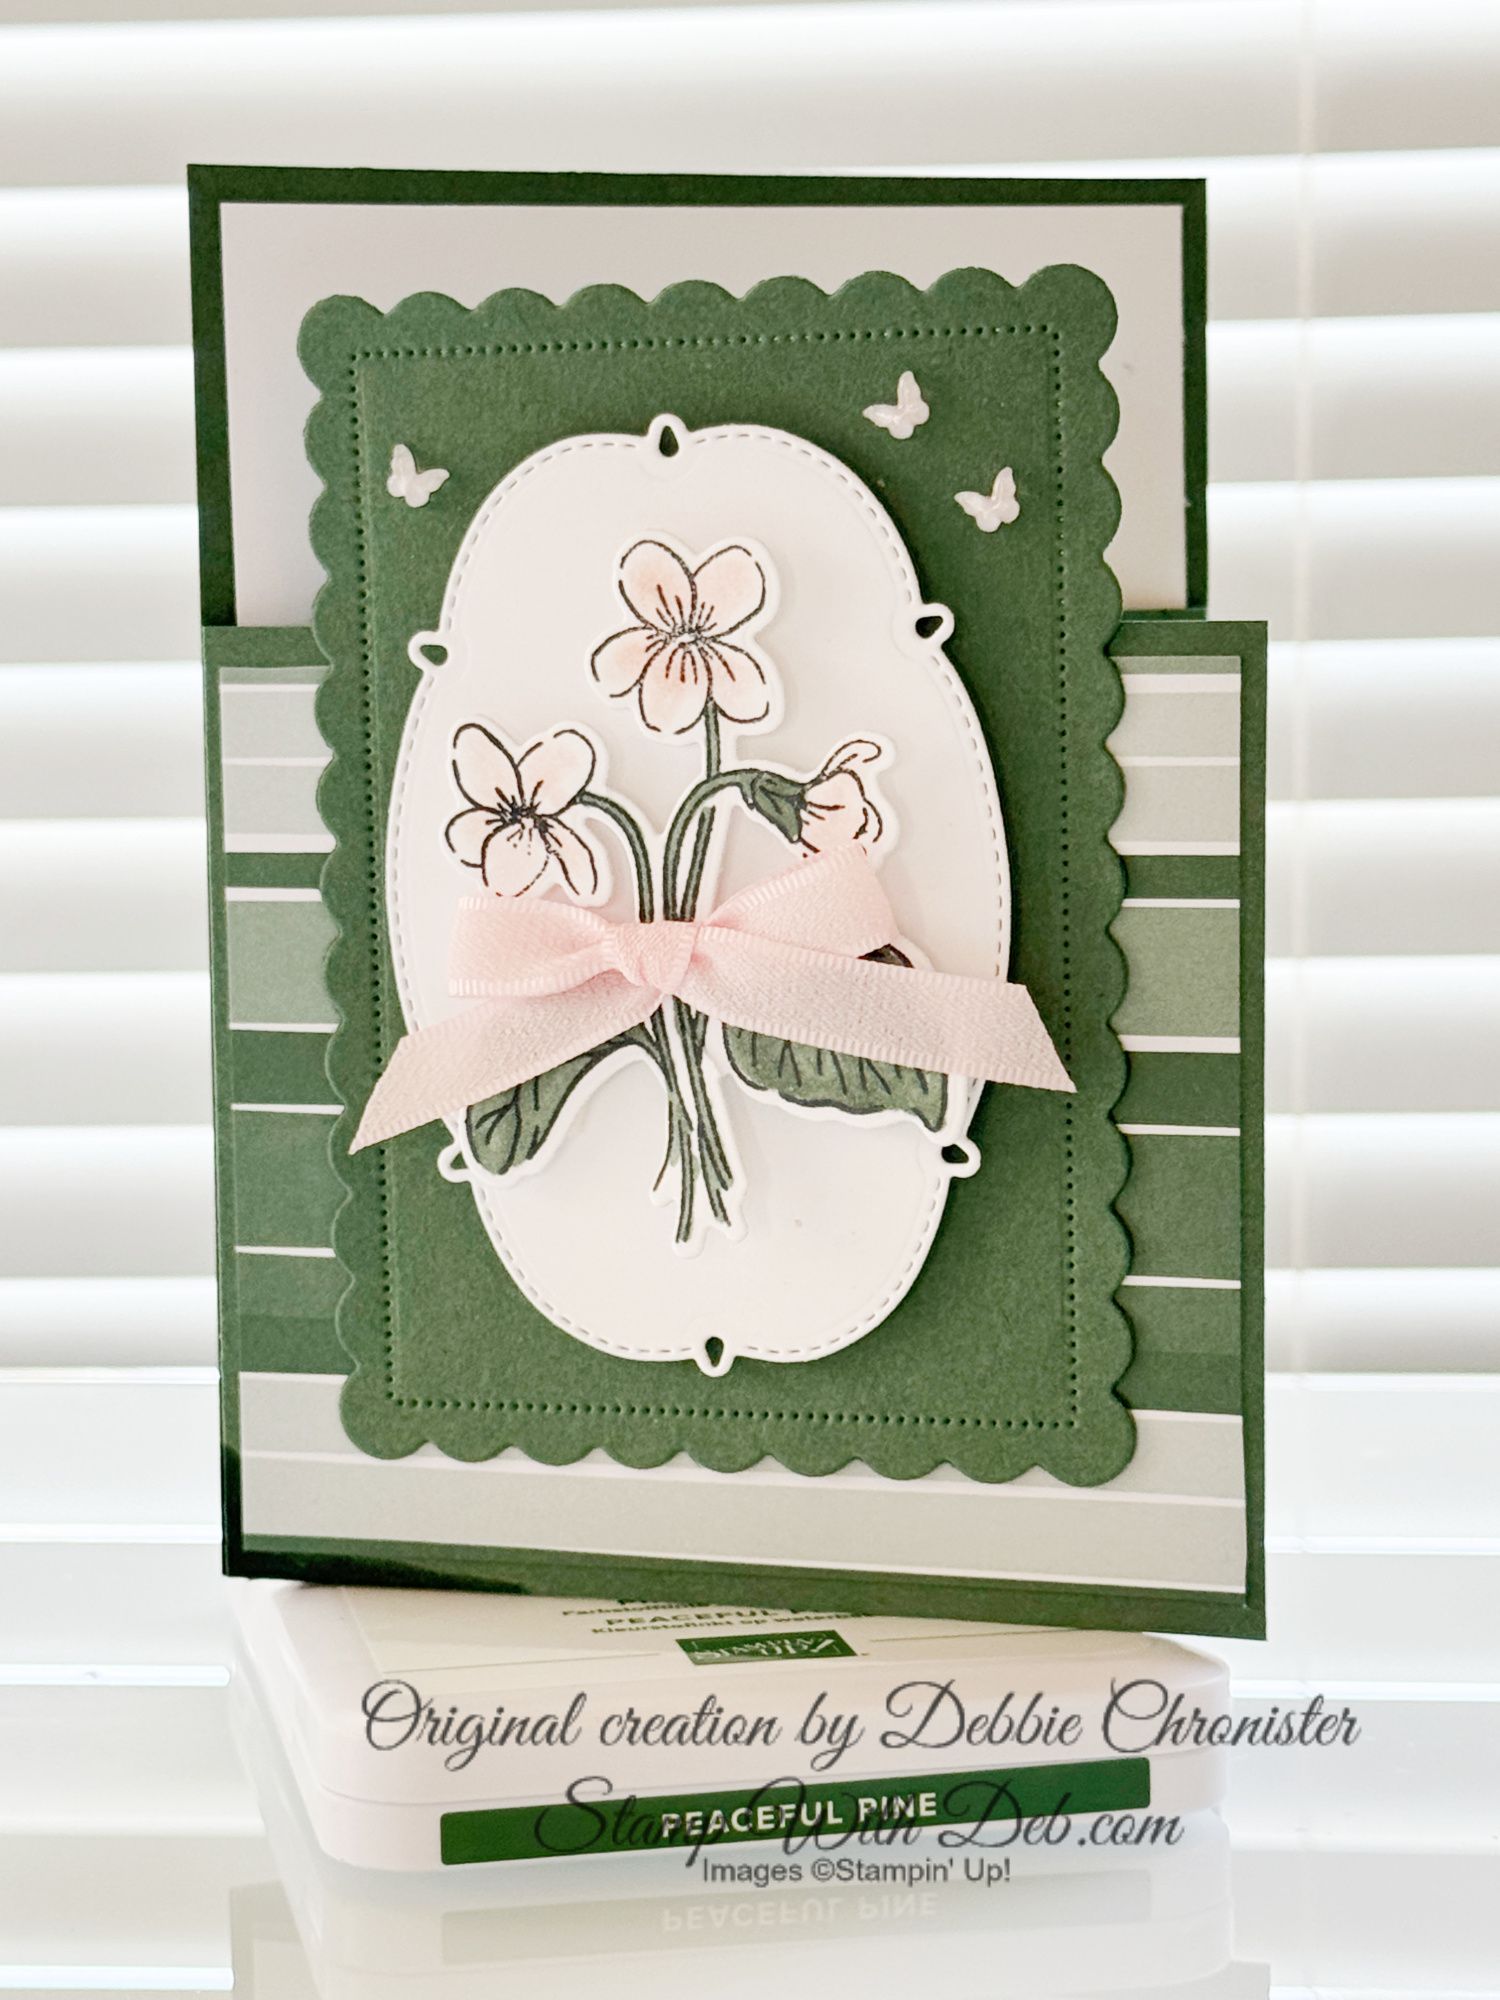
Cut a 2 x 5 1/2″ Whisper White and stamp the greeting from Layering Love in Basic Gray
Cut a 2 1/8 x 5 1/2 Basic Gray and layer behind the Whisper White.
Stamp the flower from Daisy Delight 2 times in the color of the bag and attach to the bag with a dimensional. Finish off with a Faceted Gem.
I hope that you enjoy this easy little bag. If you have any questions please email me.
Are you about to hit that $99 mark on your order (before shipping and tax)? If so, why not consider joining my team? As a member, you’ll enjoy $125 worth of products of your choice for only $99! Plus, you’ll snag a fantastic 20% discount on all your future purchases and a variety of exclusive perks from me and Stampin' Up! Dive into this exciting journey of paper crafting with us! For more information, check out my Join My Team page
We now have 3 catalogs each year, January - April, May - August, September - December. We no longer have an annual catalog. You will find all of the products in the catalogs online as well as Last Chance and Online Exclusive Products. If you want to check out the May - August Catalog click on that catalog below. If you want a paper copy, please contact me to get yours!
Check out:
Online Exclusives
May - August Catalog - Contact me to get yours!
Subscribe to my My YouTube paper crafting video channel
Follow me on Pinterest
Follow me on Facebook every week for Stampin' Tell Tuesday
Shop my Online Store