Succulents Galore
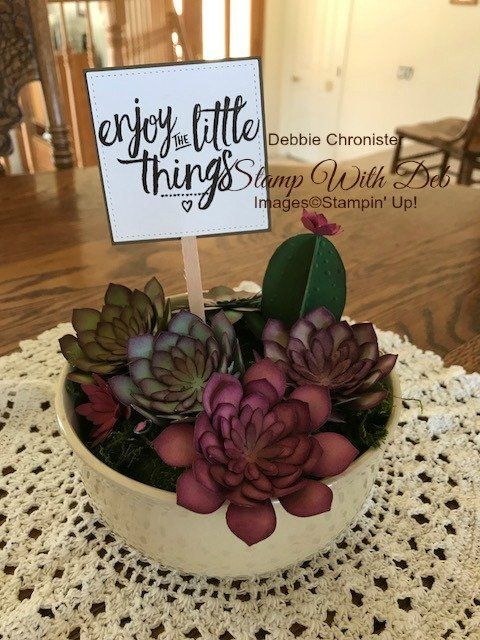
All day yesterday I had classes making these beautiful succulents. They are really quite relaxing to create.
I used the Succulent Framelit Dies #142992, page 21 in the Occasions Catalog (they are still available at a great price!). Cut one set of the six flower shapes shown below in each of the following colors: Crumb Cake, Sweet Sugarplum, Old Olive, Cucumber Crush and Mint Macaron (the last two colors retiring so grab them fast if you don’t already have them).
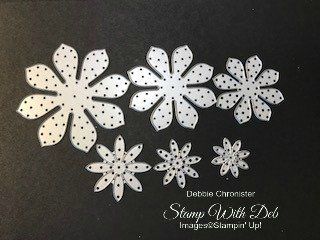
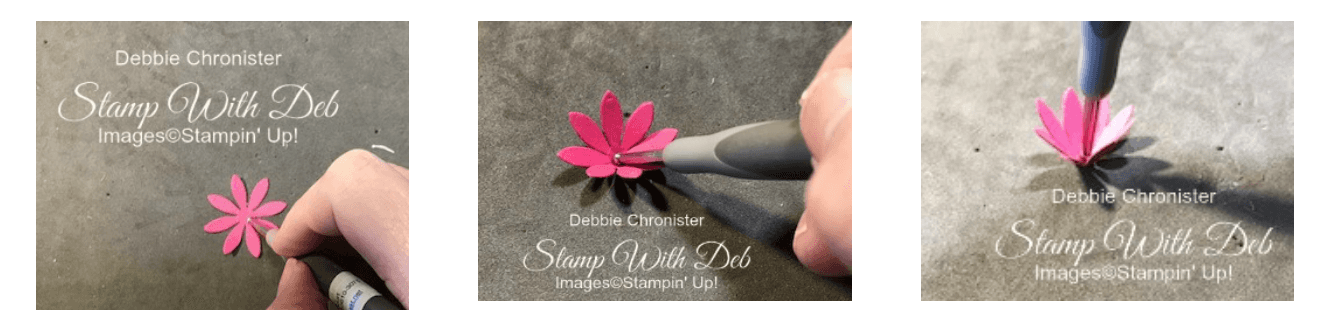
Cut one set of the three smallest dies in Rose Red. Punch 2 of the smallest flowers in Rose Red using the Blossom Builder Punch. Sponge all of the flowers with Rich Razzelberry. Then take the stylus that came with your Scoring Board and a piercing mat make small circles pressing down firmly in the center of the flower layers. You will see the flower start to fold upward.
Adhere the flower layers together using glue dots. This will give them a little distinction between the layers. I used a flower stem purchased at a local craft store to make the stems. Just a little piece of wire twisted around a pair of needle nose pliers to form the top. Adhere the flowers to these stems using a hot glue gun.
To create the large oval shaped cactus cut 4 ovals using the Layering Oval Dies. Emboss them with the Softly Falling embossing folder. Fold them in half lengthwise and glue them together to form the shape. Put a piece of wire up the center and glue the Rose Red flower on the top.
I used Layering Love to stamp the greeting on 3 x 3 Very Vanilla and cut with the largest square in the Stitched Shaped Dies. Then attached that to a 2 3/4 x 2 3/4 Soft Suede. Put a coffee stir stick in between the two layers.
To put it all together just put a piece of floral foam in the bowl and glued Reindeer Moss on top using a hot glue gun. Insert your succulents and you are set to go. This would make a beautiful gift to a special person.
If you have any questions please comment or email me and I will answer them. To purchase the products to complete these projects click on the shop button below

Are you about to hit that $99 mark on your order (before shipping and tax)? If so, why not consider joining my team? As a member, you’ll enjoy $125 worth of products of your choice for only $99! Plus, you’ll snag a fantastic 20% discount on all your future purchases and a variety of exclusive perks from me and Stampin' Up! Dive into this exciting journey of paper crafting with us! For more information, check out my Join My Team page
We now have 3 catalogs each year, January - April, May - August, September - December. We no longer have an annual catalog. You will find all of the products in the catalogs online as well as Last Chance and Online Exclusive Products. If you want to check out the May - August Catalog click on that catalog below. If you want a paper copy, please contact me to get yours!
Check out:
Online Exclusives
May - August Catalog - Contact me to get yours!
Subscribe to my My YouTube paper crafting video channel
Follow me on Pinterest
Follow me on Facebook every week for Stampin' Tell Tuesday
Shop my Online Store