CHRISTMAS SHAKER CARD & CANDLE
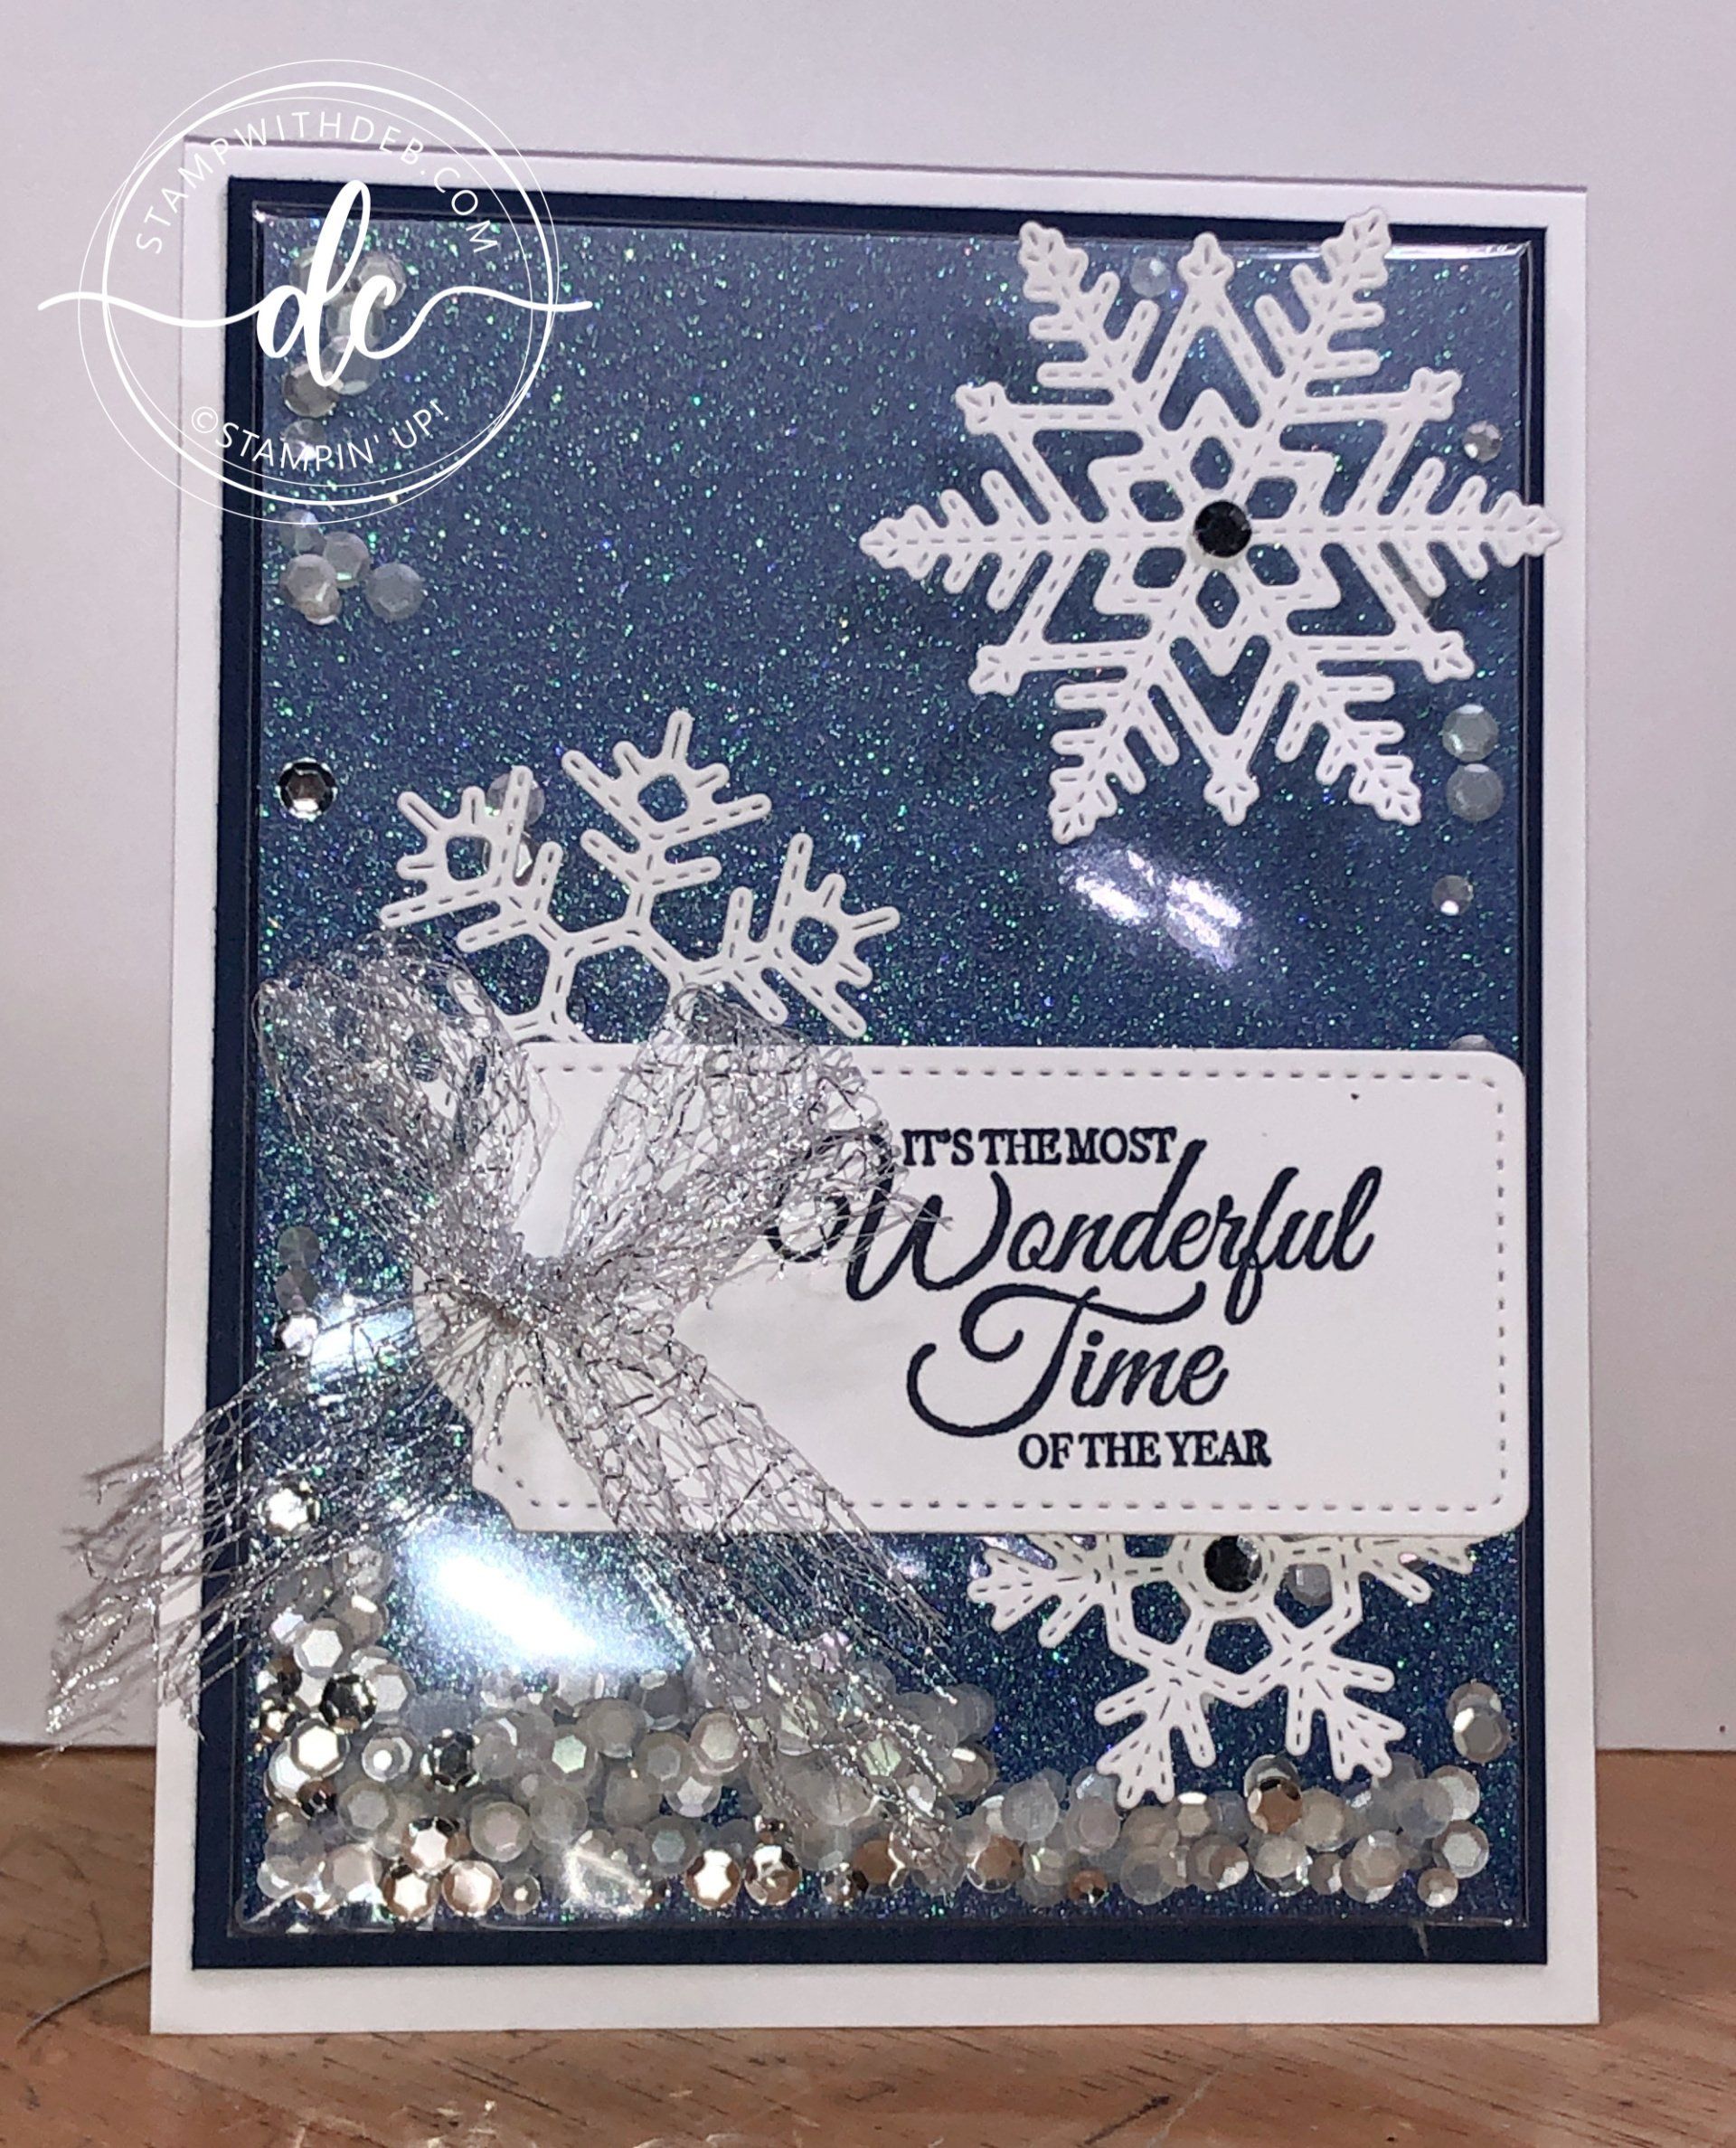
This technique is a quick and easy way to create a shaker card. No tricky placement of Dimensionals or thick tacky strips and it creates a beautiful easy card. It would be just as great for a Birthday card! And almost childproof if there is such a thing. This was created using the Merry Snowflakes Bundle from the July - December 2021 Stampin' Up! catalog but you could use any die cut images you want to attach to the front. I will give you all the measurements below. Just have fun and be creative!
Supplies & measurements:
Cut 4 1/4 x 11 Basic White, score at 5 1/2
Cut 4 x 5 1/4 Night of Navy, adhere to inside of card
Cut 3 3/4 x 5 Basic White, adhere to Night of Navy inside the card and be sure to stamp a greeting
Front:
Cut 4 x 5 1/4 Night of Navy, eventually you will adhere this to the card front
Cut 3 3/4 5 Navy Ombre Specialty Paper #155784
One Clear Medium Envelope #102619, place the Ombre Specialty Paper inside
Subtle Shimmer Sequins #156407 (July - December catalog) sprinkle into the envelope (watch the video below to see how I sealed the envelope)
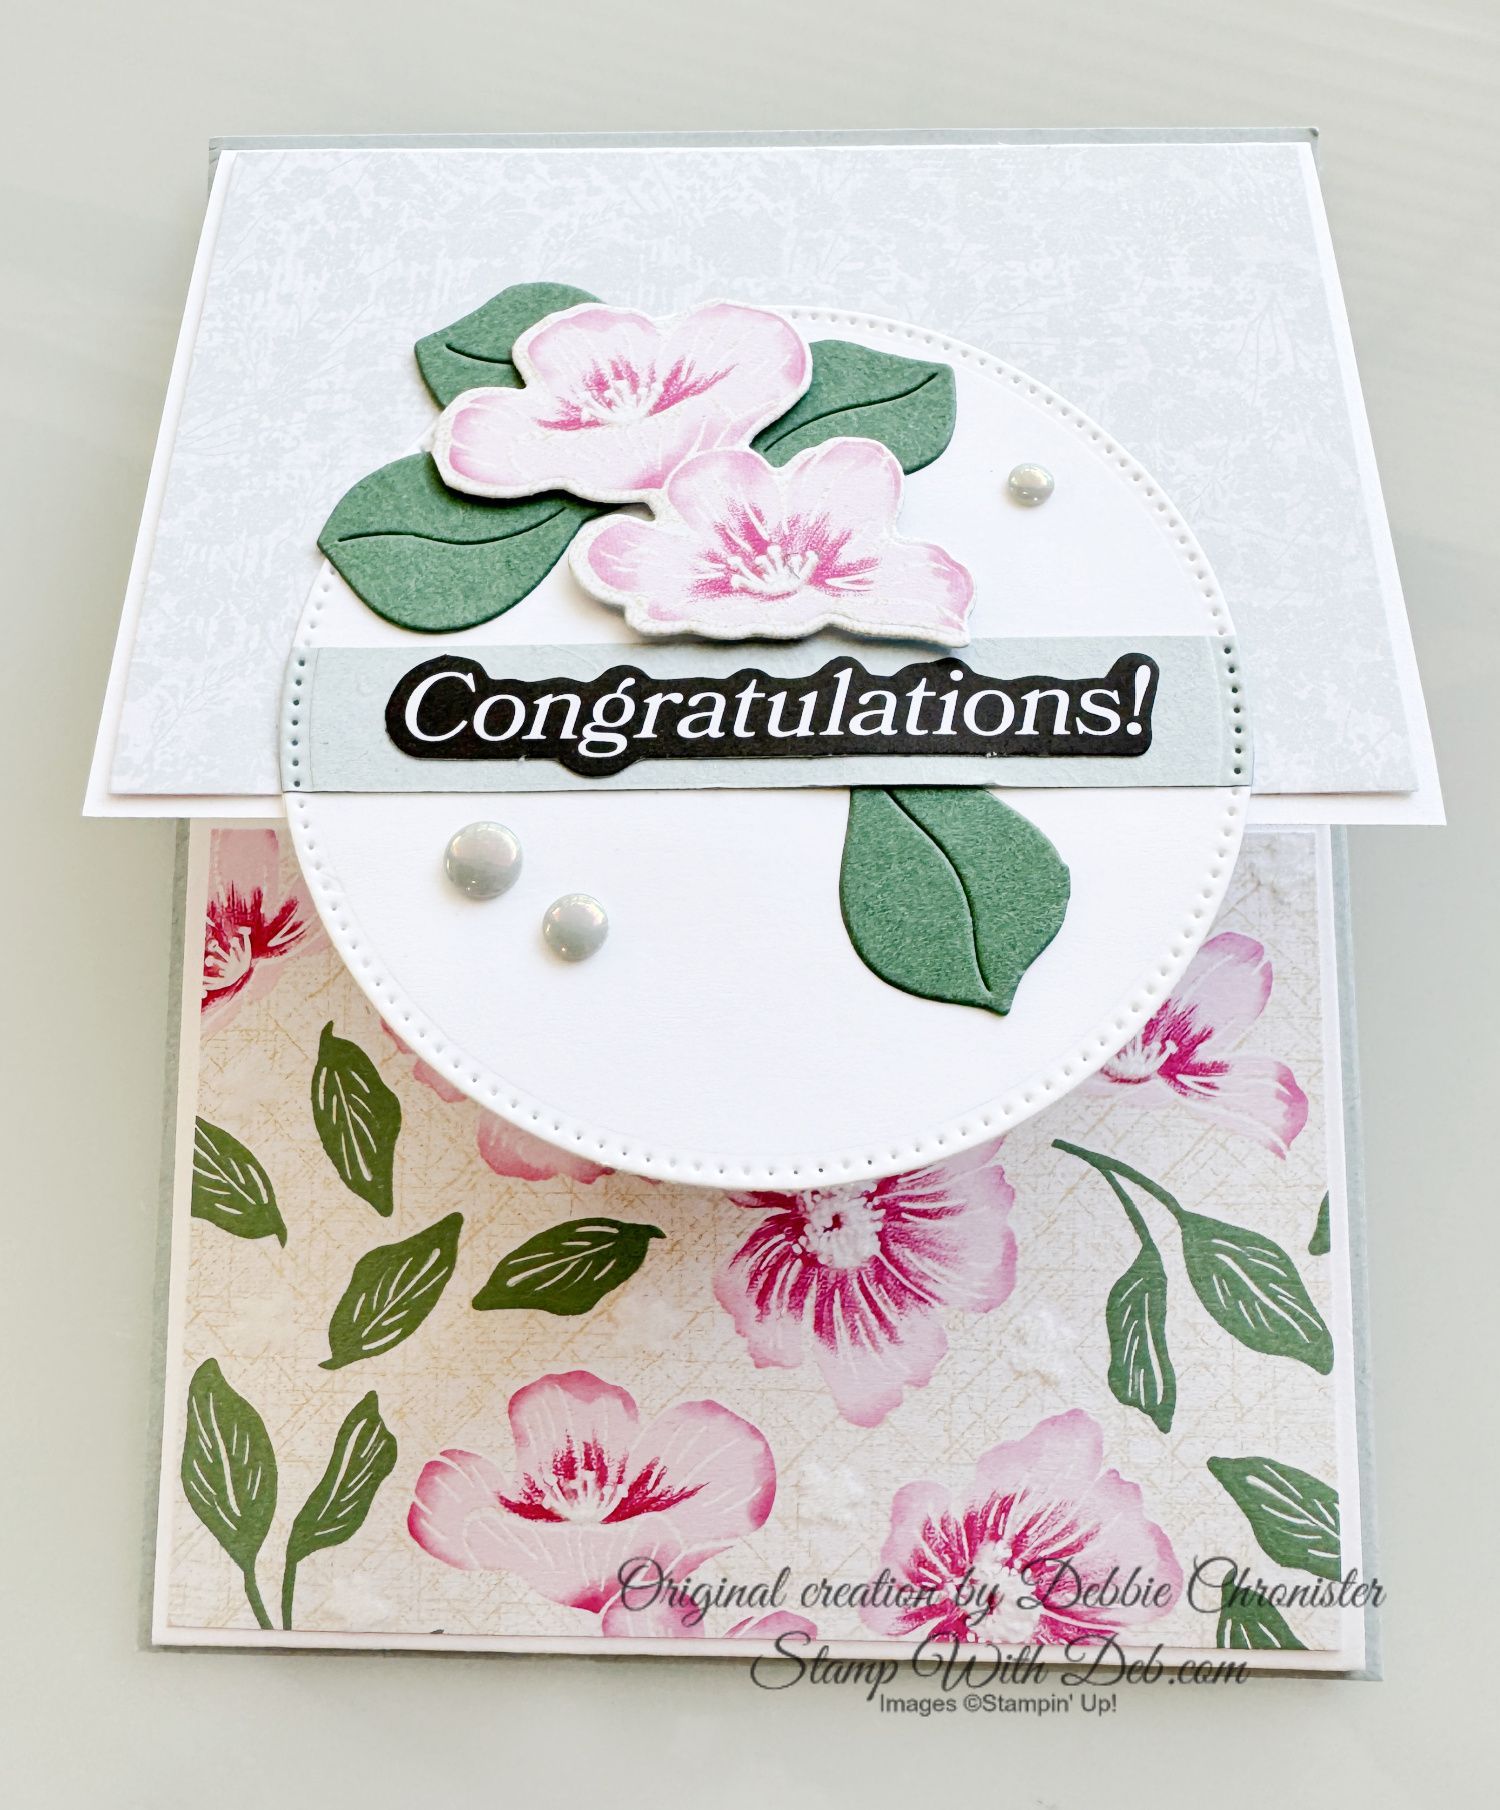
Tag cut using the Tailor Made Tags, stamp greeting in Night of Navy
Die cut Snowflakes from Bundle, adhere to the front with glue dots
Tie bow using Metallic Mesh Ribbon
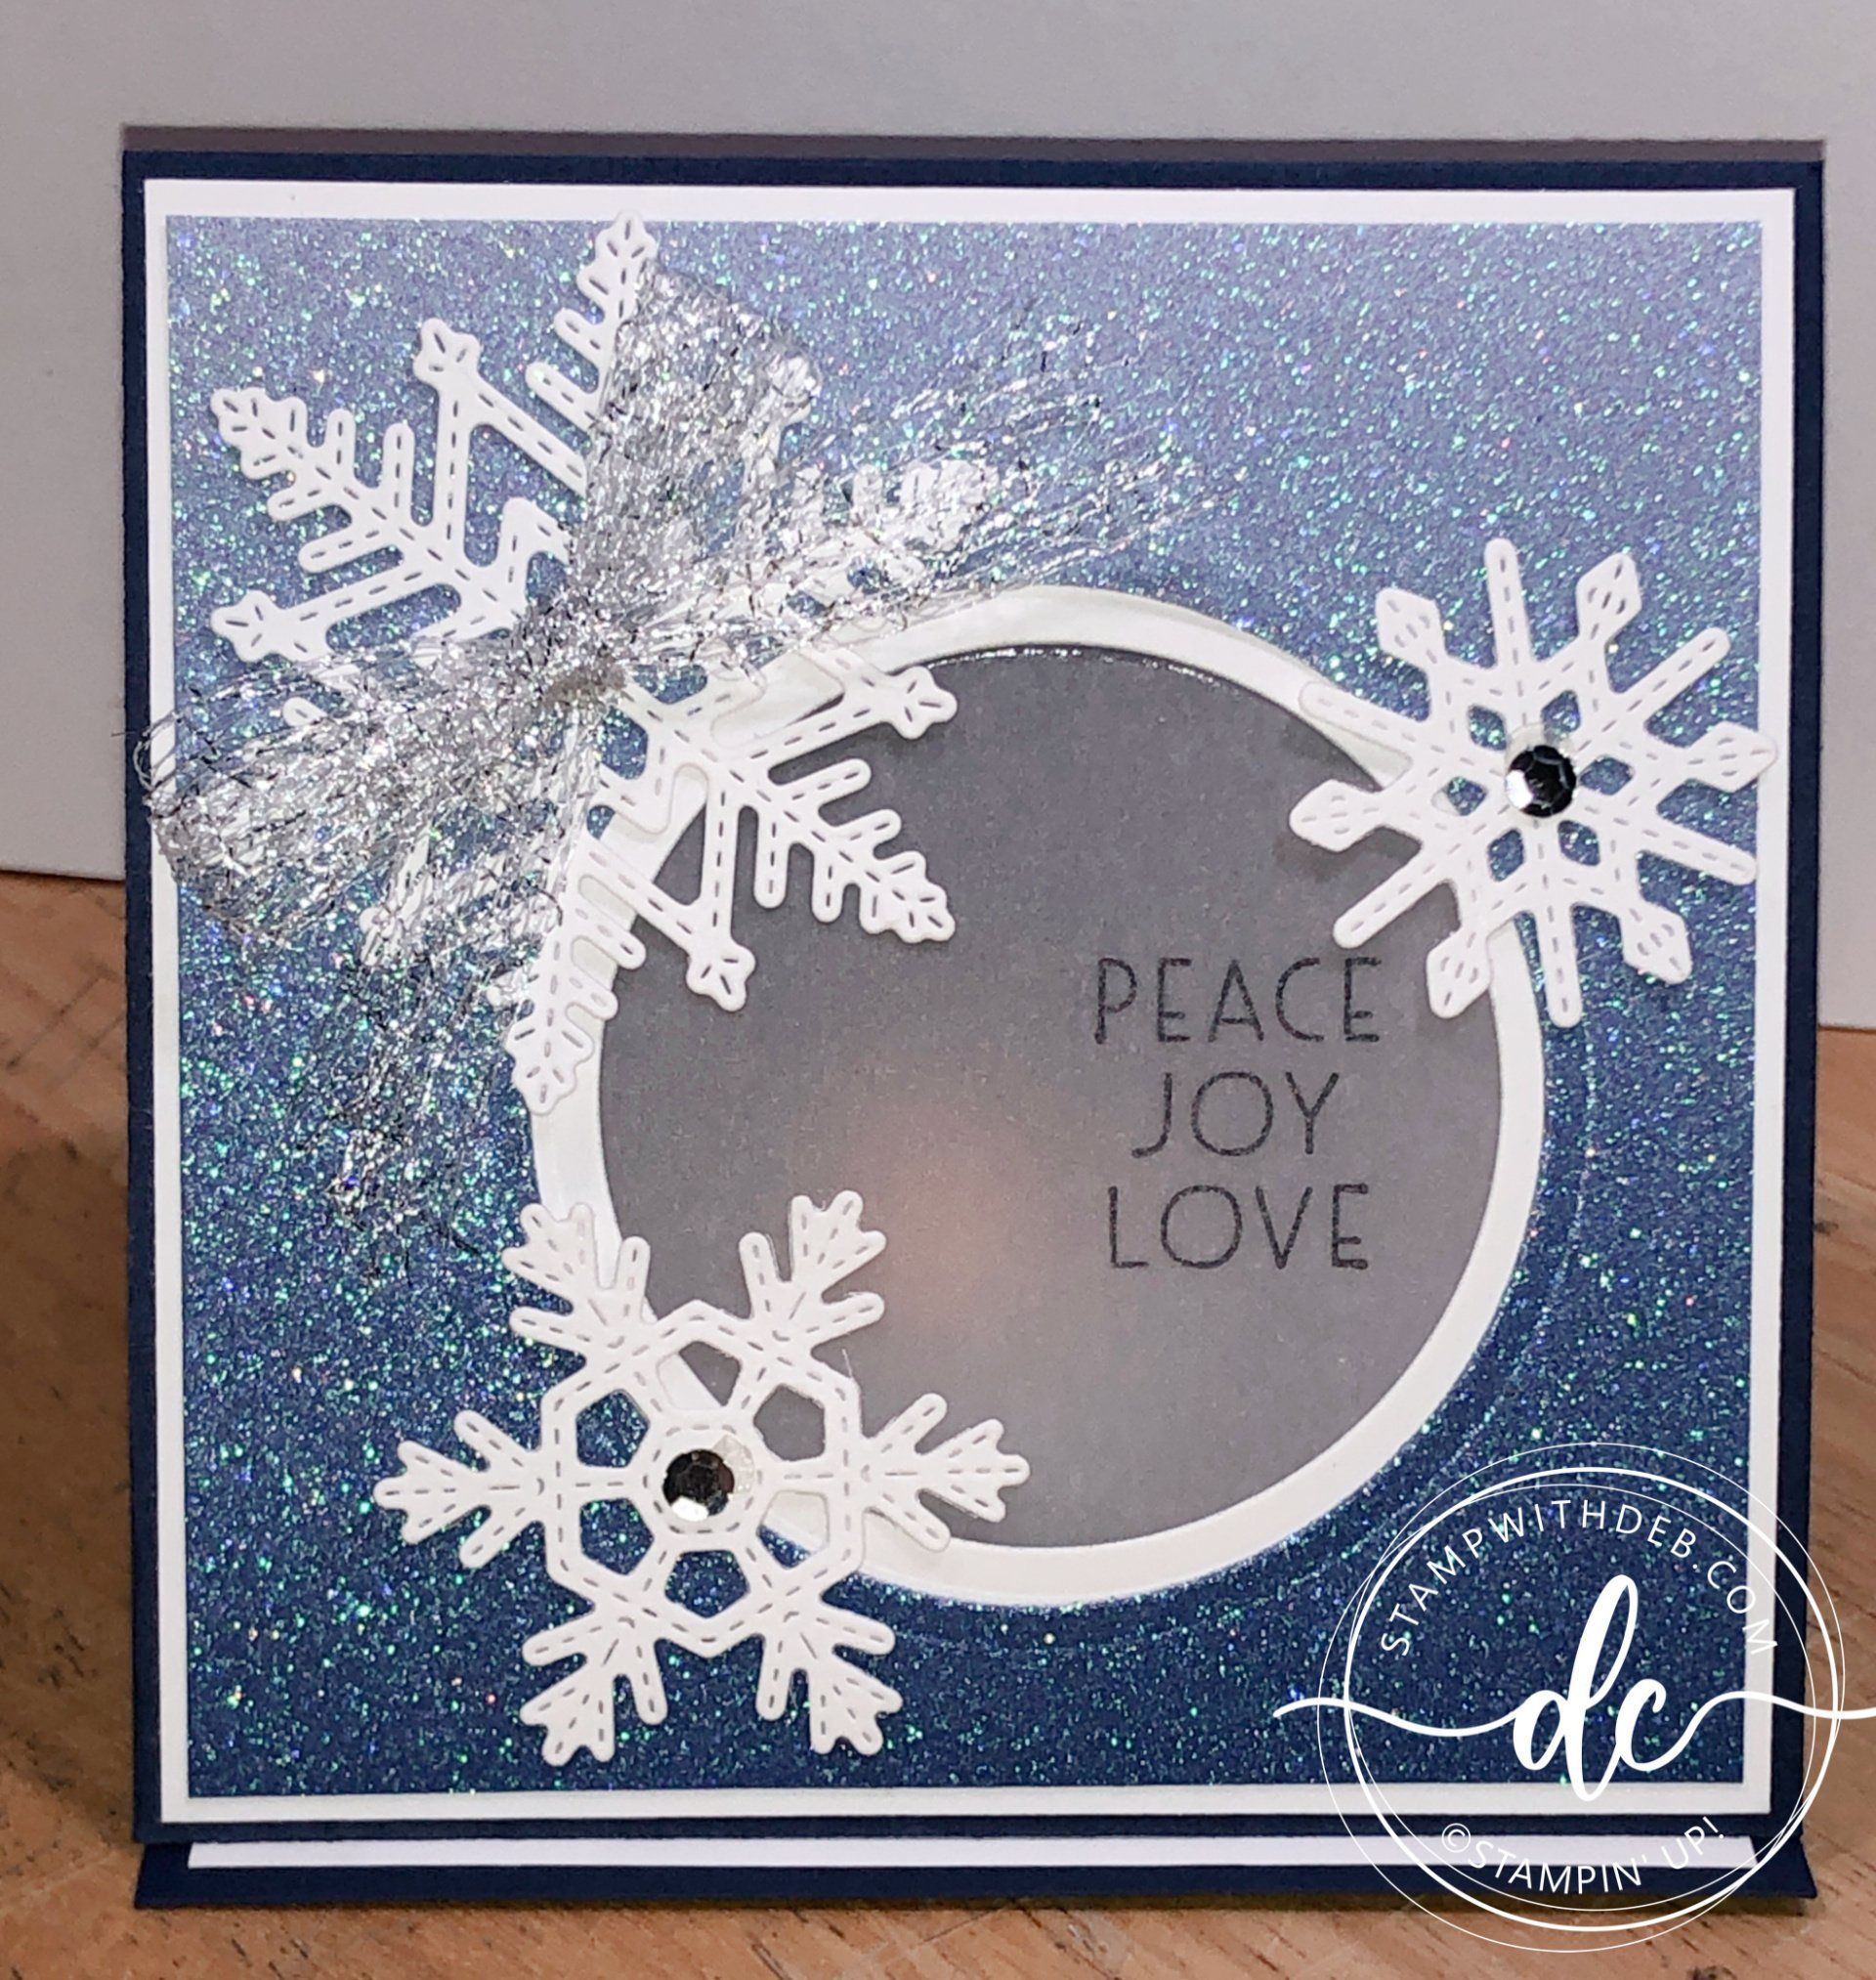
Then I created this beautiful little card for a candle to sit inside. This is super simple and went beautifully with the card.
Measurements:
Start with 12 x 12 and cut to 4 x 12, score both ends at 4 inches. I am sure you could do it with 11 x 4, just score both ends at 4" that would create a 3" section in the middle which would work just fine, however you would have to fold it differently. It would be interesting to try. If you do let me know how it comes out.
Cut 3 3/4 x 3 3/4 Basic White, cut smaller die in center
Cut 3 5/8 x 3 5/8 Specialty Ombre Paper, die cut larger hole in center - watch the video to see how I did this
Cut 2 3/4 x 2 3/4 Vellum Cardstock, stamp greeting from Inspired Thoughts in Stazon, tip clean the stamp right away!
Die cut the snowflakes in Basic White attach with glue dots and use Subtle Shimmer Sequins in the center of the two smaller ones
Tie a bow with Metallic Mesh Ribbon and glue dot it to the center of the largest snowflake
Cut 3 3/4 x 3 3/4 Basic White for inside the card
Are you about to hit that $99 mark on your order (before shipping and tax)? If so, why not consider joining my team? As a member, you’ll enjoy $125 worth of products of your choice for only $99! Plus, you’ll snag a fantastic 20% discount on all your future purchases and a variety of exclusive perks from me and Stampin' Up! Dive into this exciting journey of paper crafting with us! For more information, check out my Join My Team page
We now have 3 catalogs each year, January - April, May - August, September - December. We no longer have an annual catalog. You will find all of the products in the catalogs online as well as Last Chance and Online Exclusive Products. If you want to check out the May - August Catalog click on that catalog below. If you want a paper copy, please contact me to get yours!
Check out:
Online Exclusives
May - August Catalog - Contact me to get yours!
Subscribe to my My YouTube paper crafting video channel
Follow me on Pinterest
Follow me on Facebook every week for Stampin' Tell Tuesday
Shop my Online Store