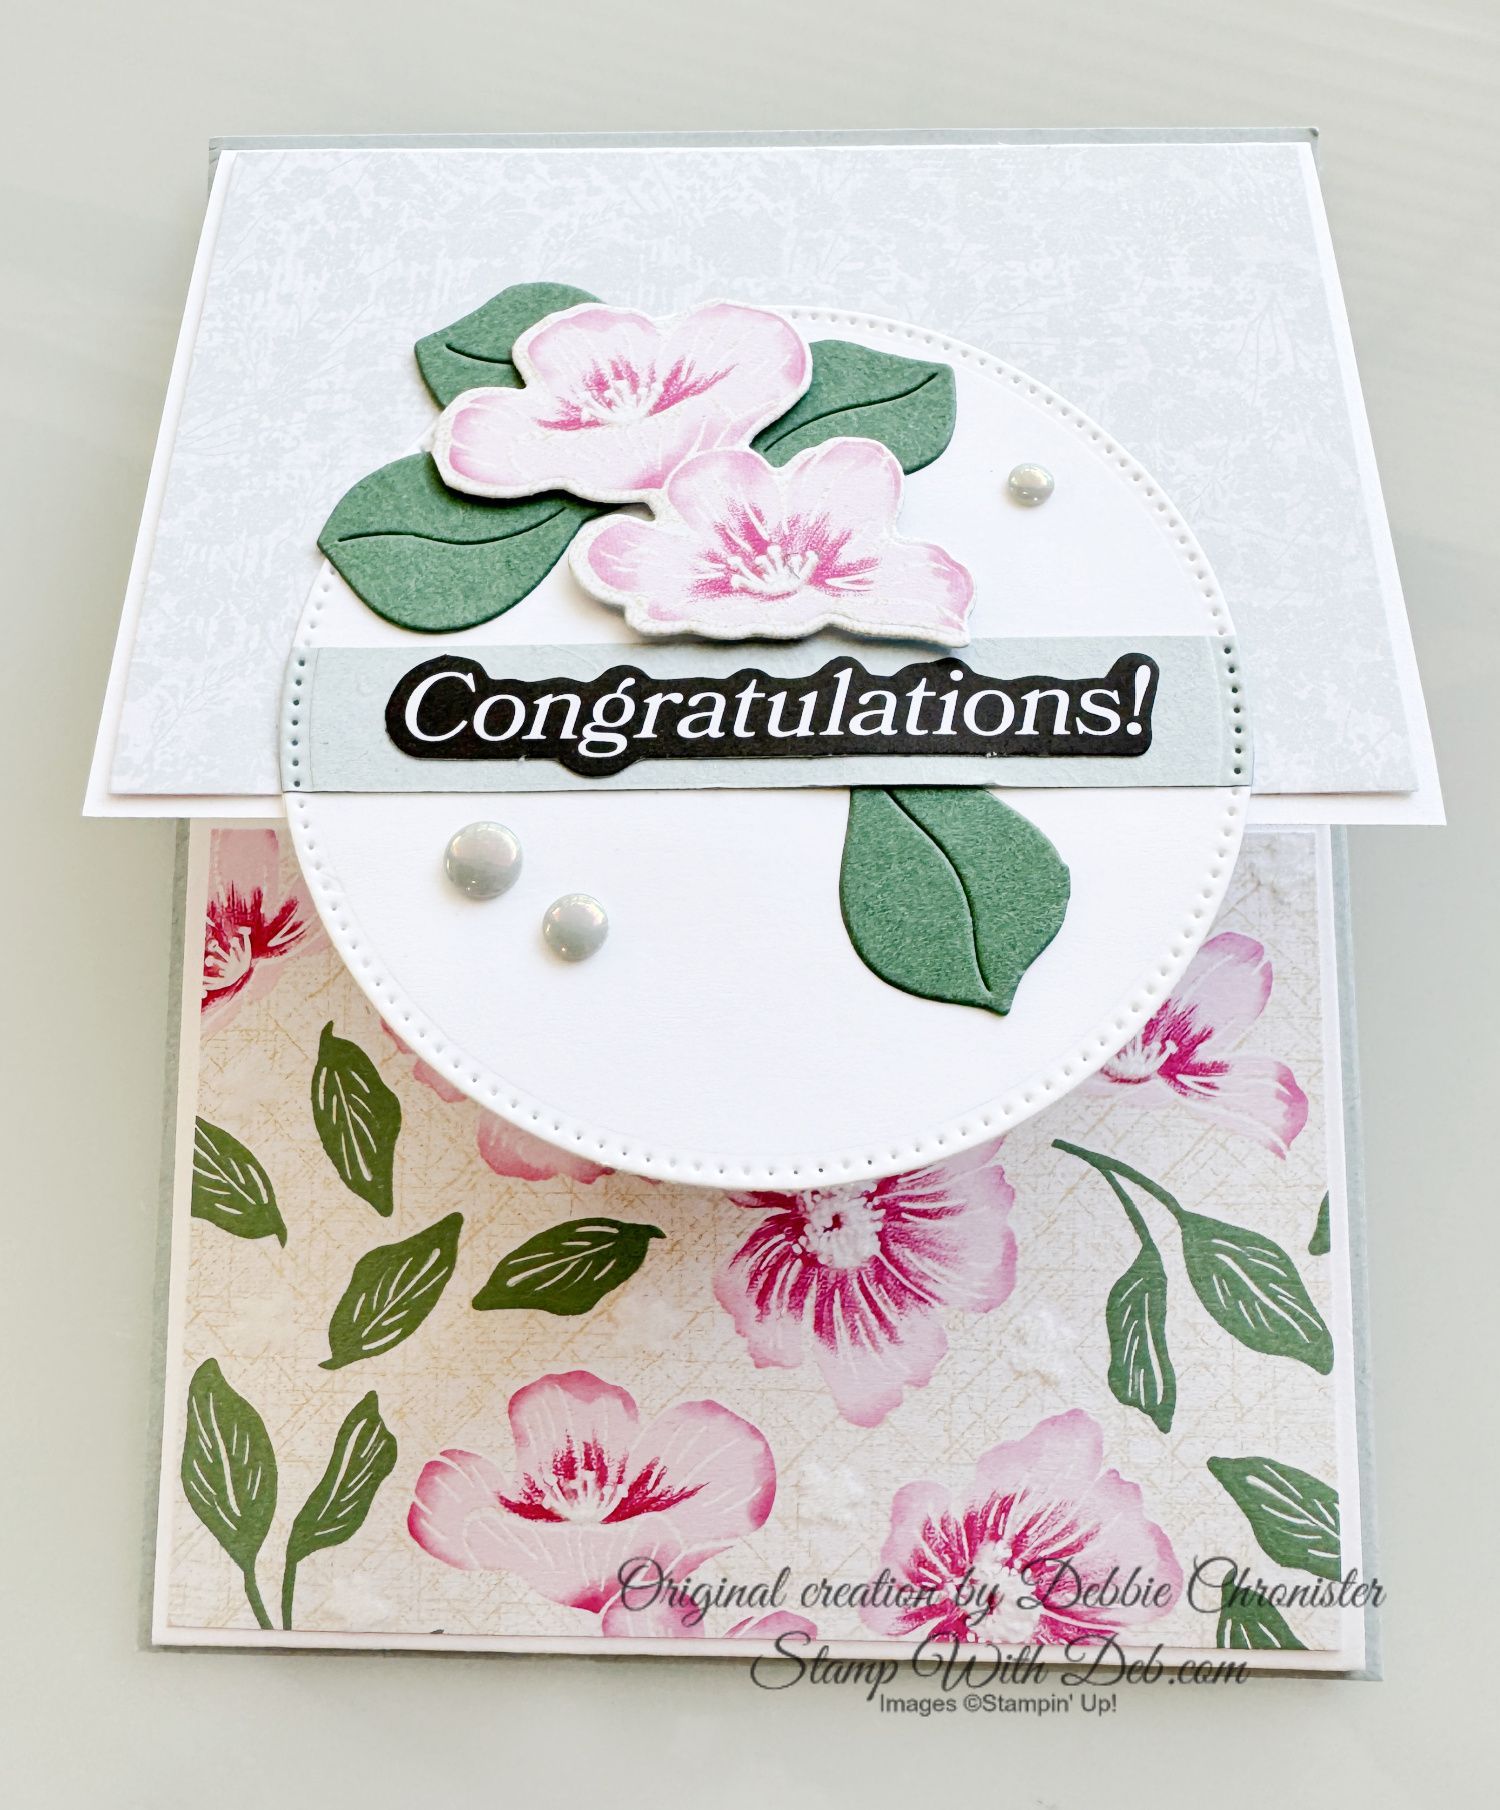
HIDDEN MESSAGE CARD
Whisper White - 5 1/2 x 11 1/4 score @ 4 & 8
Whisper White - 5 1/2 x 7 score @ 3 1/2 on the 7" side
Whisper White - 3 1/2 x 2 3/4 (image)
Tuxedo Black Momento, Real Red Stampin' Pad
Stampin' Blends - Mossy Meadow light, Real Red Dark
- On the 5 1/2 x 7 - with the 5 1/2" side at the top of the paper trimmer, cut up from the bottom @ 5/8" to the 5" mark. Flip the cardstock over and do the same on the other side
- Place the cardstock with the 7" side at the top and at the 2" mark and trim to the 5/8" inch cut that you just made. You should cut off the tab. Do the same on the other edge of the paper or watch the video
- On the 5 1/2 x 11 1/4" cut an opening about 1/2 from the top edge of the smallest panel using the 2nd smallest Stitched Rectangle Die
- Using that die and the next size up cut a frame from the 3 3/4 x 3 Mossy Meadow
- The frame goes around the opening you just created. That is where your hidden message will show
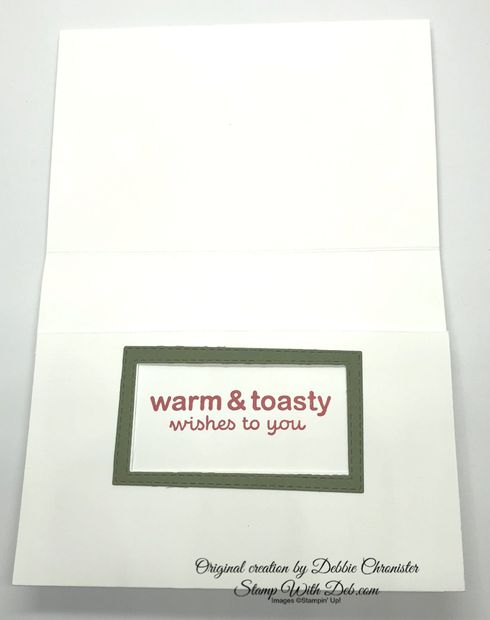
- Crease all the score lines in both of the pieces of Whisper White. Line up the top of the smaller piece of Whisper White (5 1/2 x 7) with the top inside of the card base (11 1/4 x 5 1/2) matching them at the top. Do not worry about the score lines meeting. Mark with a pencil lightly around the edges of the opening you cut with the rectangle die. This is where your hidden message will be stamped
- Stamp the message within the score lines. Once your ink has dried erase the pencil lines
- Adhere the two pieces of Whisper White together at the top. You want them to match so well you can't tell they are two
- Put adhesive along the two sides where you below the tabs. BE CAREFUL NOT TO GO TOO HIGH! The sides must slide freely for the mechanism to work
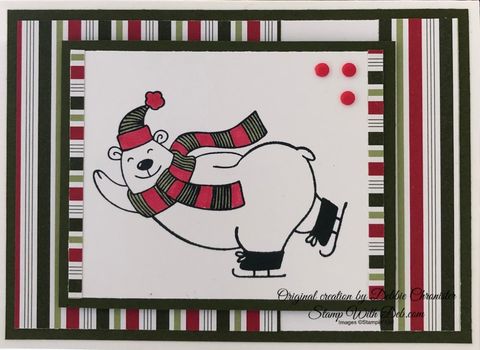
- Finish off with the front. I stamped the image and colored it with Mossy Meadow Light and Real Red Dark
- Attach the 1/8 inch strips to each edge of the image piece. Adhered it to the Mossy Meadow (I cut the frame out of this piece). Attach the 1" DSP to the right side of the Whisper White and the 3" piece to the left side of the Whisper White. Attach that to the 5 1/4 x 3 3/4 Mossy Meadow and attach that to the card base. I attached the image with the small Mossy Meadow with dimensionals
- Add a touch of bling with three little dots from All the Trimmings Embellishments an you're done!
Click on the Shop link below or any of the products listed below or contact me. These products will be coming out in the new catalog in August 2020. I will add them to this page once they are available.
Are you about to hit that $99 mark on your order (before shipping and tax)? If so, why not consider joining my team? As a member, you’ll enjoy $125 worth of products of your choice for only $99! Plus, you’ll snag a fantastic 20% discount on all your future purchases and a variety of exclusive perks from me and Stampin' Up! Dive into this exciting journey of paper crafting with us! For more information, check out my Join My Team page
We now have 3 catalogs each year, January - April, May - August, September - December. We no longer have an annual catalog. You will find all of the products in the catalogs online as well as Last Chance and Online Exclusive Products. If you want to check out the May - August Catalog click on that catalog below. If you want a paper copy, please contact me to get yours!
Check out:
Online Exclusives
May - August Catalog - Contact me to get yours!
Subscribe to my My YouTube paper crafting video channel
Follow me on Pinterest
Follow me on Facebook every week for Stampin' Tell Tuesday
Shop my Online Store