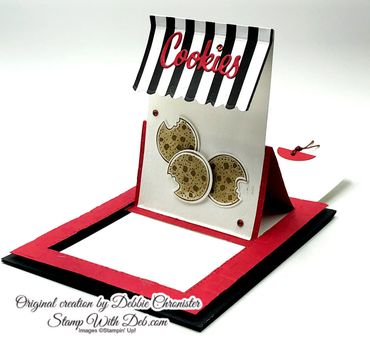
POP UP COOKIE STORE
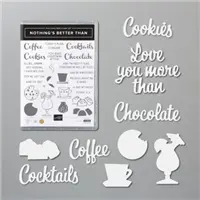
This card uses the new Nothing's Better Than
Stamp Set by Stampin' Up!

Nothing's Better Than Bundle
Real Red - 5 1/4 x 4, 3 x 1 1/2 for "Cookies die"
- Basic Black card base - (score @ 5 1/2). You could use just a 5 1/2 x 4 1/4 card for your base
- Real Red -Using the 3rd largest die from the stitched Rectangle Dies center and do a partial cut. Place the top plate so that it does not cut the bottom portion of the die. Score across where the bottom edge would have cut using the Scoring tool or a Paper Trimmer. Only score from cut line to cut line. Not all the way across the cardstock. On the flap score at 1/4" and 2 1/8" from the bottom of the flap.
- If you want to emboss now is the time. I used the Brick Wall Embossing folder
- If you decide to use the DSP, adhere it to the 5 1/4 x 4 very well so that it will act as one piece. Then do the cutting and scoring
- Whisper White the mechanism - 4 3/4 x 3 1/4 attach this to the back of the 1/4" edge of the flap using Tear N Tape. Center it on the flap leaving a small edge on each side
- Using a 1" hole punch, punch about 1/3 of the way into the punch onto the top of Real Red layer to make a finger hole
- Punch 1" circle, fold in half and put where the white shows where you punched the hole on the Real Red layer. Punch a hole with a 1/4" hole punch for a ribbon
- Put Foam Adhesive Strips on the two sides and the bottom on the back of the Real Red. Leave room for the mechanism to slide easily. Peel and attach to the card base
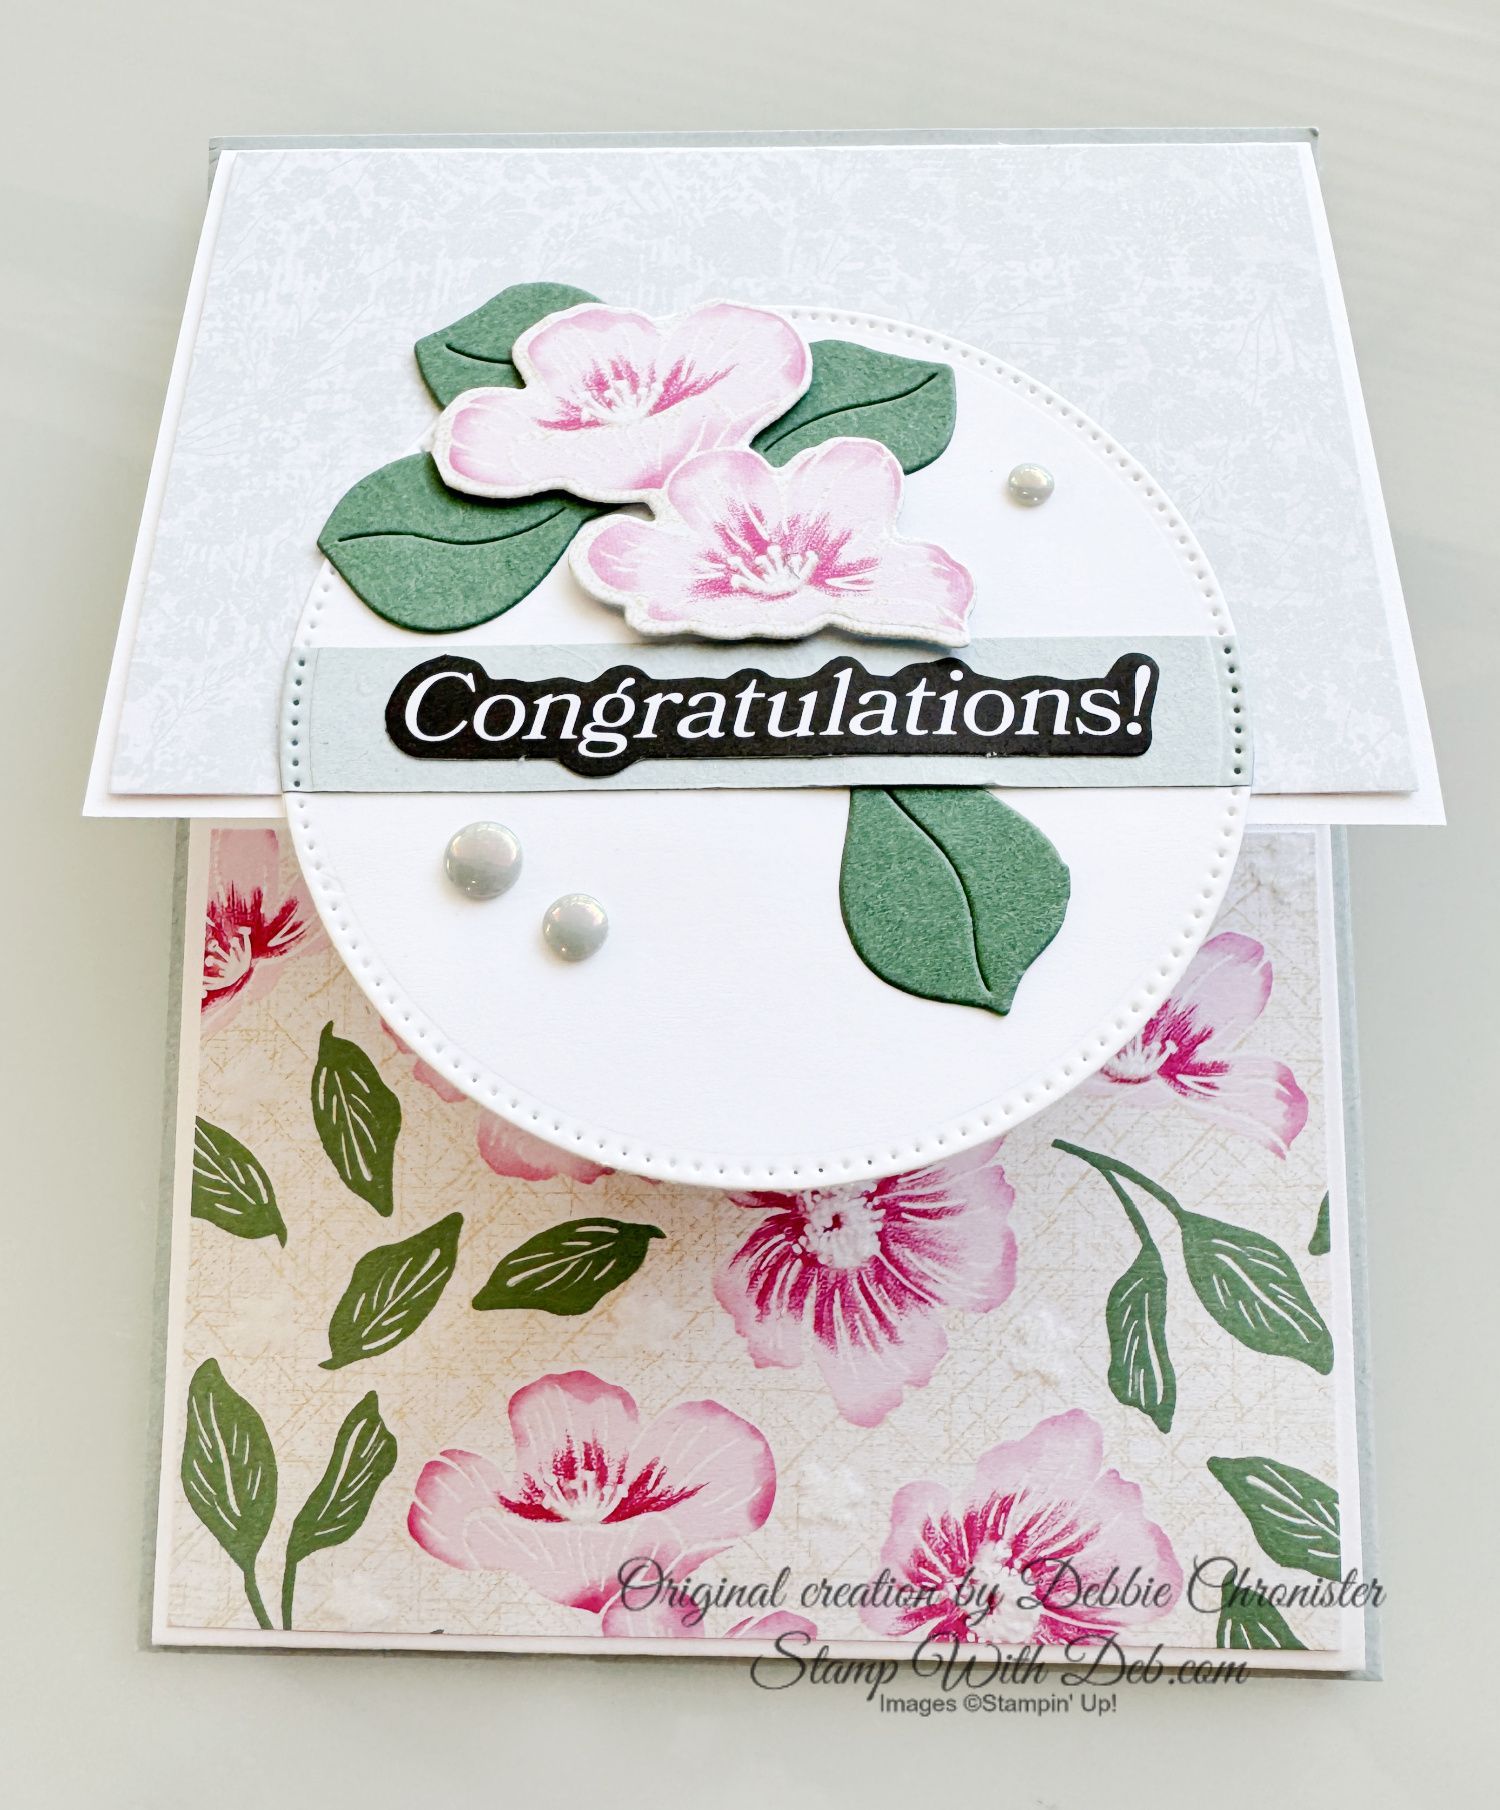
- Stamp a greeting on one of the 2 3/4 x 4 Whisper White. This will leave a little edge of the card base color around the paper. Insert in the card mechanism when it is open. When the pull is pulled this will show.
- On the second 2 3/4 x 4 Whisper White create the front of your card. Emboss with Subtle Embossing Folder.
- Stamp the cookies with Soft Suede and fill them with the coordinating stamp and Crumb Cake stamped off
- Cut the scalloped edge with the die from Prized Posy on the stripped DSP. Score at 1/4 on the top and attach the top to the embossed Whisper White. Attach your cookies and finish off with the rhinestones
- Adhere it to the bottom section ONLY of the fold mechanism DO NOT ATTACH IT TO THE 1/4" AT THE BOTTOM
- Put a ribbon or cord through the hole at the top to help the pulling mechanism.
- Inside Whisper White - 5 1/4 x 4 and a 1/2 strip of the DSP used on the front


Are you about to hit that $99 mark on your order (before shipping and tax)? If so, why not consider joining my team? As a member, you’ll enjoy $125 worth of products of your choice for only $99! Plus, you’ll snag a fantastic 20% discount on all your future purchases and a variety of exclusive perks from me and Stampin' Up! Dive into this exciting journey of paper crafting with us! For more information, check out my Join My Team page
We now have 3 catalogs each year, January - April, May - August, September - December. We no longer have an annual catalog. You will find all of the products in the catalogs online as well as Last Chance and Online Exclusive Products. If you want to check out the May - August Catalog click on that catalog below. If you want a paper copy, please contact me to get yours!
Check out:
Online Exclusives
May - August Catalog - Contact me to get yours!
Subscribe to my My YouTube paper crafting video channel
Follow me on Pinterest
Follow me on Facebook every week for Stampin' Tell Tuesday
Shop my Online Store