NOURISH & FLOURISH KIT

June 22, 2022

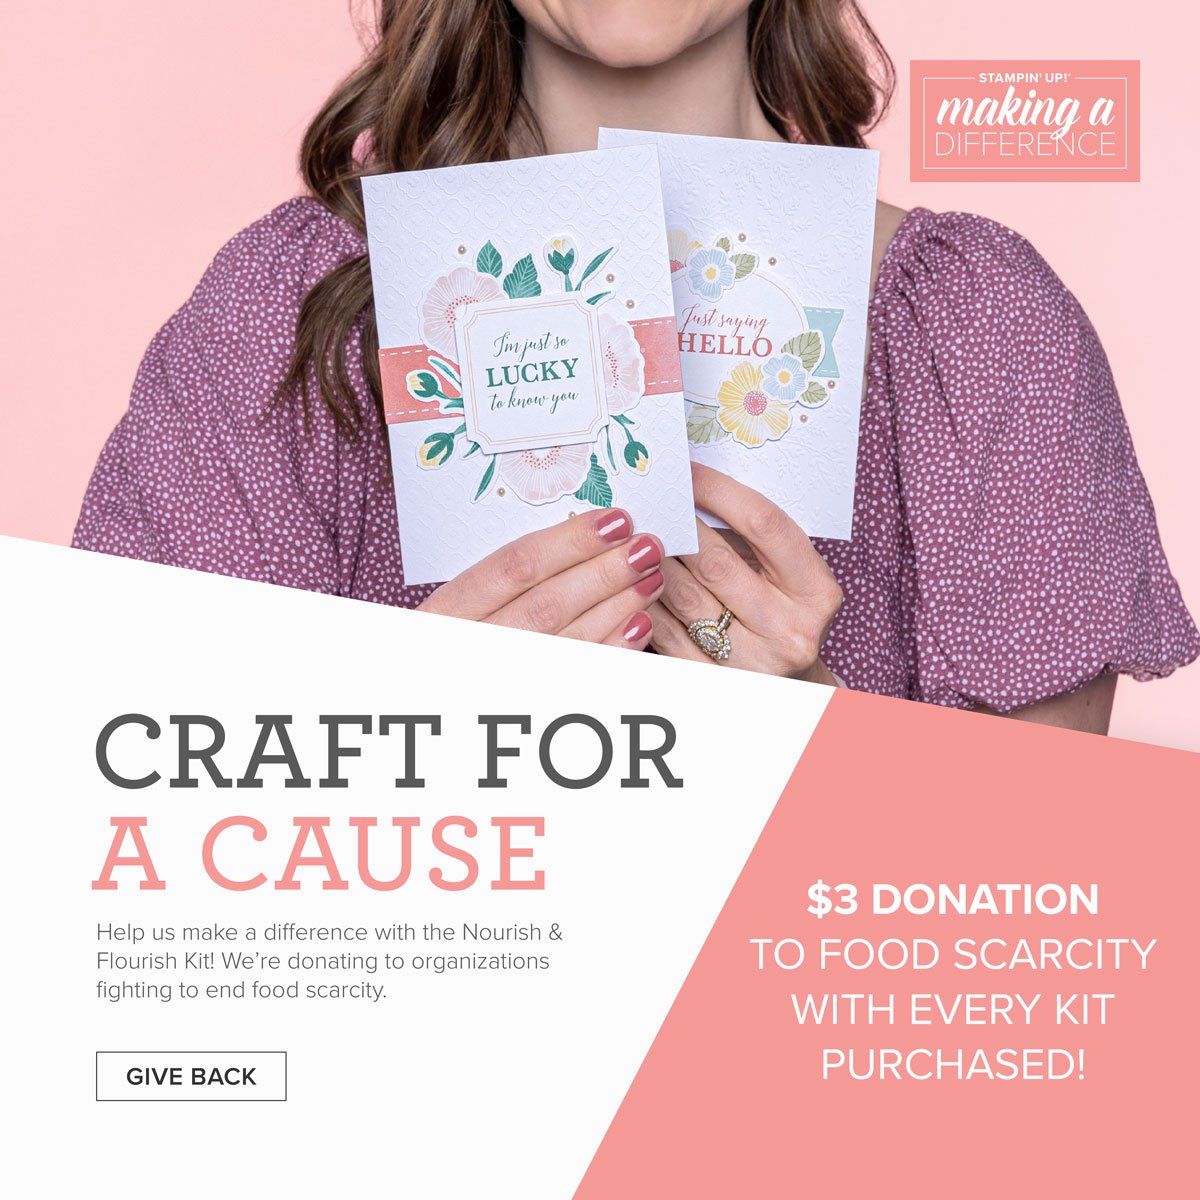
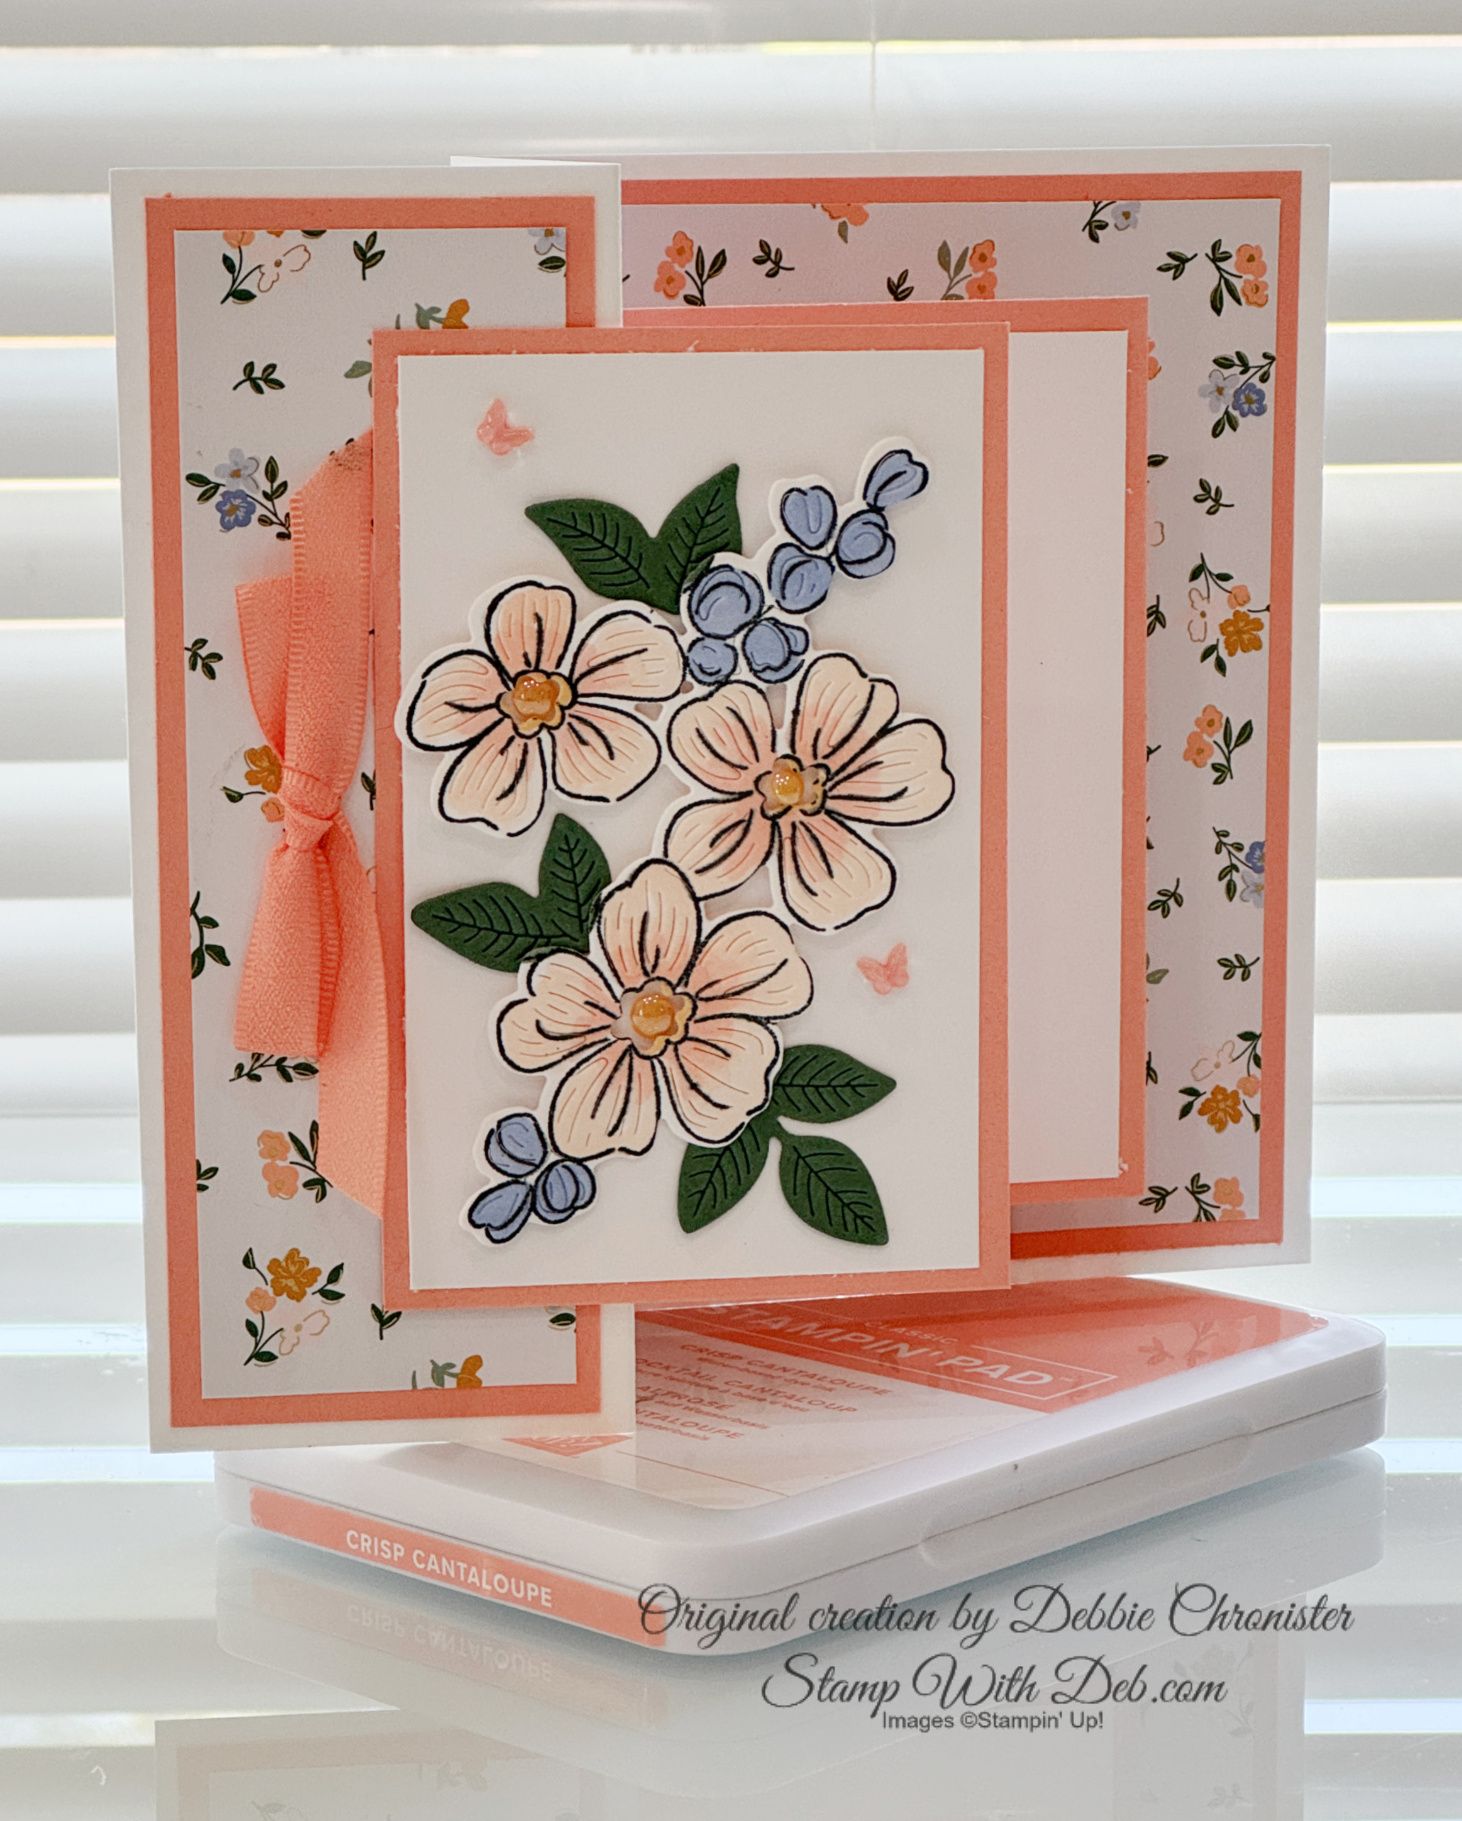
Food scarcity is an issue facing communities across the globe. Each year, Stampin’ Up! supports a designated cause through special limited-edition products or promotions. This Year we have chosen to support organizations that are working to end food insecurity by releasing a special Nourish and Flourish Kit (item 160230).


I purchased this cute little kit and today I am going to show you the cards I made according to the instructions and the cards I made as alternates. I added a few pieces of cardstock to the supplies in the kit and off I went creating.


It is easy to do you just let the ideas flow and before long you have beautiful cards you created on your own, or just case the ones I made. Below are all the instructions and measurements and at the bottom of this post is a video showing you exactly how I made these cards.
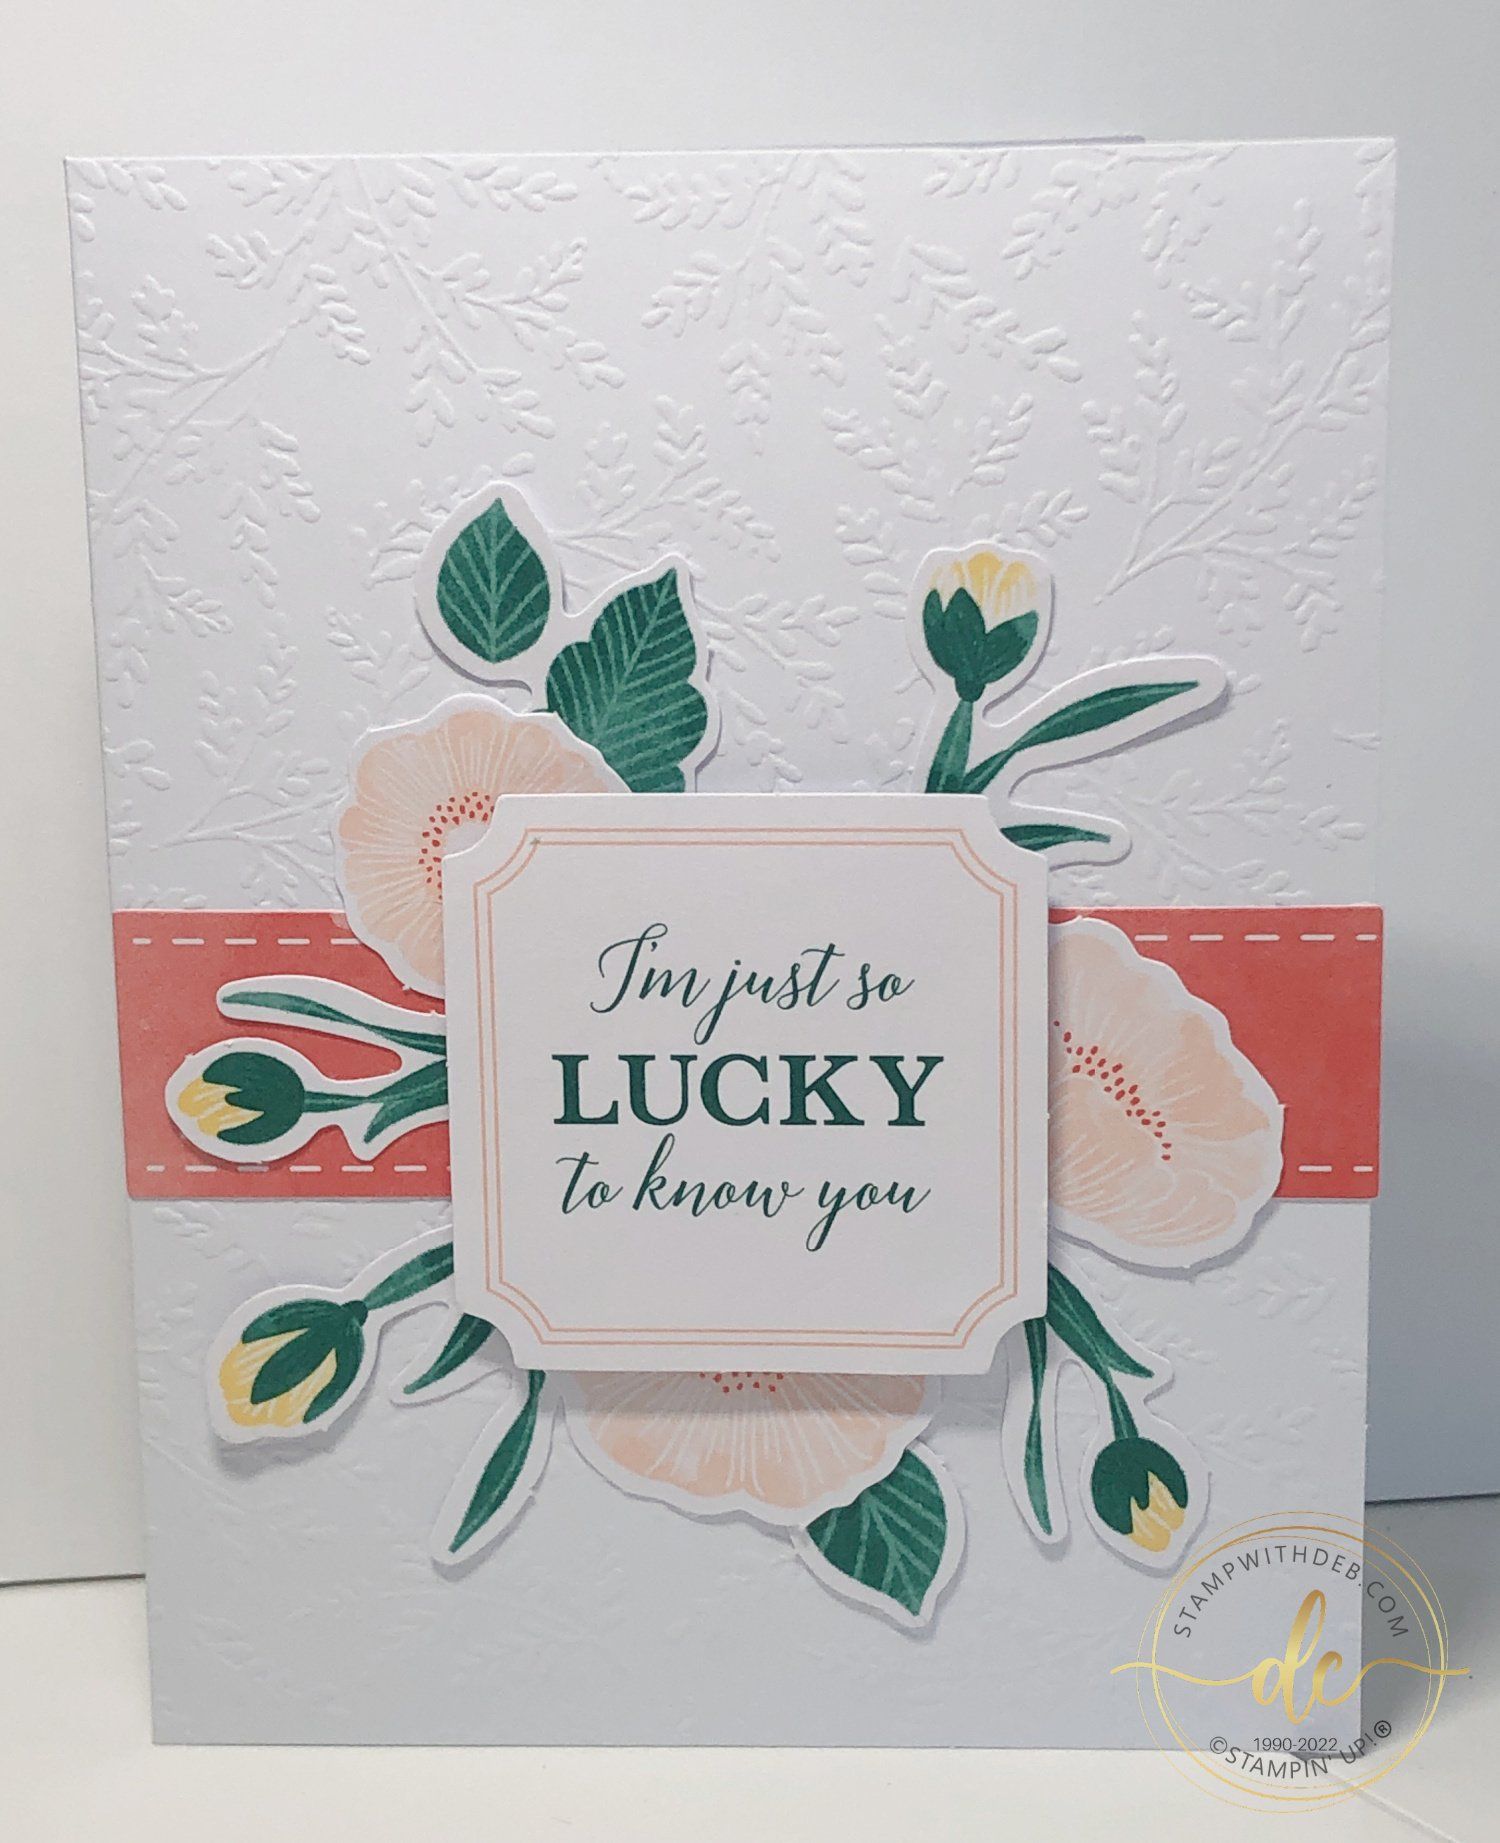

Card #1


Cut 5 1/2 x 8 1/2 Shaded Spruce, score at 2 1/8 & 4 1/4, fold Mountain-Valley

Using the White card provided, cut the smooth surface at 5 1/4 x 4, attach the scalloped die cut along the right edge, adhere inside the card
Cut 1 7/8 x 5 1/4 of the front embossed panel of the card provided, adhere to the far left panel (the front panel)
Cut 3 1/4 x 2 1/2 Shaded Spruce, adhere to the front left panel of the card base,

Cut 3 x 2 1/4 of the embossed  card panel, adhere to the shaded spruce
Attach greeting label with Dimensionals, add flowers.

I used the same flowers that were used on the card with the scallop die cut

Finish off with the Wink of Stella and pearls in the kit


Card #2


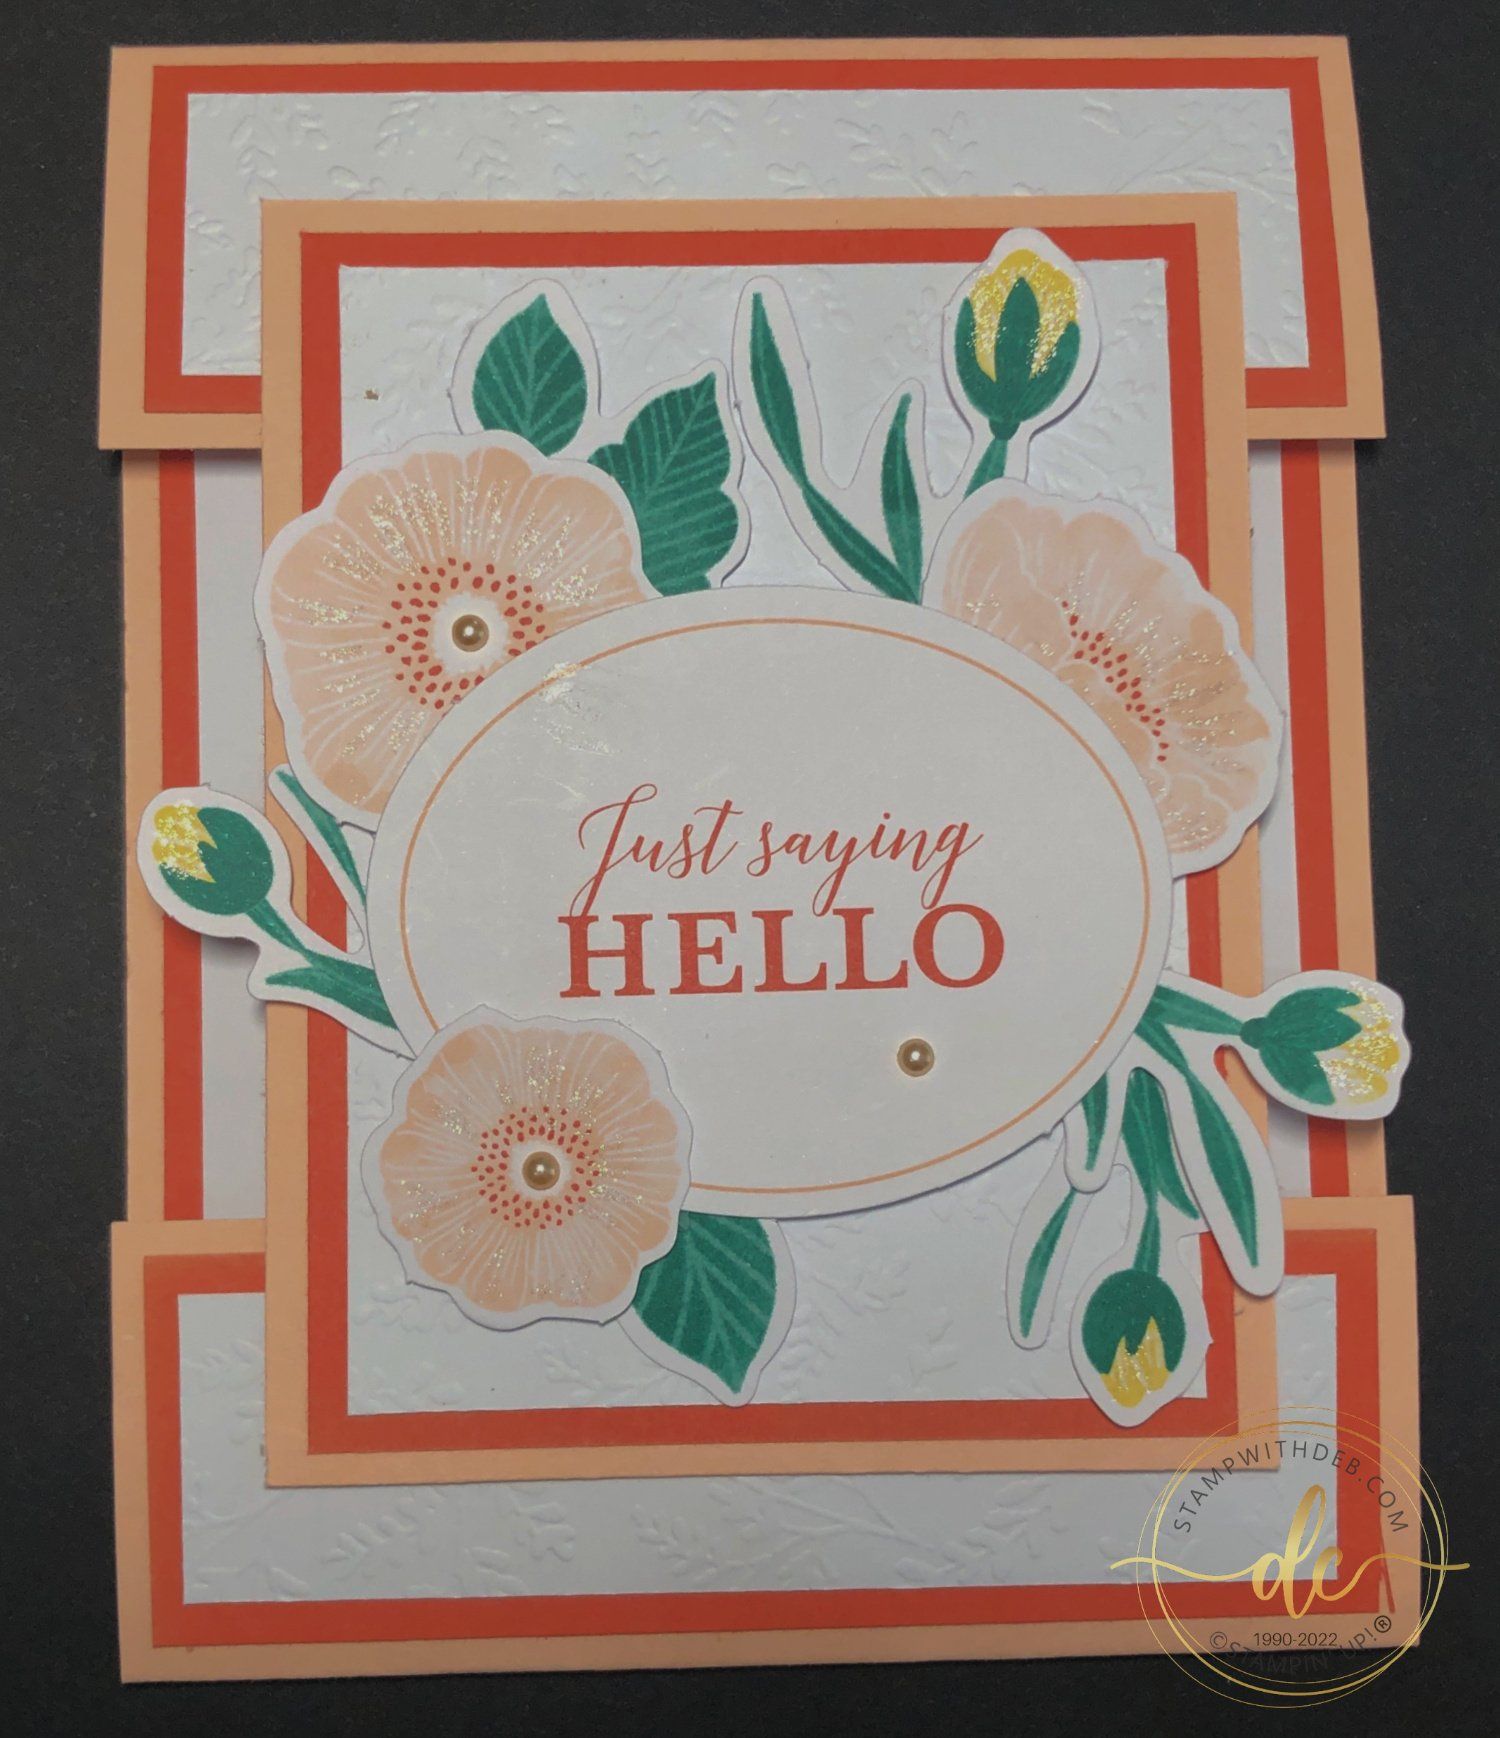
 cut 8 1/2 x 4 1/4 Petal Pink, with the long side at the top score at 1 1/2 & 7 1/2
Cut (2) 1 1/2 x 4 Calypso Coral, adhere to the flaps at top and bottom
Cut (2) 1 1/4 x 3 3/4 from the front of the card in the kit, adhere to the Calypso Coral
Cut 4 x 5 1/4 Calypso Coral, adhere to the inside of the card
Cut the back of the kit card to 3 3/4 x 5, attach the Calypso Coral adhesive band in the kit to the bottom section
Cut 4 1/2 x 3 1/4 Petal Pink

Cut 4 1/4 x 3 Calypso Coral, adhere to the Petal Pink
Cut 4 x 2 3/4 from the card front of the card in the kit, adhere to the Calypso Coral, attach to the top of the card only, do not glue the bottom closed
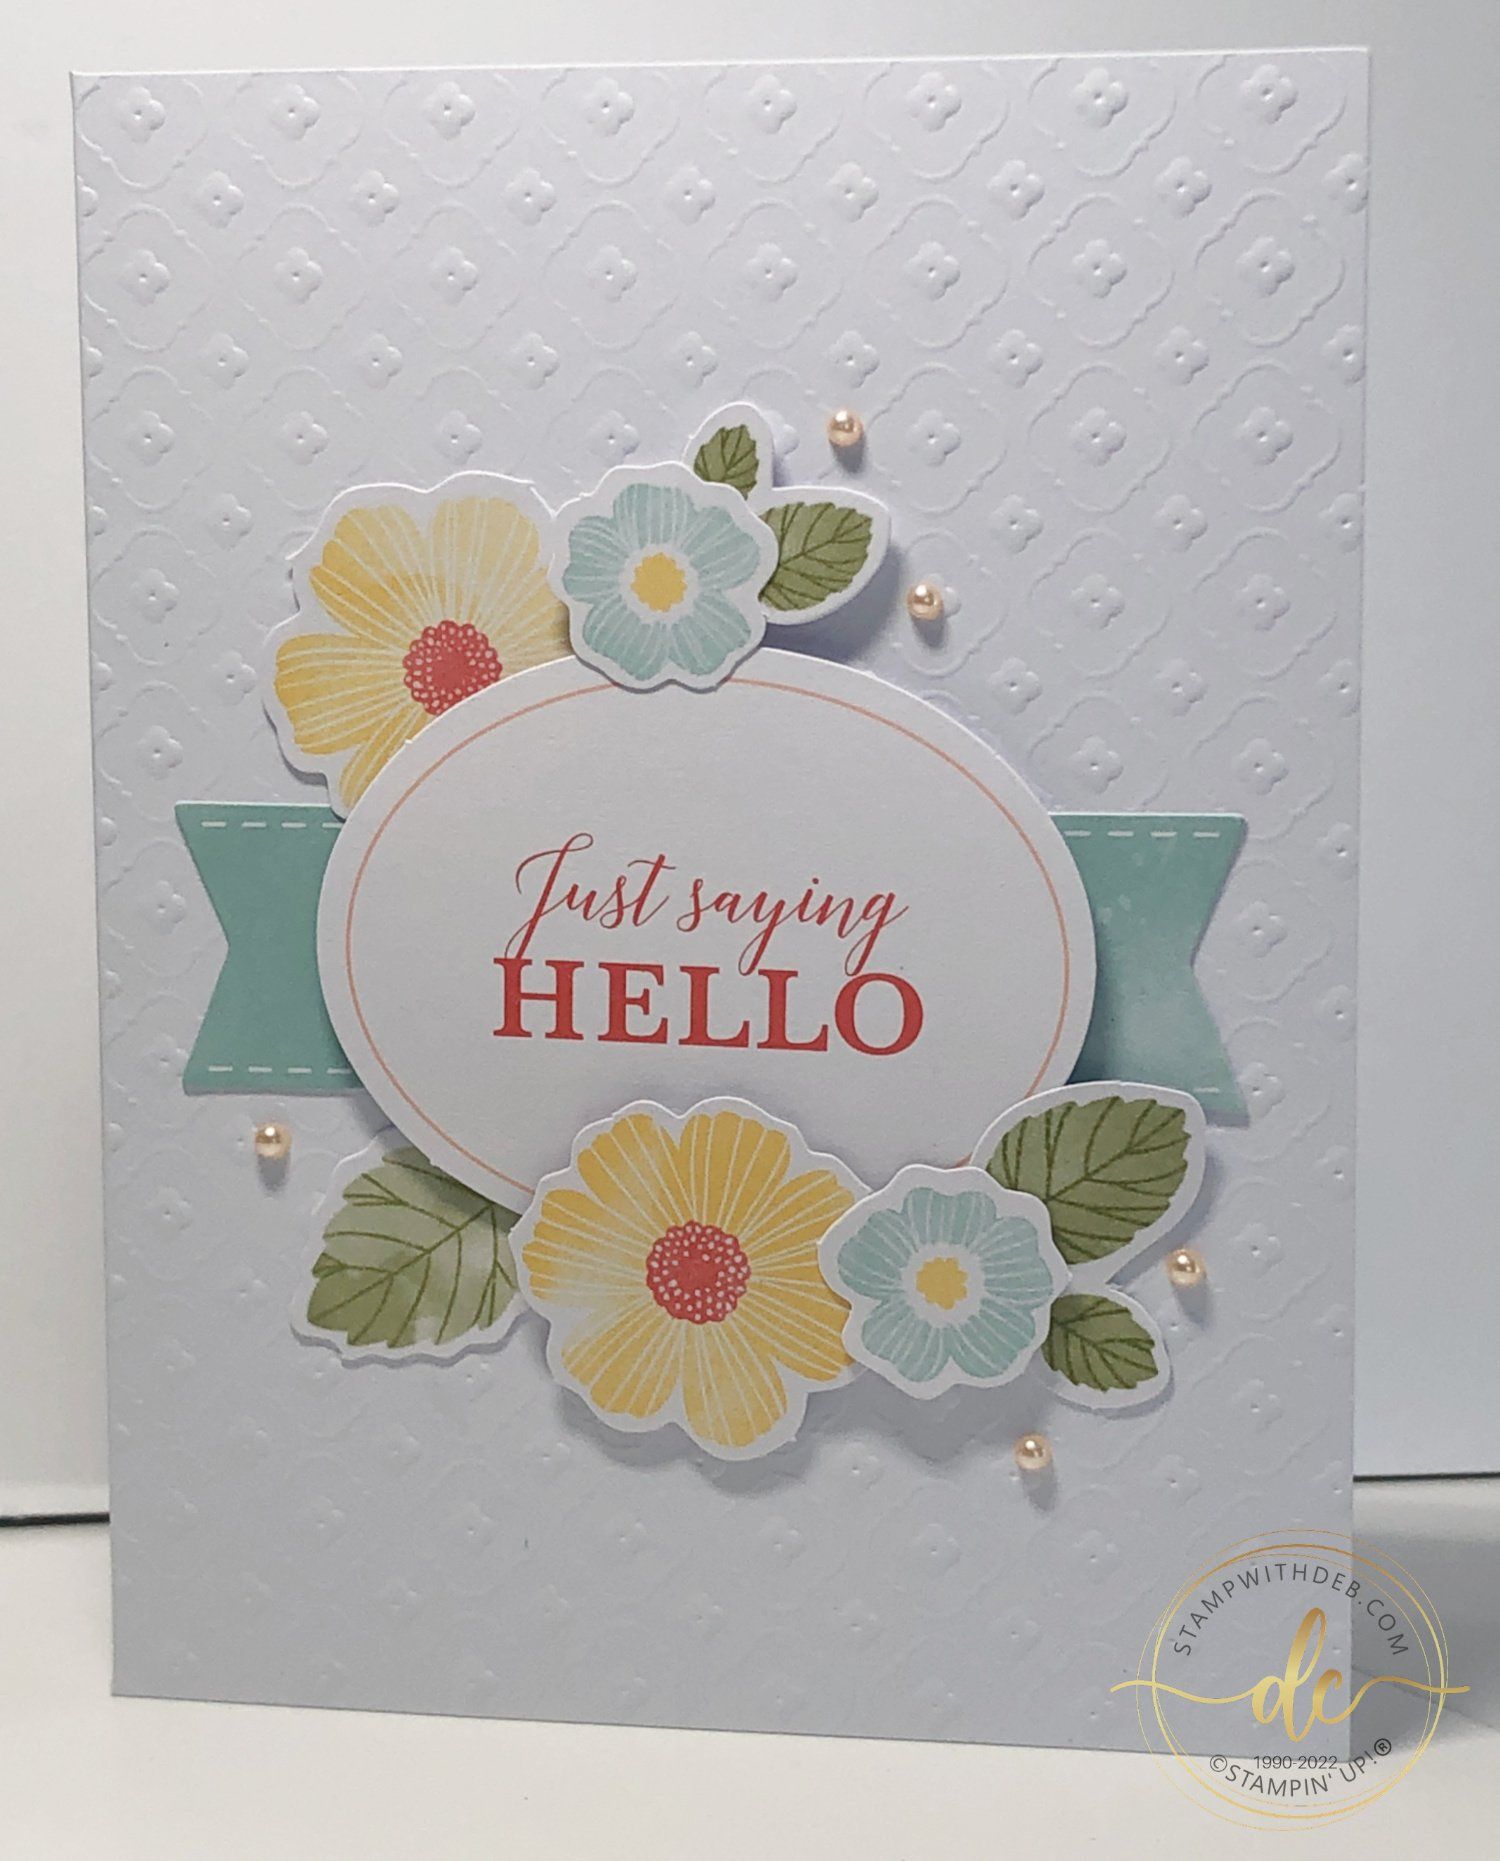
Add the greeting tag and the flowers
Finish with the Wink Of Stella and Pearls in the kit
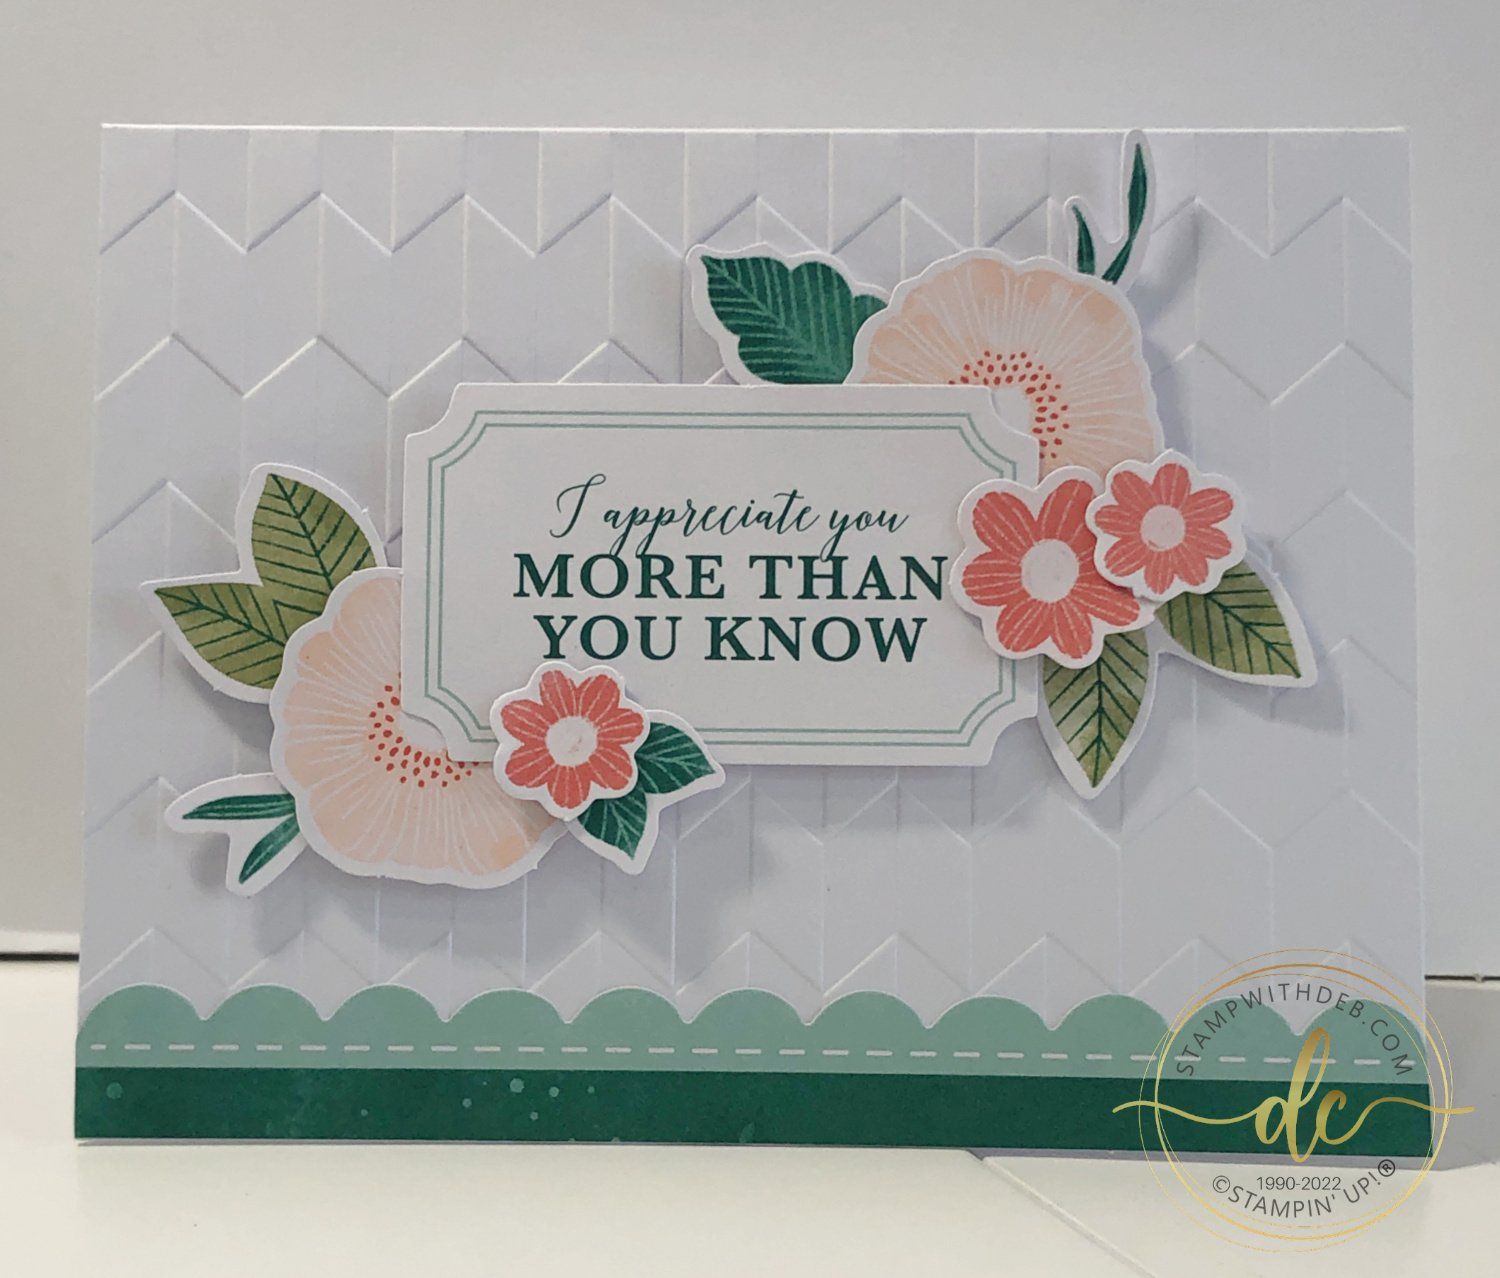
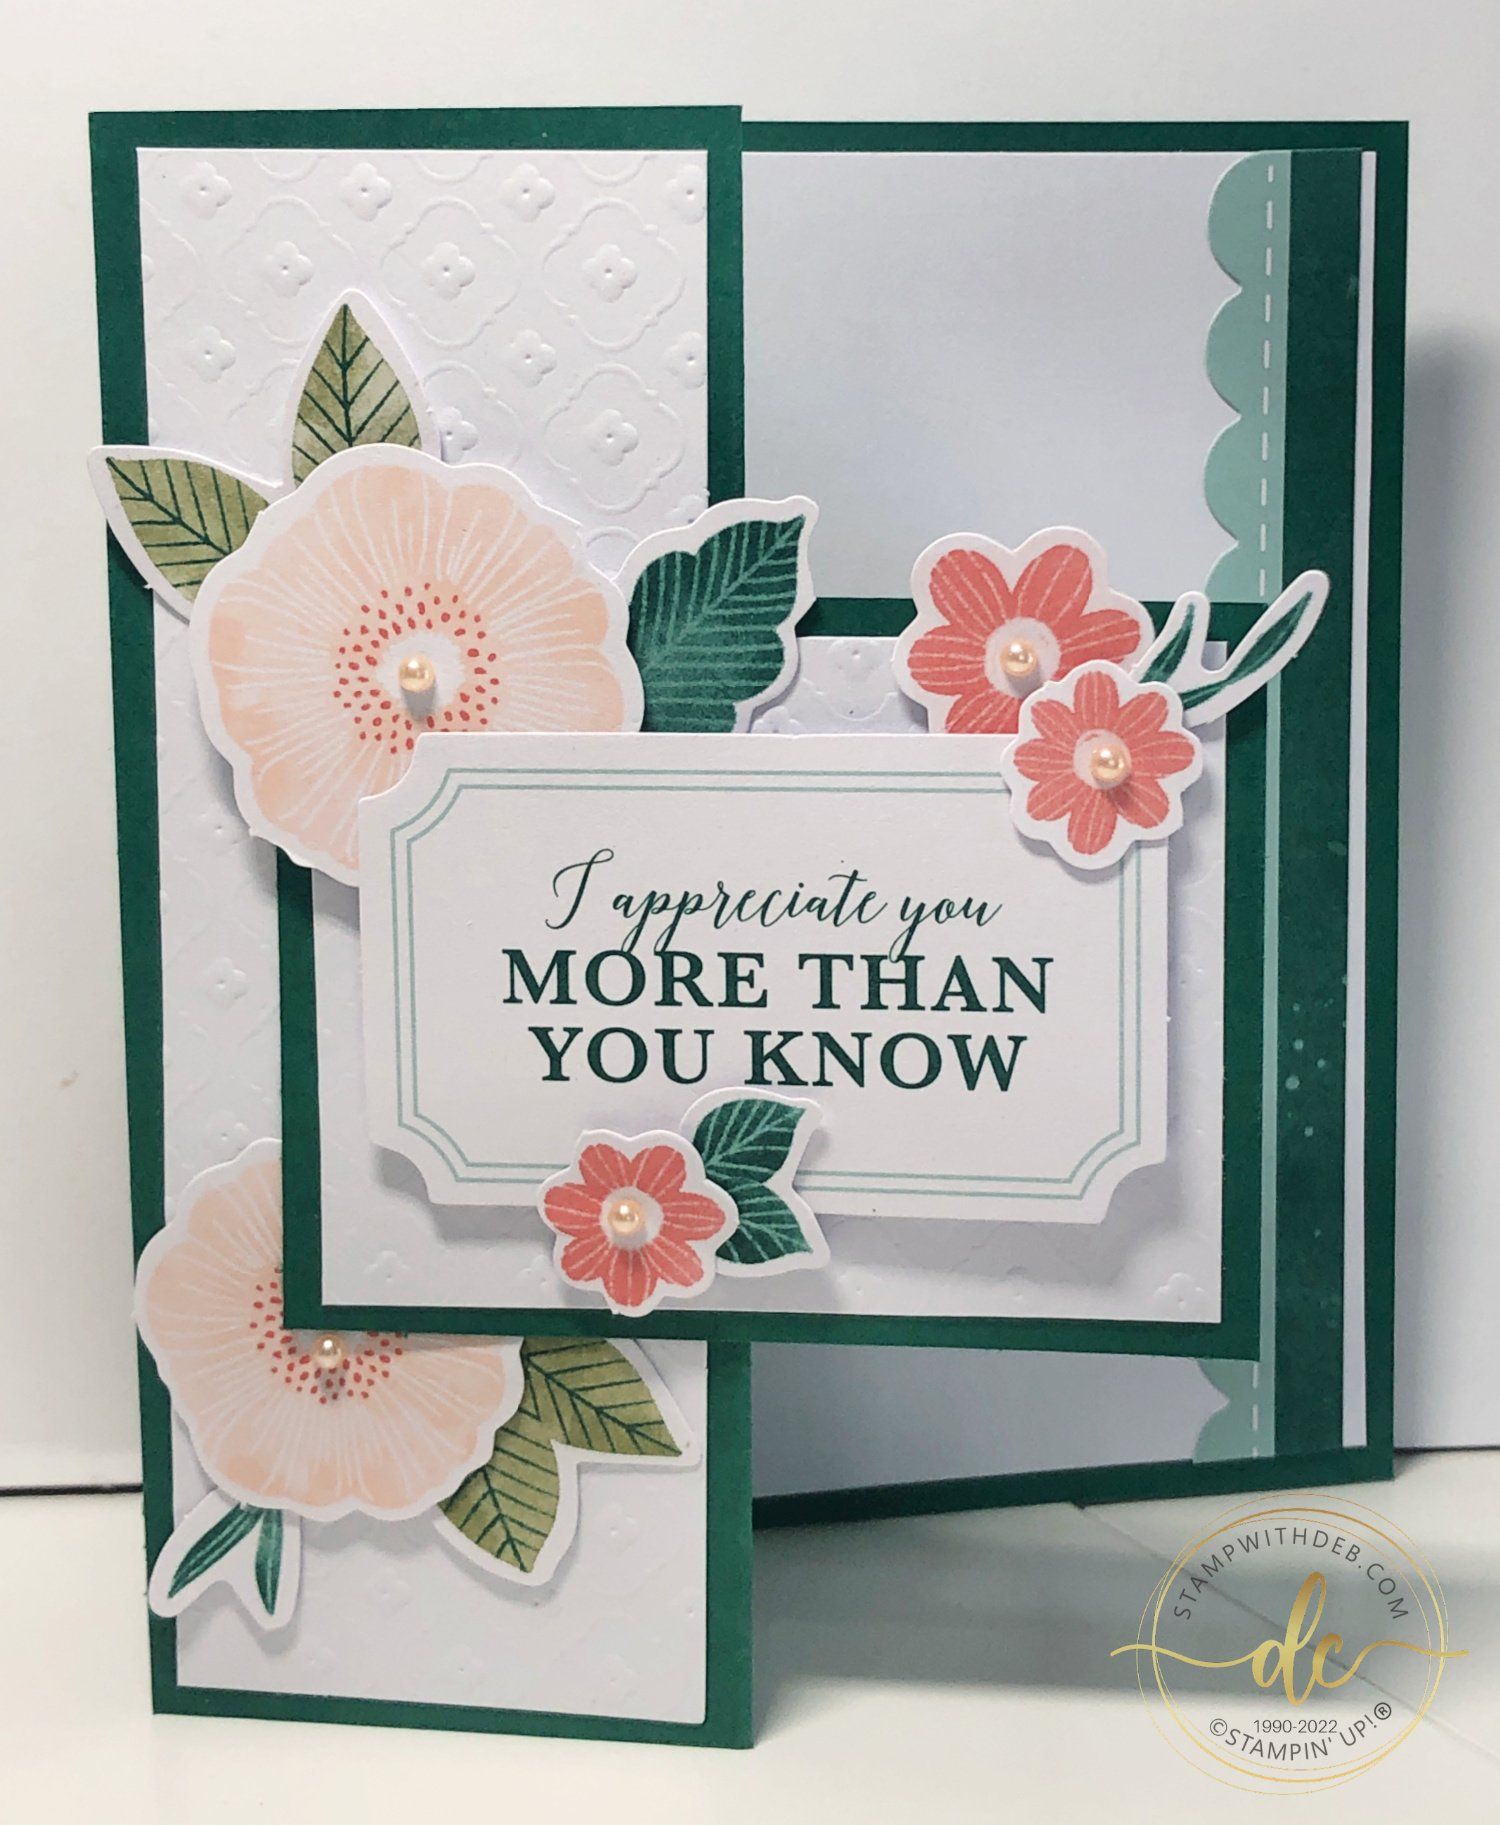

Card #3

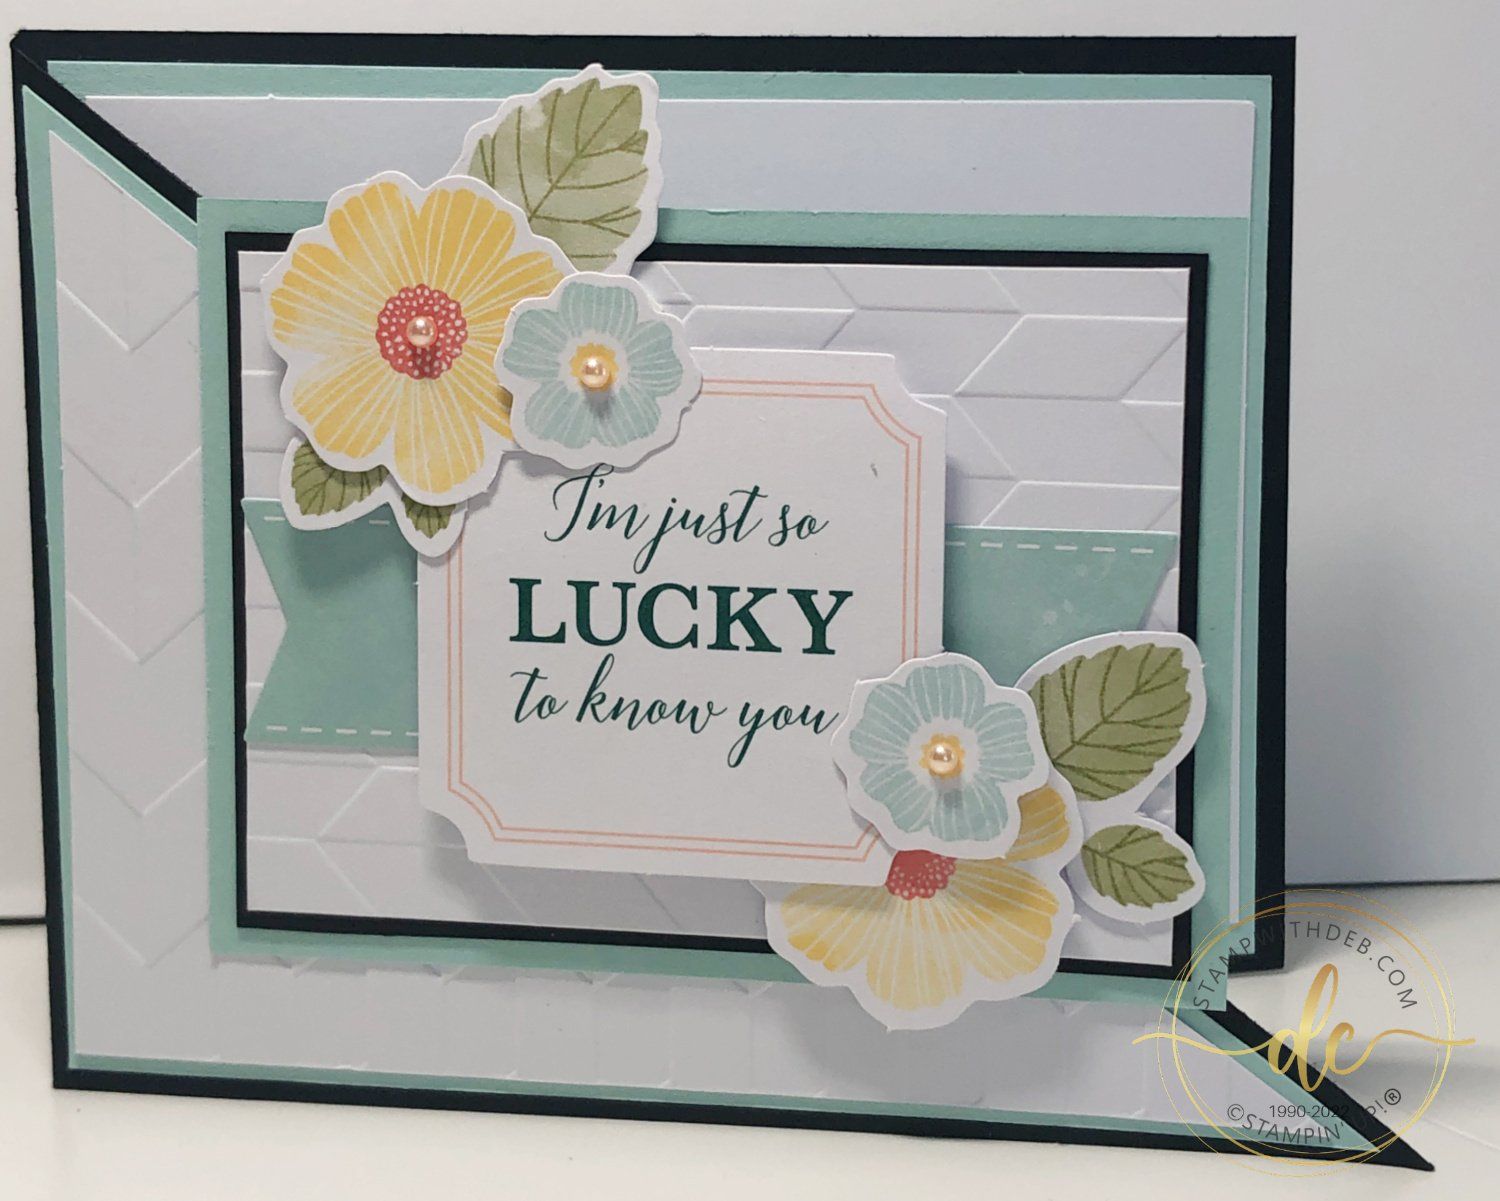
This card is a little more challenging than the original one. I love the original one for it's simplicity. It is quick and easy to put together. For this card you will need Basic Black and Pool Party cardstock


Cut 4 1/4 x 11 Basic Black, score at 5 1/2, cut from the fold line to the bottom right corner on the front only of the card
Cut (2) 5 1/4 x 4 Pool Party, one goes inside the card the other one is cut from the top left corner to the bottom right when it is in landscape position, adhere the diagonally cut one on the front of the card
Cut 3 3/4 x 5 using the back panel of the card from the kit, adhere to the inside pool party
Cut 3 3/4 x 5 panel from the front of the card from the kit, cut diagonally from top left corner to bottom right, adhere to the Pool Party Panel on the front


Cut 3 x 4 Pool Party
Cut 2 3/4 x 3 3/4 Basic Black, adhere to Pool Party
Cut 2 5/8 x 3 5/8 White embossed panel from the kit, adhere to Pool Party, attach this portion to the front flap of the card only attaching on the bottom left corner
Add the Pool Party adhesive strip across the middle of the panel and attach the greeting with Dimensionals
Finish off with the flowers and Pearls from the kit

Are you about to hit that $99 mark on your order (before shipping and tax)? If so, why not consider joining my team? As a member, you’ll enjoy $125 worth of products of your choice for only $99! Plus, you’ll snag a fantastic 20% discount on all your future purchases and a variety of exclusive perks from me and Stampin' Up! Dive into this exciting journey of paper crafting with us! For more information, check out my Join My Team page


We now have 3 catalogs each year, January - April, May - August, September - December.  We no longer have an annual catalog.  You will find all of the products in the catalogs online as well as Last Chance and Online Exclusive Products. If you want to check out the May - August Catalog click on that catalog below. If you want a paper copy, please contact me to get yours!

Check out:

Online Exclusives
May - August Catalog Contact me to get yours!

Subscribe to my My YouTube paper crafting video channel
Follow me on 
Pinterest

Follow me on Facebook every week for Stampin' Tell Tuesday
Shop my 
Online Store


916-420-0562

Email Me

By Debbie Chronister June 17, 2026
This elegant fun fold card showcases the beautiful Framed Violets Bundle paired with the gorgeous 2026–2028 In Color Painted Patterns Designer Series Paper . The soft striped pattern provides the perfect backdrop for the delicate violet image, which was colored using Peaceful Pine and accented with a touch of shimmer from the Barley Blush Shimmer Brush for a subtle, luminous finish. The layered focal panel adds dimension and interest, while the sweet 2026–2028 In Color Butterflies bring a whimsical touch as they flutter around the floral image. A soft Barley Blush Ribbon bow completes the design, adding texture and elegance. This fun fold card is a wonderful way to showcase these beautiful new In Colors while creating a card that is sure to delight the recipient.
By Debbie Chronister June 3, 2026
This adorable Double Z Fold card features the charming Safari Smiles Bundle and is full of fun details and dimension. To create the ground scene, I incorporated the tree image from the Twisted In Time Bundle, adding the perfect touch of whimsy to the design. The soft cloudy sky was created using a homemade cloud template made from a retired Cloud Punch and lightly blended with Cloud Cover ink using a Blending Brush. The sweet elephants were colored with the Light Smokey Slate Stampin' Blend, giving them a soft and realistic appearance. Cloud Cover cardstock was the perfect choice for the card base, tying all the elements together beautifully. Be sure to download the FREE Project Sheet below for complete measurements, supplies, and step-by-step instructions to create this fun fold card yourself!
By Debbie Chronister May 31, 2026
It's time to start the 2027 Calendar! The first six months are ready! This is the first of a two part class, just to ease the stress of doing multiple calendars. This fee covers both classes. The second session will be October 1. If you live locally you can attend one of the classes I offer. One is in Lincoln, CA the other at my Studio in Citrus Heights. Please clear your calendar so you will have enough time to complete the pages. If you will be here during lunch please plan accordingly and bring a light lunch. If you do not live locally, you can purchase a kit to create the calendar. Please add shipping to your registration and if the amount is different, I will invoice to cover the difference.
By Debbie Chronister May 27, 2026
I created this fun and interactive Z Double fold card using the beautiful Balloon Festoon Bundle paired with soft Pool Party cardstock and the lovely Beautiful Ordinary Life Designer Series Paper for a fresh and cheerful look. The Z fold design adds movement and dimension, making the card extra special when displayed. I loved combining the festive balloon images with the soft patterns from the designer paper to create a playful celebration theme with lots of layered detail. The Pool Party color palette gave the project a light, airy feel while allowing the balloons, patterned paper, and embellishments to really stand out. This card was such a fun way to showcase both the unique fold and the versatility of the bundle and designer series paper together. The entire PDF Instructions for 18 alternate cards using the Pretty Party kit is available for purchase in my store along with other Tutorials & Kits.
By Debbie Chronister May 27, 2026
I had so much fun creating this cheerful card using the newly released Stampin' Up! Pretty Party Kit from May along with the beautiful Balloon Festoon Bundle . The soft colors and playful patterns from the kit paired perfectly with the festive balloon images and dies, making this card feel bright and full of celebration. I layered the elements to add dimension and finished it off with a few special embellishments for extra sparkle and texture. This combination made it easy to create a fun, happy card that would be perfect for birthdays, celebrations, or simply sending a little joy to someone special.  This kit is beautiful as it is but if you like a challenge and to do different things with the kits, you can purchase the tutorial for all 18 alternate cards on in my store.
By Debbie Chronister May 13, 2026
This elegant pop up Z fold card combines the timeless beauty of Basic White with soft layers of Crisp Cantaloupe for a fresh and inviting design. Many of our favorite card layouts begin with some form of a Z fold, and this fun interactive style is always a showstopper. I used the beautiful Fragrant Layers Bundle from Stampin' Up! along with the gorgeous Bloom Boutique Designer Series Paper to create soft floral layers and elegant detail throughout the card. The flowers were accented with the sparkling 2026–2028 In Color Dots for the centers, while the adorable 2026–2028 In Color Butterflies add the perfect finishing touch. A delicate bow tied with Crisp Cantaloupe Bordered Ribbon completes this charming project with just the right amount of texture and sweetness.
Show More