USING UP RETIRING DSP
A GOOD WAY TO USE UP RETIRING DSP
If you are like me, you have some papers that you just love and so you buy the whole pack and use only certain sheets. The rest just sit there for years to come and wish they had a purpose. I will be giving you some ideas on how to use up your retired DSP over the next couple of days.
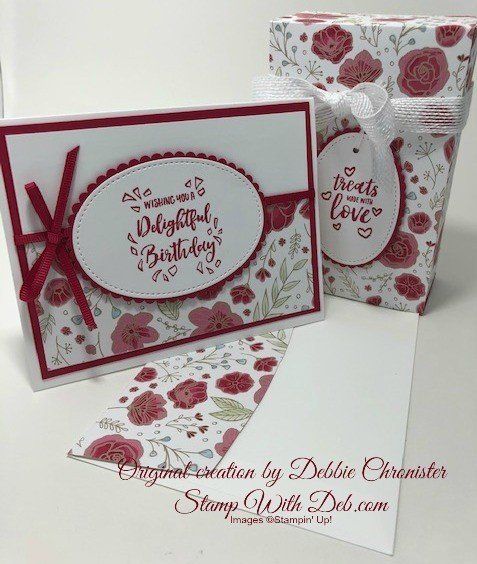
Here is my first one. This is actually a great idea. You could make up a bunch of these sets and just leave them flat until you are ready to use them. Put everything in a clear cello bag and store them. Then when you need one, just pull them out and glue the sides together and you are ready to go!
This is really a good size box. It measures 5 1/2 x 3 1/2 x 2. Between the box, card and the envelope you will use almost all of a sheet of 12 x 12 Designer Series Paper and it would be great in any design.
Box
Cut 2 ½” off 12 x 12 Designer Series Paper sheet. Be aware of the direction of the pattern
Work with 12 x 9 ½ inch sheet:
Landscape position: score @ 1, 3, 6 ½ & 8 ½
Portrait Position: score @ 2” turn 180 degrees and score @ 2”
Cut out the 1" rectangle on each side
Cut up to the 2” score lines on both sides on the other three score lines. Turn the paper and do the same on the other side
Fold into a box with the flap tucked in on the side of the box. I used liquid Mono for this box and put it on the place indicated to start with. Then I folded the 3rd panel from the left up to those flaps. (If I was making a lot of these to sell or store for later use. I would put Tear N Tape on those flaps. That way my boxes would be ready to put together but would lay flat until I was ready to use them.
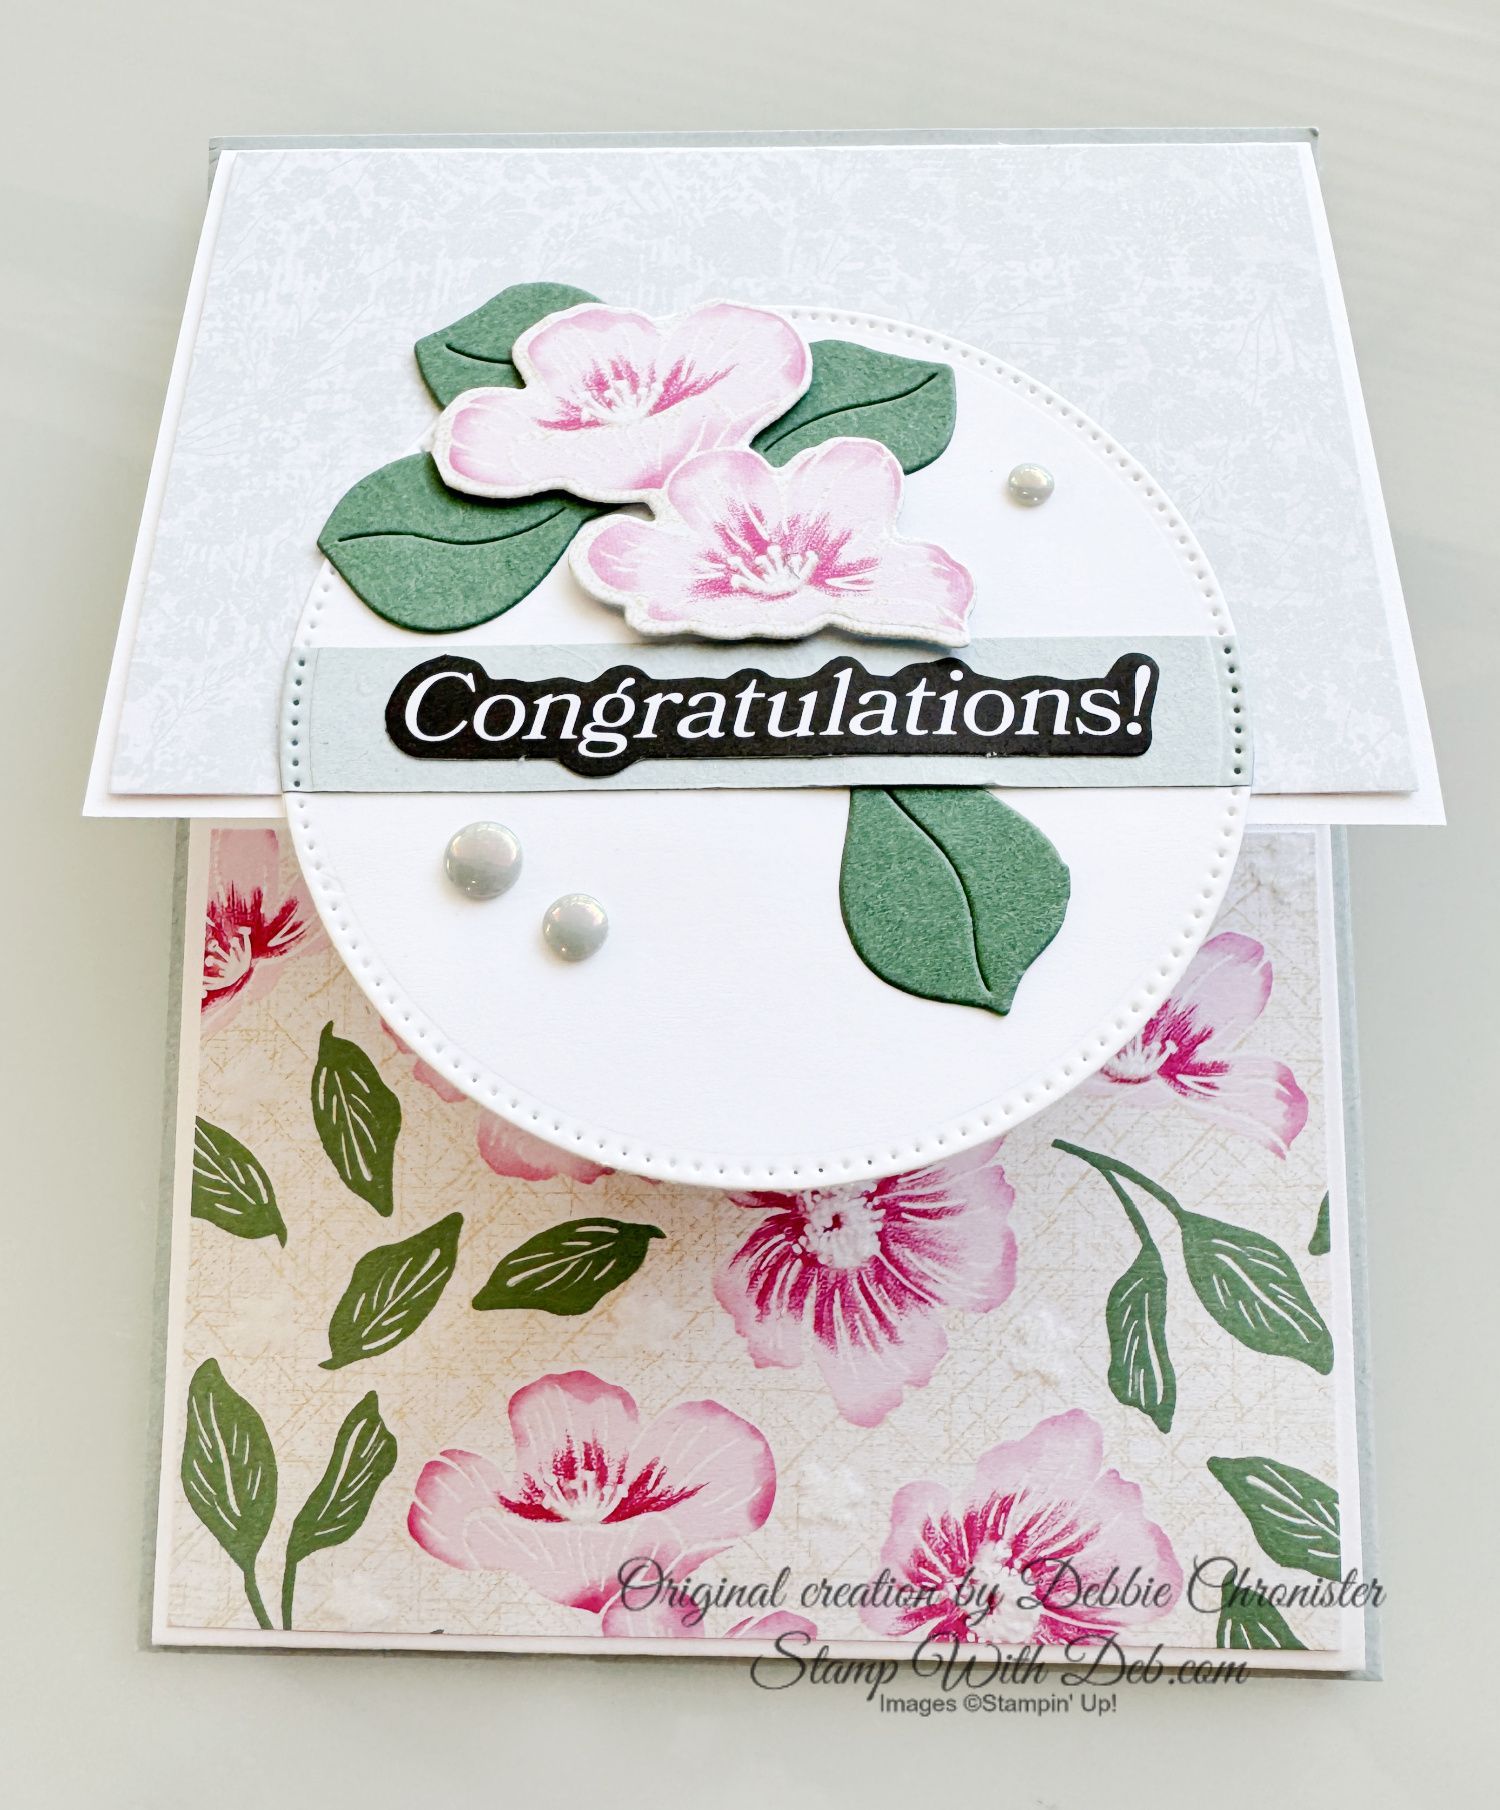
Create tag using an oval from the Stitched Shapes Dies and one from the Layering Oval Dies. Stamp a greeting
Punch a hole in the top and tie onto Flax ribbon with Baker’s Twine
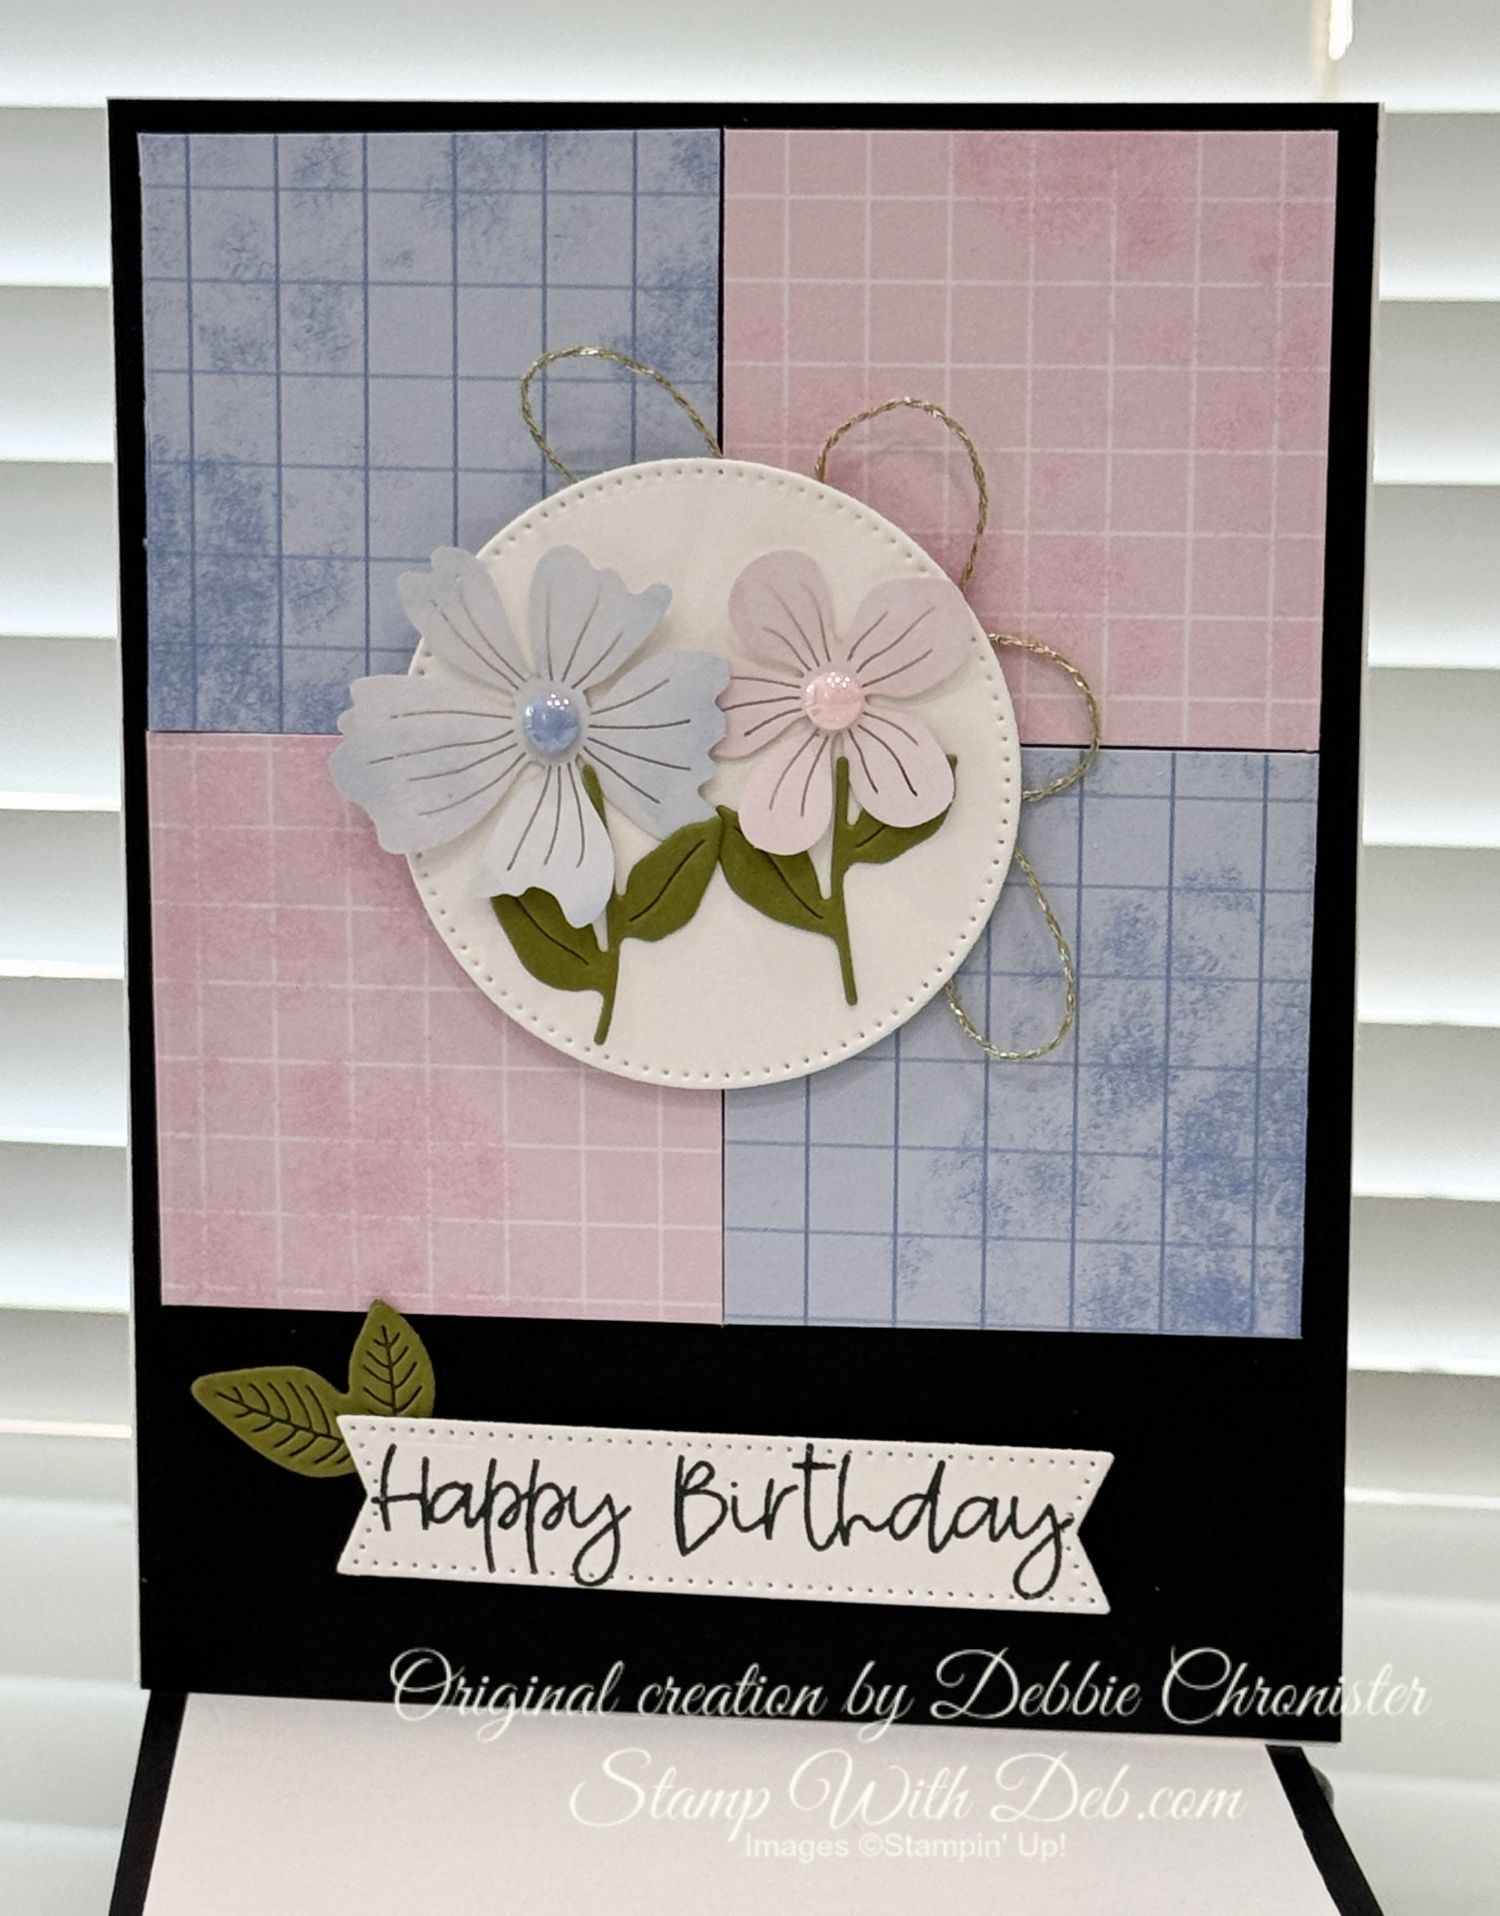
Card
Stamps: Delightful Day #149466 NEW
Whisper White 8 ½ x 5 ½ (score @ 4 ¼), 5 x 3 ¾, largest Stitched Shapes Oval
Lovely Lipstick – 5 ¼ x 4, largest Layering Ovals, Scallop Oval
DSP – 5 x 2 ¼
Lovely Lipstick Grosgrain Ribbon wrapped around the edge of the DSP and a bow tied and attached with a glue dot
Envelope
Take the remaining piece of DSP and adhere it to the outside flap of the envelope. Trim around the edge to finish off the envelope as the final matching piece
Thank you for visiting with me today. I hope you will take this idea and make more.
Will you be placing an order today?
If so, please use the monthly hostess code at checkout.
QXGAY9AD
If your order is $150 of more, no need to add the code so you can earn your own hostess rewards!
Thank you so much for supporting a small business owner!
DOWNLOAD FOR RETIRING DSP
Happy Stampin'
Are you about to hit that $99 mark on your order (before shipping and tax)? If so, why not consider joining my team? As a member, you’ll enjoy $125 worth of products of your choice for only $99! Plus, you’ll snag a fantastic 20% discount on all your future purchases and a variety of exclusive perks from me and Stampin' Up! Dive into this exciting journey of paper crafting with us! For more information, check out my Join My Team page
We now have 3 catalogs each year, January - April, May - August, September - December. We no longer have an annual catalog. You will find all of the products in the catalogs online as well as Last Chance and Online Exclusive Products. If you want to check out the May - August Catalog click on that catalog below. If you want a paper copy, please contact me to get yours!
Check out:
Online Exclusives
May - August Catalog - Contact me to get yours!
Subscribe to my My YouTube paper crafting video channel
Follow me on Pinterest
Follow me on Facebook every week for Stampin' Tell Tuesday
Shop my Online Store