Bike Ride
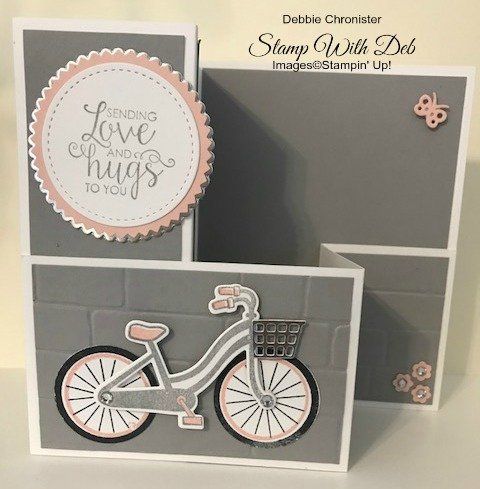
I used the same layout of the Whisper White with the Smokey Slate that I used yesterday, the only difference was in the decorations.
I used Bike Ride Bundle. I just love this set a I wanted to stay with pink and gray.
Stamp the bike frame with Smokey Slate on Whisper White. In the stamp set are small dies to add color to the seat, handle bars and petal. Stamp those in Powder Pink.
Stamp the tires in Basic Black and the circle inside the tire in Powder Pink. Punch the tires with the 1 3/8″ punch or use the die in the Build A Bike Framelits. Adhere the tires using Snail adhesive.
Cut the bike out using the die in the Build a Bike Framelits then attach the frame of the bike using Mini Stampin’ Dimensionals.
This is a new product this year. It is the same thickness as our regular dimensionals they are just smaller to fit behind those little die cut pieces.
Cut the basket from Silver Foil using the basket from the Build a Bike Framelits. Put a Rhinestone in the center of the tire for bling!
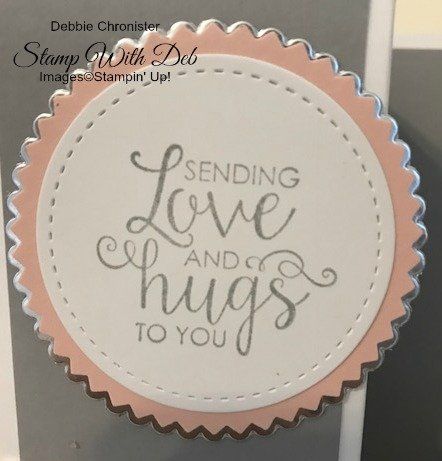
Cut a circle using the Stitched Shaped Dies. You want it small enough to fit inside the new Starburst Punch. Punch the Starburst punch from Powder Pink cardstock. To add a little more bling cut the scallop circle, which is just a hair larger than the starburst, from the Layering Circle Dies in Silver. It just adds an interesting dimension when these are all lined up. Stamp the Whisper White Circle with the greeting from Ribbon of Courage in Smokey Slate.
Punch the flowers from the Tree Builder Punch and put a rhinestone in the center. Cut the butterfly from the Build a Bike Framelits and attach it. I can’t wait to make more things with this set. I think it has so much potential!
Are you about to hit that $99 mark on your order (before shipping and tax)? If so, why not consider joining my team? As a member, you’ll enjoy $125 worth of products of your choice for only $99! Plus, you’ll snag a fantastic 20% discount on all your future purchases and a variety of exclusive perks from me and Stampin' Up! Dive into this exciting journey of paper crafting with us! For more information, check out my Join My Team page
We now have 3 catalogs each year, January - April, May - August, September - December. We no longer have an annual catalog. You will find all of the products in the catalogs online as well as Last Chance and Online Exclusive Products. If you want to check out the May - August Catalog click on that catalog below. If you want a paper copy, please contact me to get yours!
Check out:
Online Exclusives
May - August Catalog - Contact me to get yours!
Subscribe to my My YouTube paper crafting video channel
Follow me on Pinterest
Follow me on Facebook every week for Stampin' Tell Tuesday
Shop my Online Store
