Pocketful of Sunshine
Well I can’t believe it has been 2 weeks since our vacation and I haven’t posted once. I have been busy since I got home. It was time to prepare for my August Stamp Camp. I hadn’t stamped for two weeks and when you are used to stamping all the time two weeks seems like forever. Maybe it was just because I enjoyed my vacation so much. I spent one day working and the rest was all play. It was a great time with my daughter and son-in-law.
So today was my Lincoln Stamp Camp. If you follow me you know that I have two Stamp Camps a month. We had a very enjoyable and relaxing morning stamping. It was amazingly calm and quiet for a class of over 40 women!
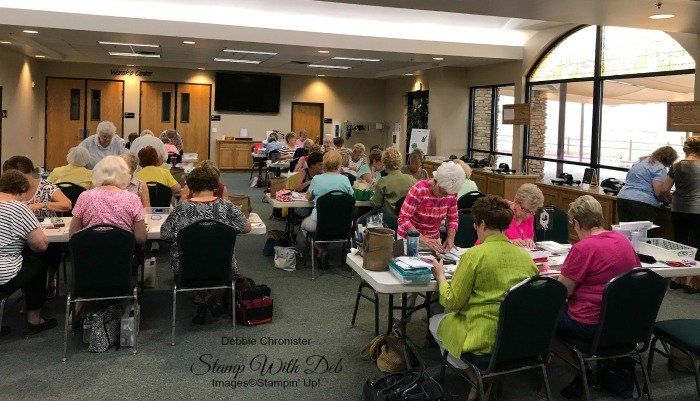
In all fairness to the gals who have registered for the Sunrise class I cannot show you the cards we did at Lincoln Stamp Camp until after the Sunrise one this weekend. Next week I will have all those for you to see so instead I will show you one that I did for my Club this month.
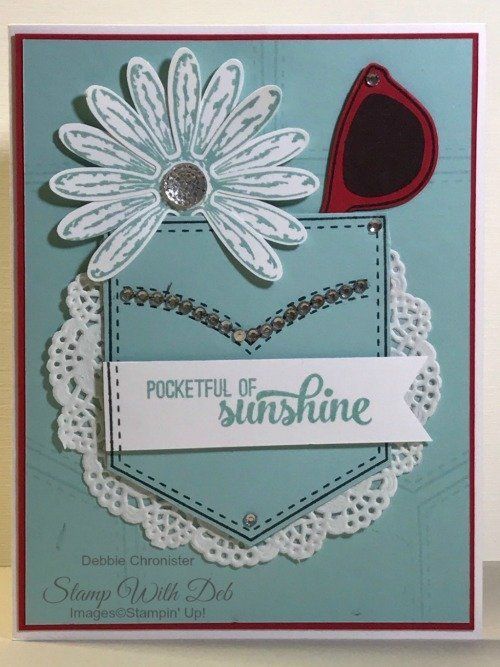
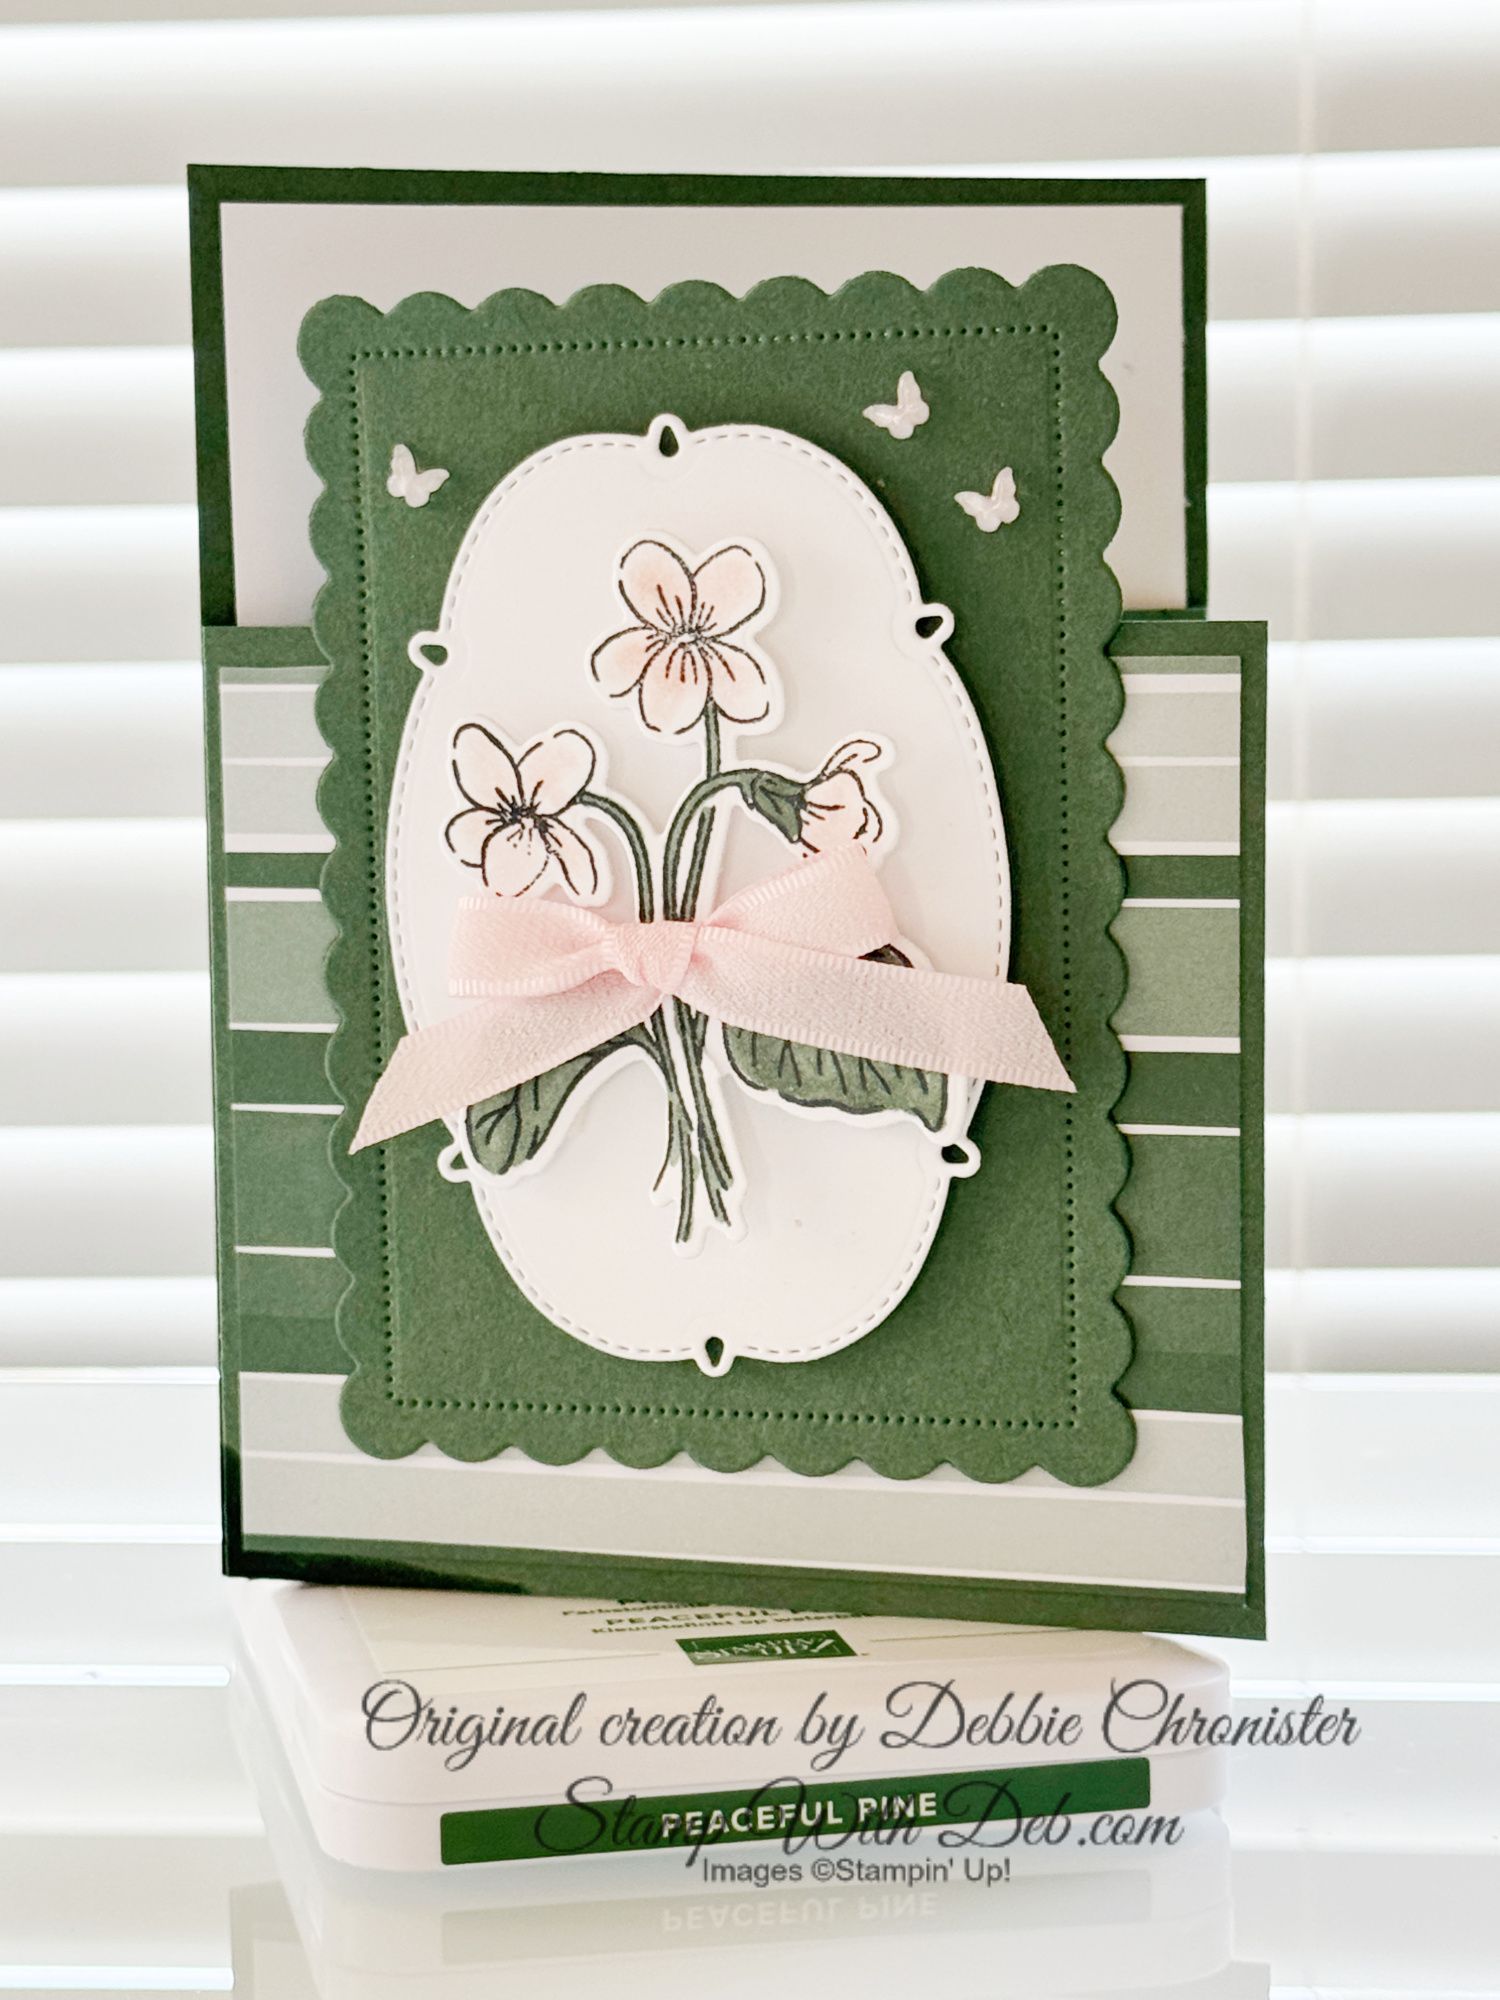
Start with the Whisper White 8 1/2 x 5 1/2, score @ 4 1/4
Stamp 2 daisies on the 2 3/4 x 2 3/4 Whisper Whites using Pool Party ink
Stamp the glasses on the 2 x 4 Real Red with Basic Black
Stamp the pocket on the 3 x 4 Pool Party with Basic Black (fussy cut) I did not use the dies because of the edge on the dies.
Stamp the left edge of the 1 x 3 1/2 with the dotted line in Basic Black and the greeting in Pool Party. Cut the right edge to a flag.
On the 5 1/4 x 4″ pool party I stamped with VersaMark and the pocket stamp. I started on the sides and made them about 1/4″ apart in the middle. You will see the pattern as you stamp the bottom and top. The VersaMark just gives a very subtle image.
I hope you have enjoyed this card today. It is fun and easy and a little flirty.
Click on the link below to shop for products to duplicate this project
Are you about to hit that $99 mark on your order (before shipping and tax)? If so, why not consider joining my team? As a member, you’ll enjoy $125 worth of products of your choice for only $99! Plus, you’ll snag a fantastic 20% discount on all your future purchases and a variety of exclusive perks from me and Stampin' Up! Dive into this exciting journey of paper crafting with us! For more information, check out my Join My Team page
We now have 3 catalogs each year, January - April, May - August, September - December. We no longer have an annual catalog. You will find all of the products in the catalogs online as well as Last Chance and Online Exclusive Products. If you want to check out the May - August Catalog click on that catalog below. If you want a paper copy, please contact me to get yours!
Check out:
Online Exclusives
May - August Catalog - Contact me to get yours!
Subscribe to my My YouTube paper crafting video channel
Follow me on Pinterest
Follow me on Facebook every week for Stampin' Tell Tuesday
Shop my Online Store
